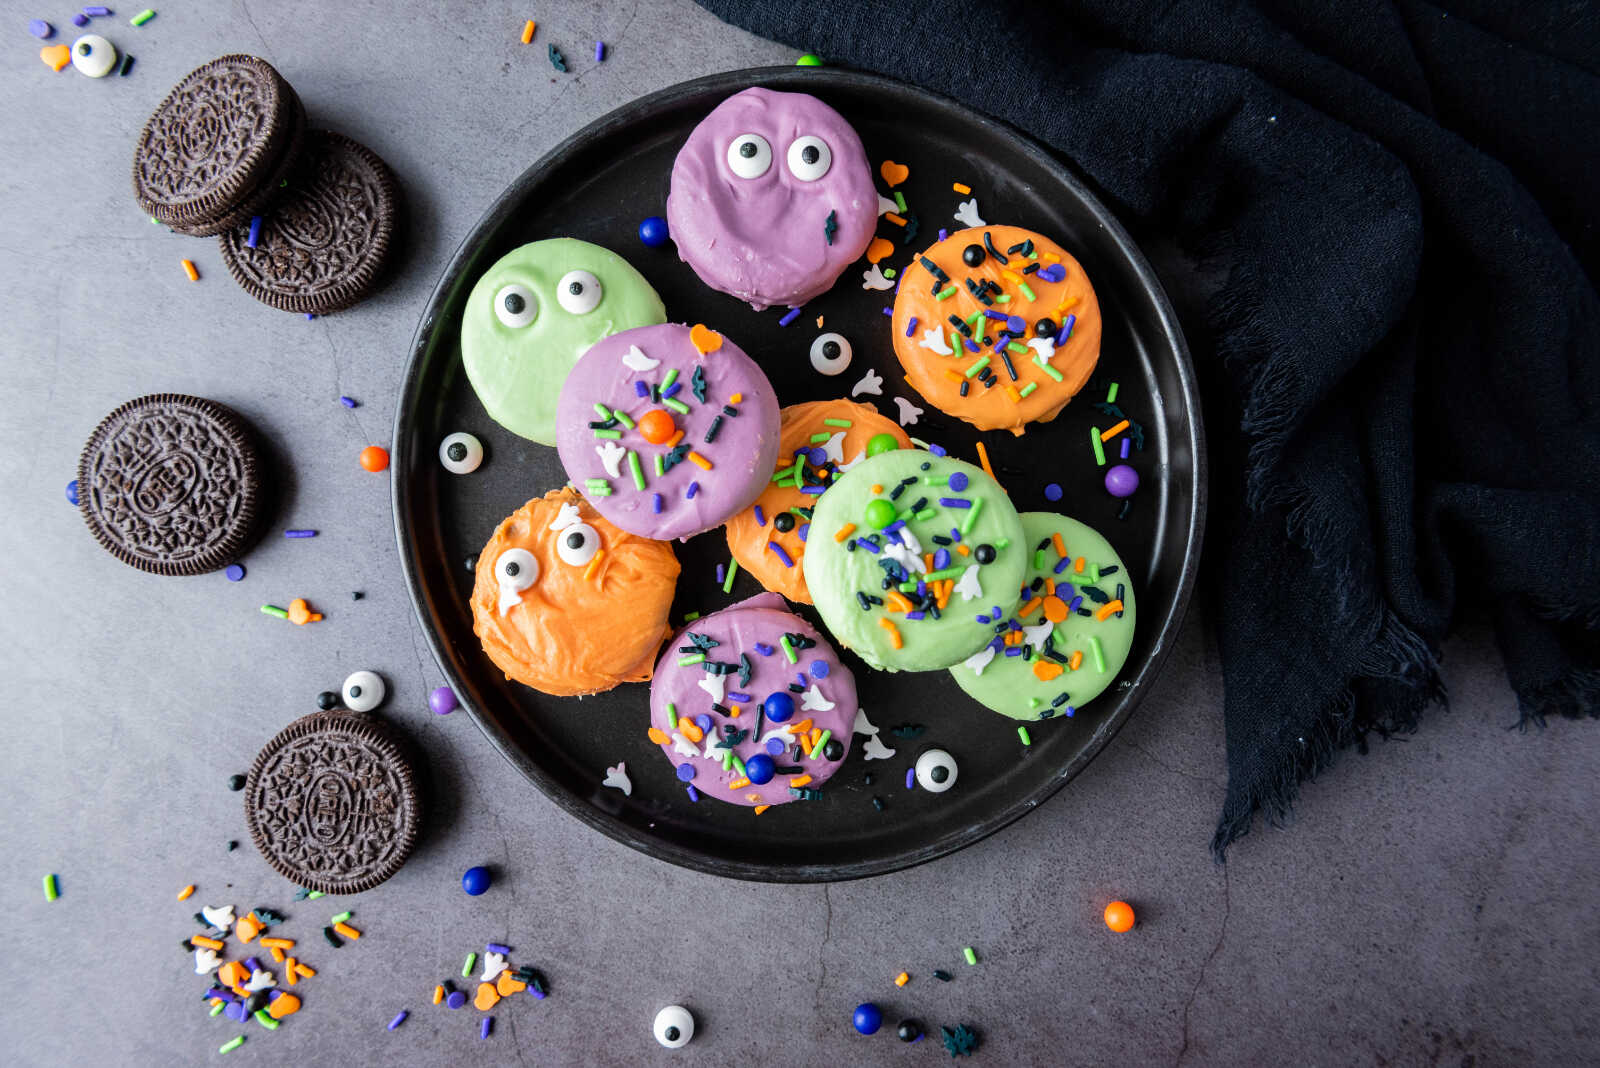
Halloween Oreo Treats: Easy, Festive & Kid-Friendly!
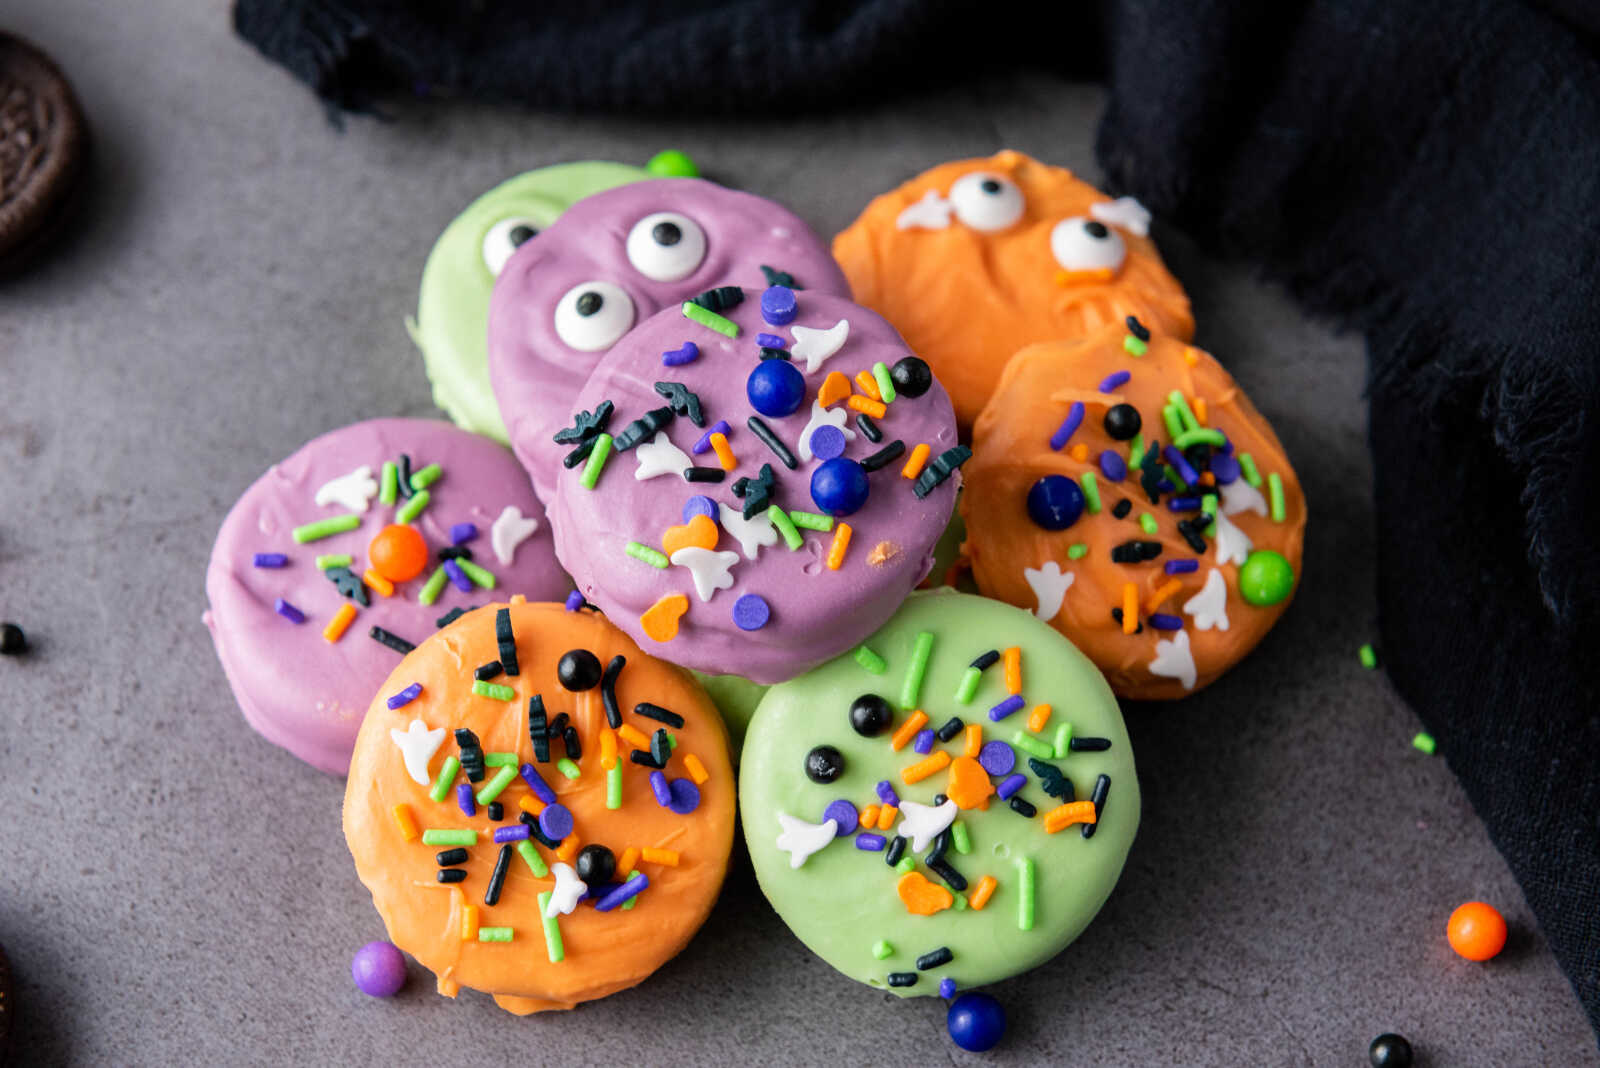
If you’re looking for a quick, no-bake dessert that feels festive, fun, and totally Pinterest-worthy, these Halloween Oreo Treats are about to become your go-to recipe. They’re colorful, customizable, and perfect for everything from classroom parties to spooky movie nights at home.
What I personally love most about this recipe is how simple it is. You don’t need any baking skills, fancy tools, or complicated ingredients—just Oreos, candy melts, and a little creativity. Whether you’re making these with your kids, prepping for a Halloween party, or creating content for your blog or Pinterest boards, these treats check every box.
Let’s dive into everything you need to know to make these adorable (and delicious!) Halloween Oreos.


Table of Contents
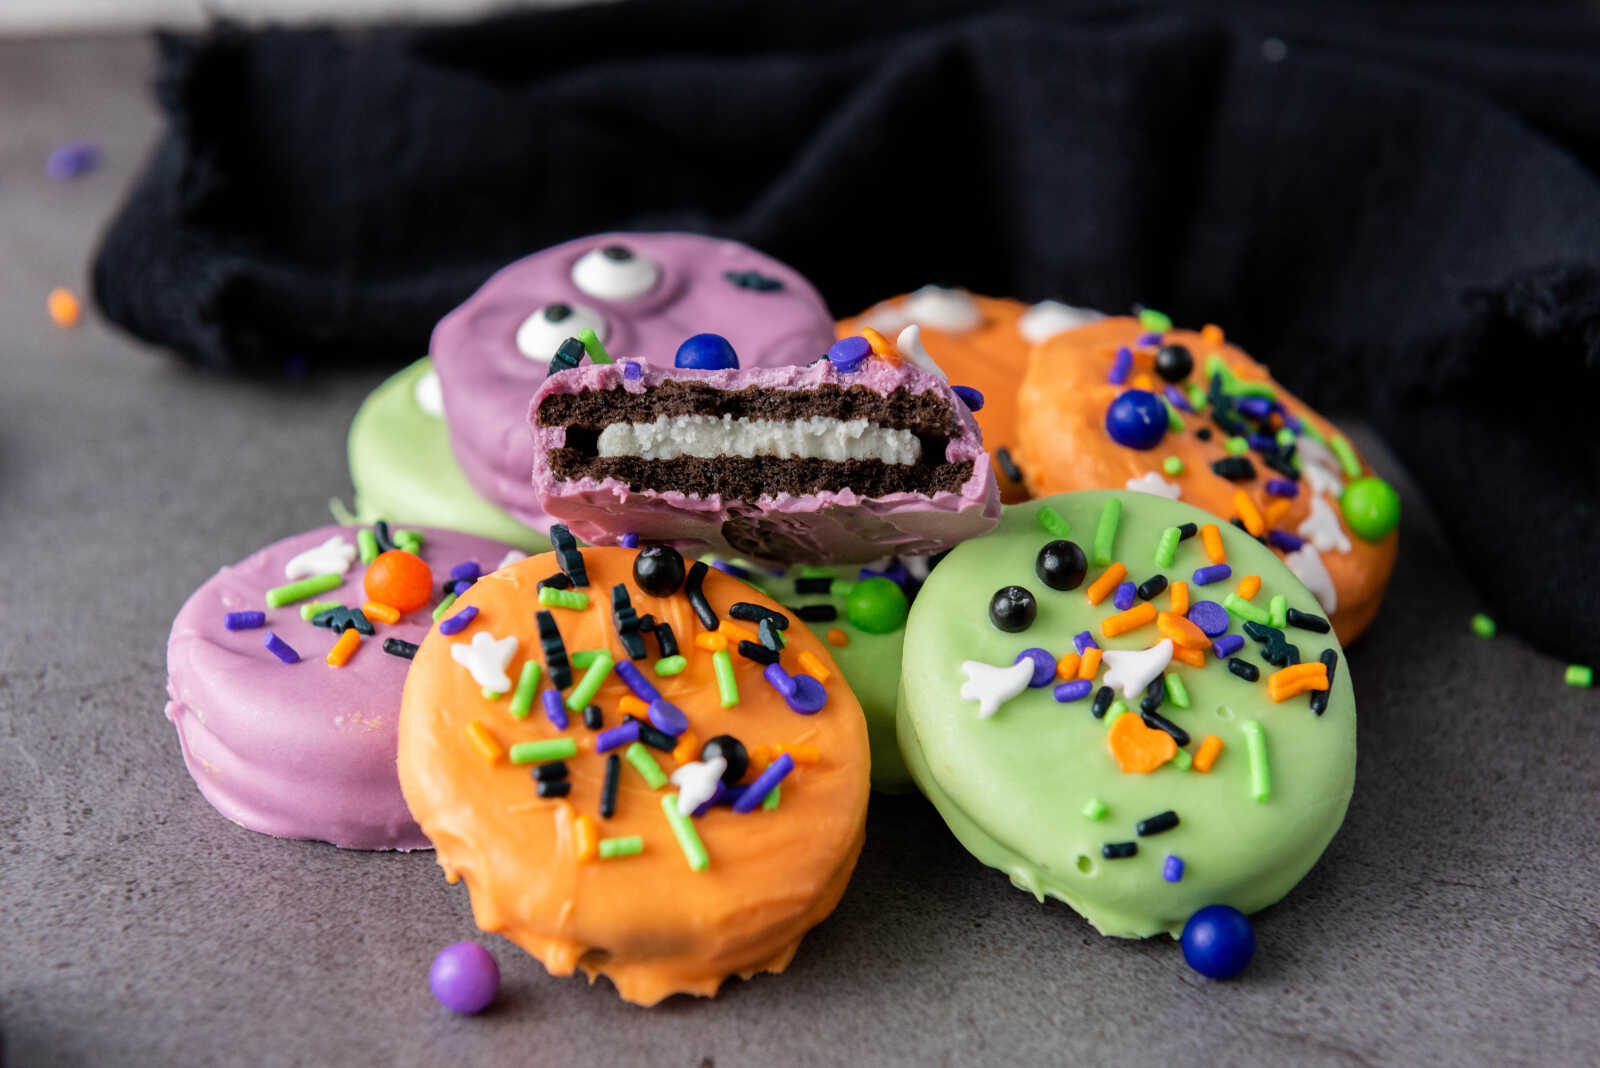
Why You’ll Love These Halloween Oreo Treats
These treats are more than just cute—they’re incredibly practical too:
- No baking required (perfect for busy moms or last-minute plans)
- Kid-friendly activity that doubles as a snack
- Budget-friendly ingredients you can find anywhere
- Customizable colors and designs
- Perfect for parties, gifting, or dessert trays
They’re also a great way to get your kids involved in the kitchen without the mess or stress of traditional baking.

Recipe Overview
- Servings: 12 Oreo treats
- Prep Time: 15 minutes
- Cool Time: 30 minutes
- Total Time: 45 minutes

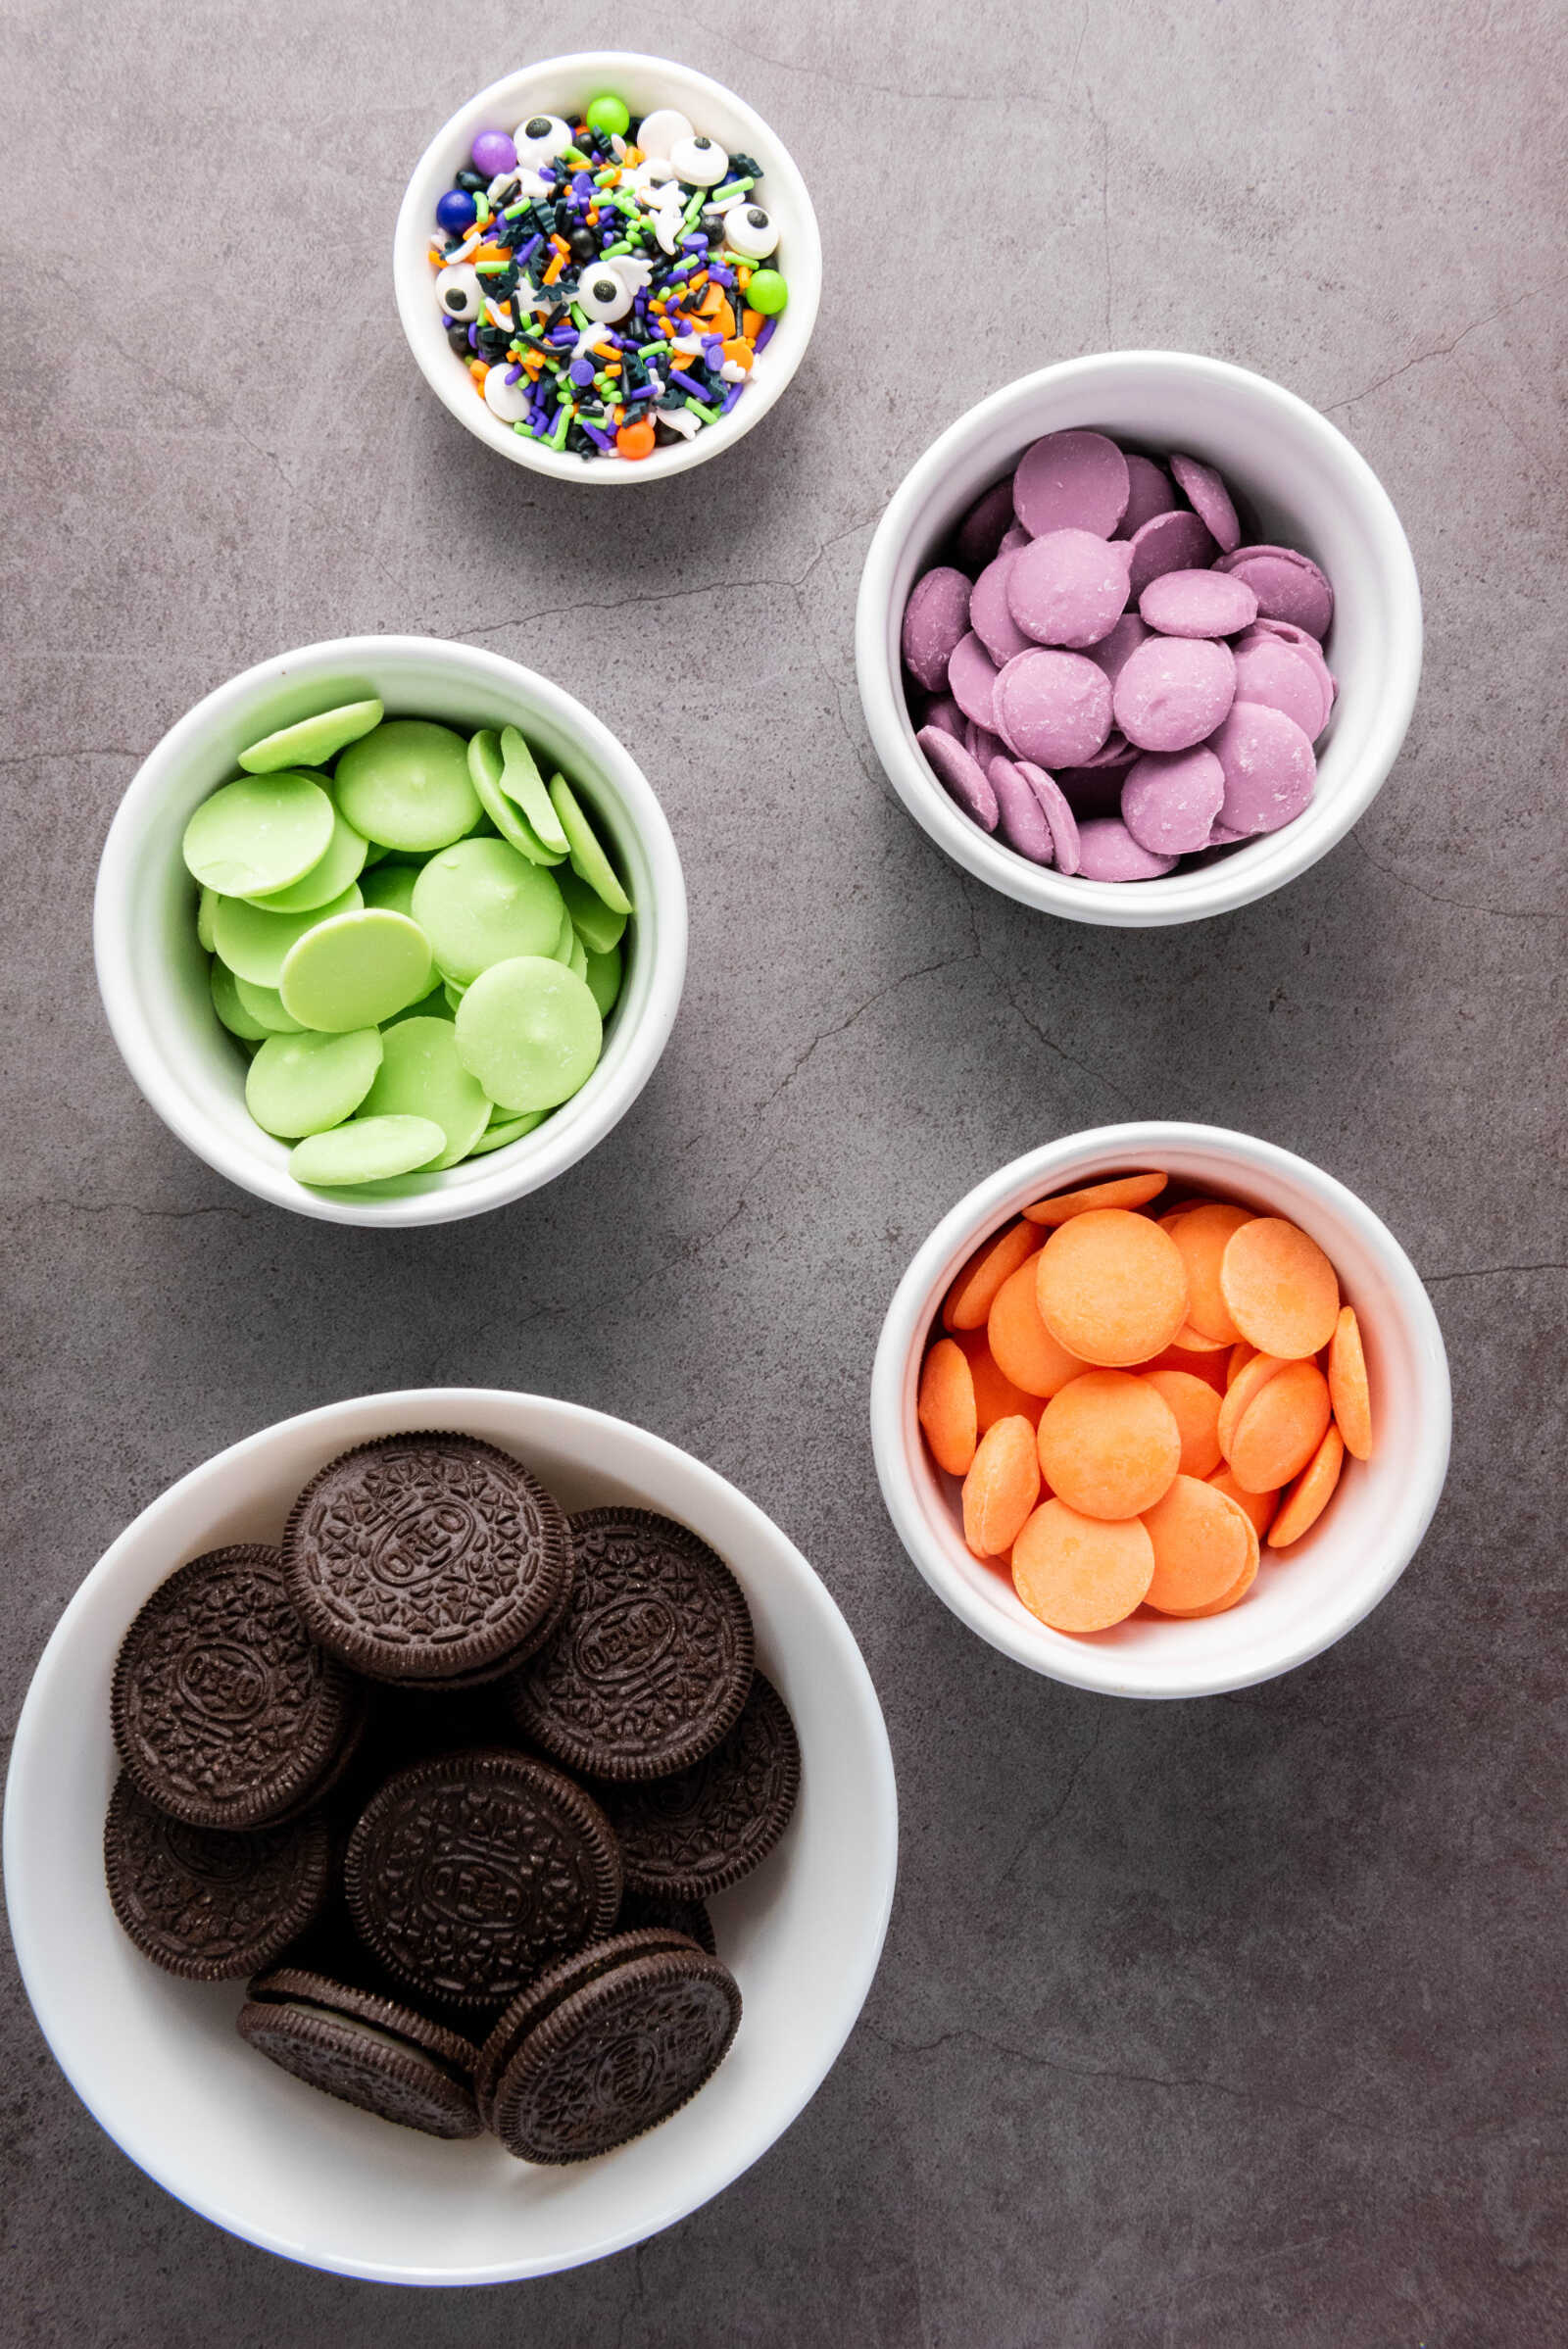
Ingredients
- 12 Oreo cookies
- ¼ cup purple candy melts
- ¼ cup green candy melts
- ¼ cup orange candy melts
- Halloween sprinkles (bats, pumpkins, ghosts, or spooky mixes)
Step-by-Step Instructions
1. Prep Your Workspace
Start by lining a baking sheet with parchment paper or a silicone baking mat. This keeps your Oreos from sticking and makes cleanup super easy.
Next, pour your Halloween sprinkles into small bowls. Trust me—this step makes decorating so much easier, especially if little hands are helping.
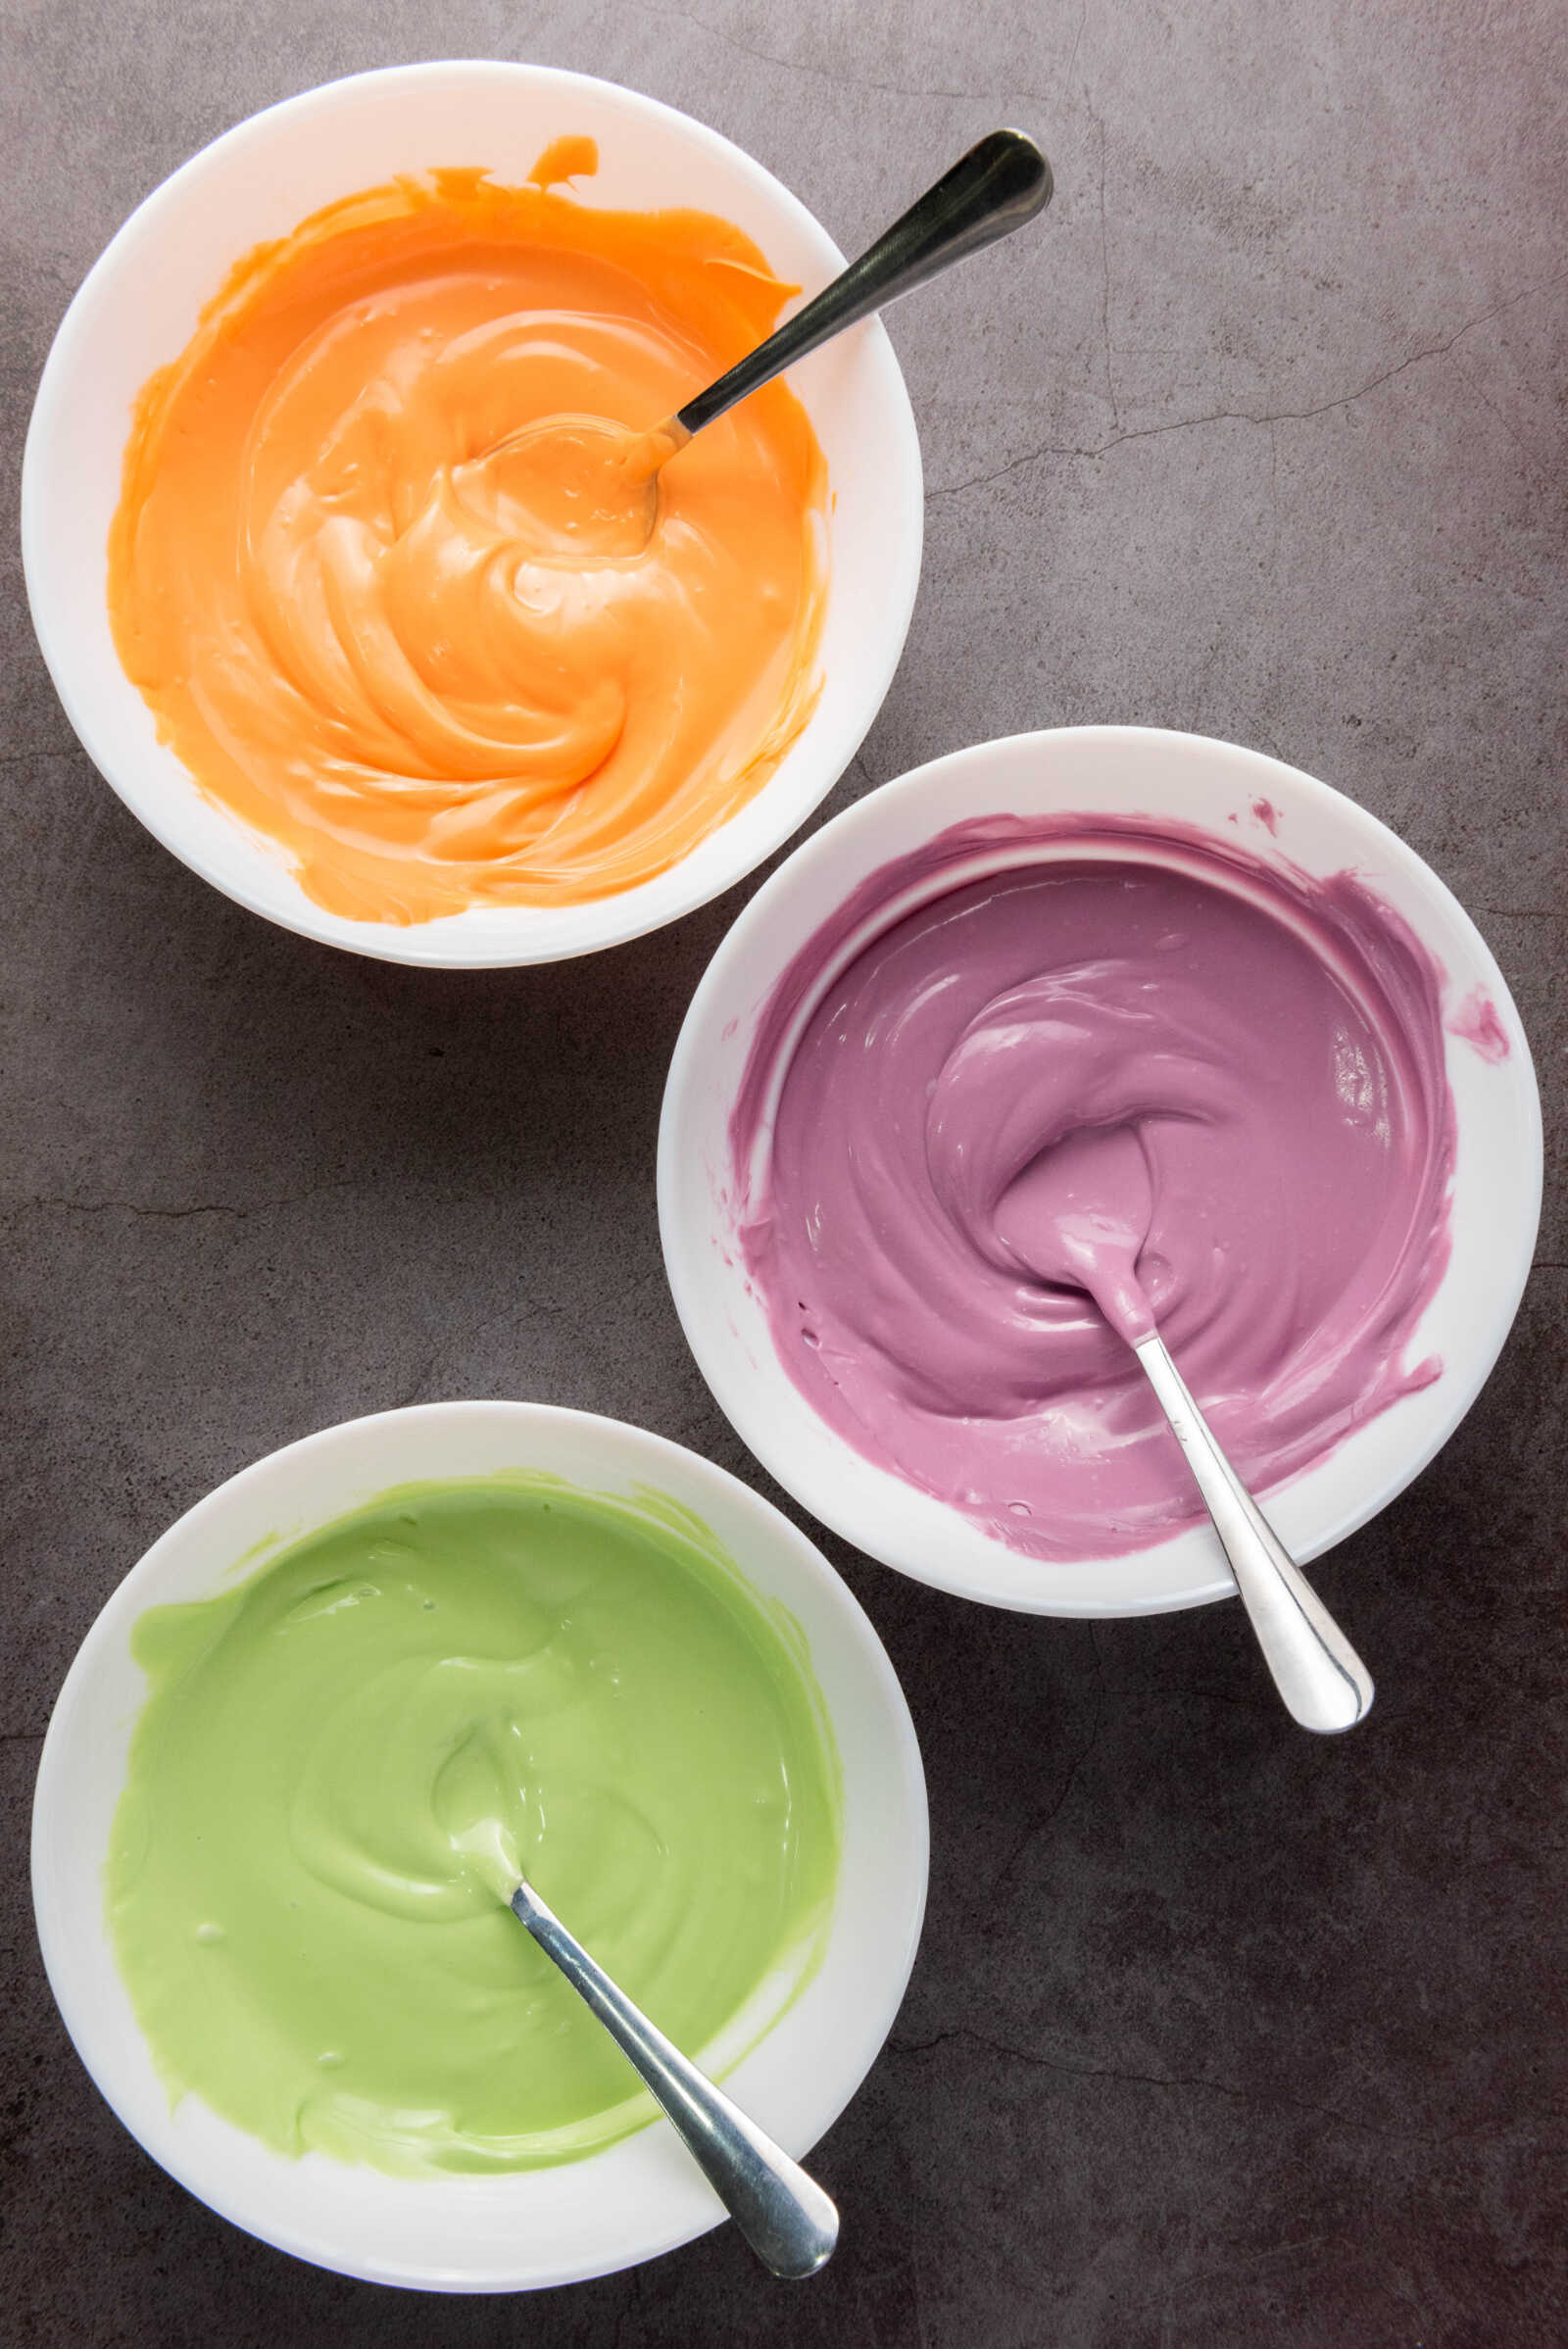
2. Melt the Candy Coating
Place your purple, green, and orange candy melts into three separate microwave-safe bowls.
Microwave each bowl individually in 30-second intervals, stirring in between until smooth. Be careful not to overheat—candy melts can burn quickly.
Pro Tip: If your candy melts feel too thick, add a tiny bit of coconut oil to thin them out for smoother dipping.

3. Dip the Oreos
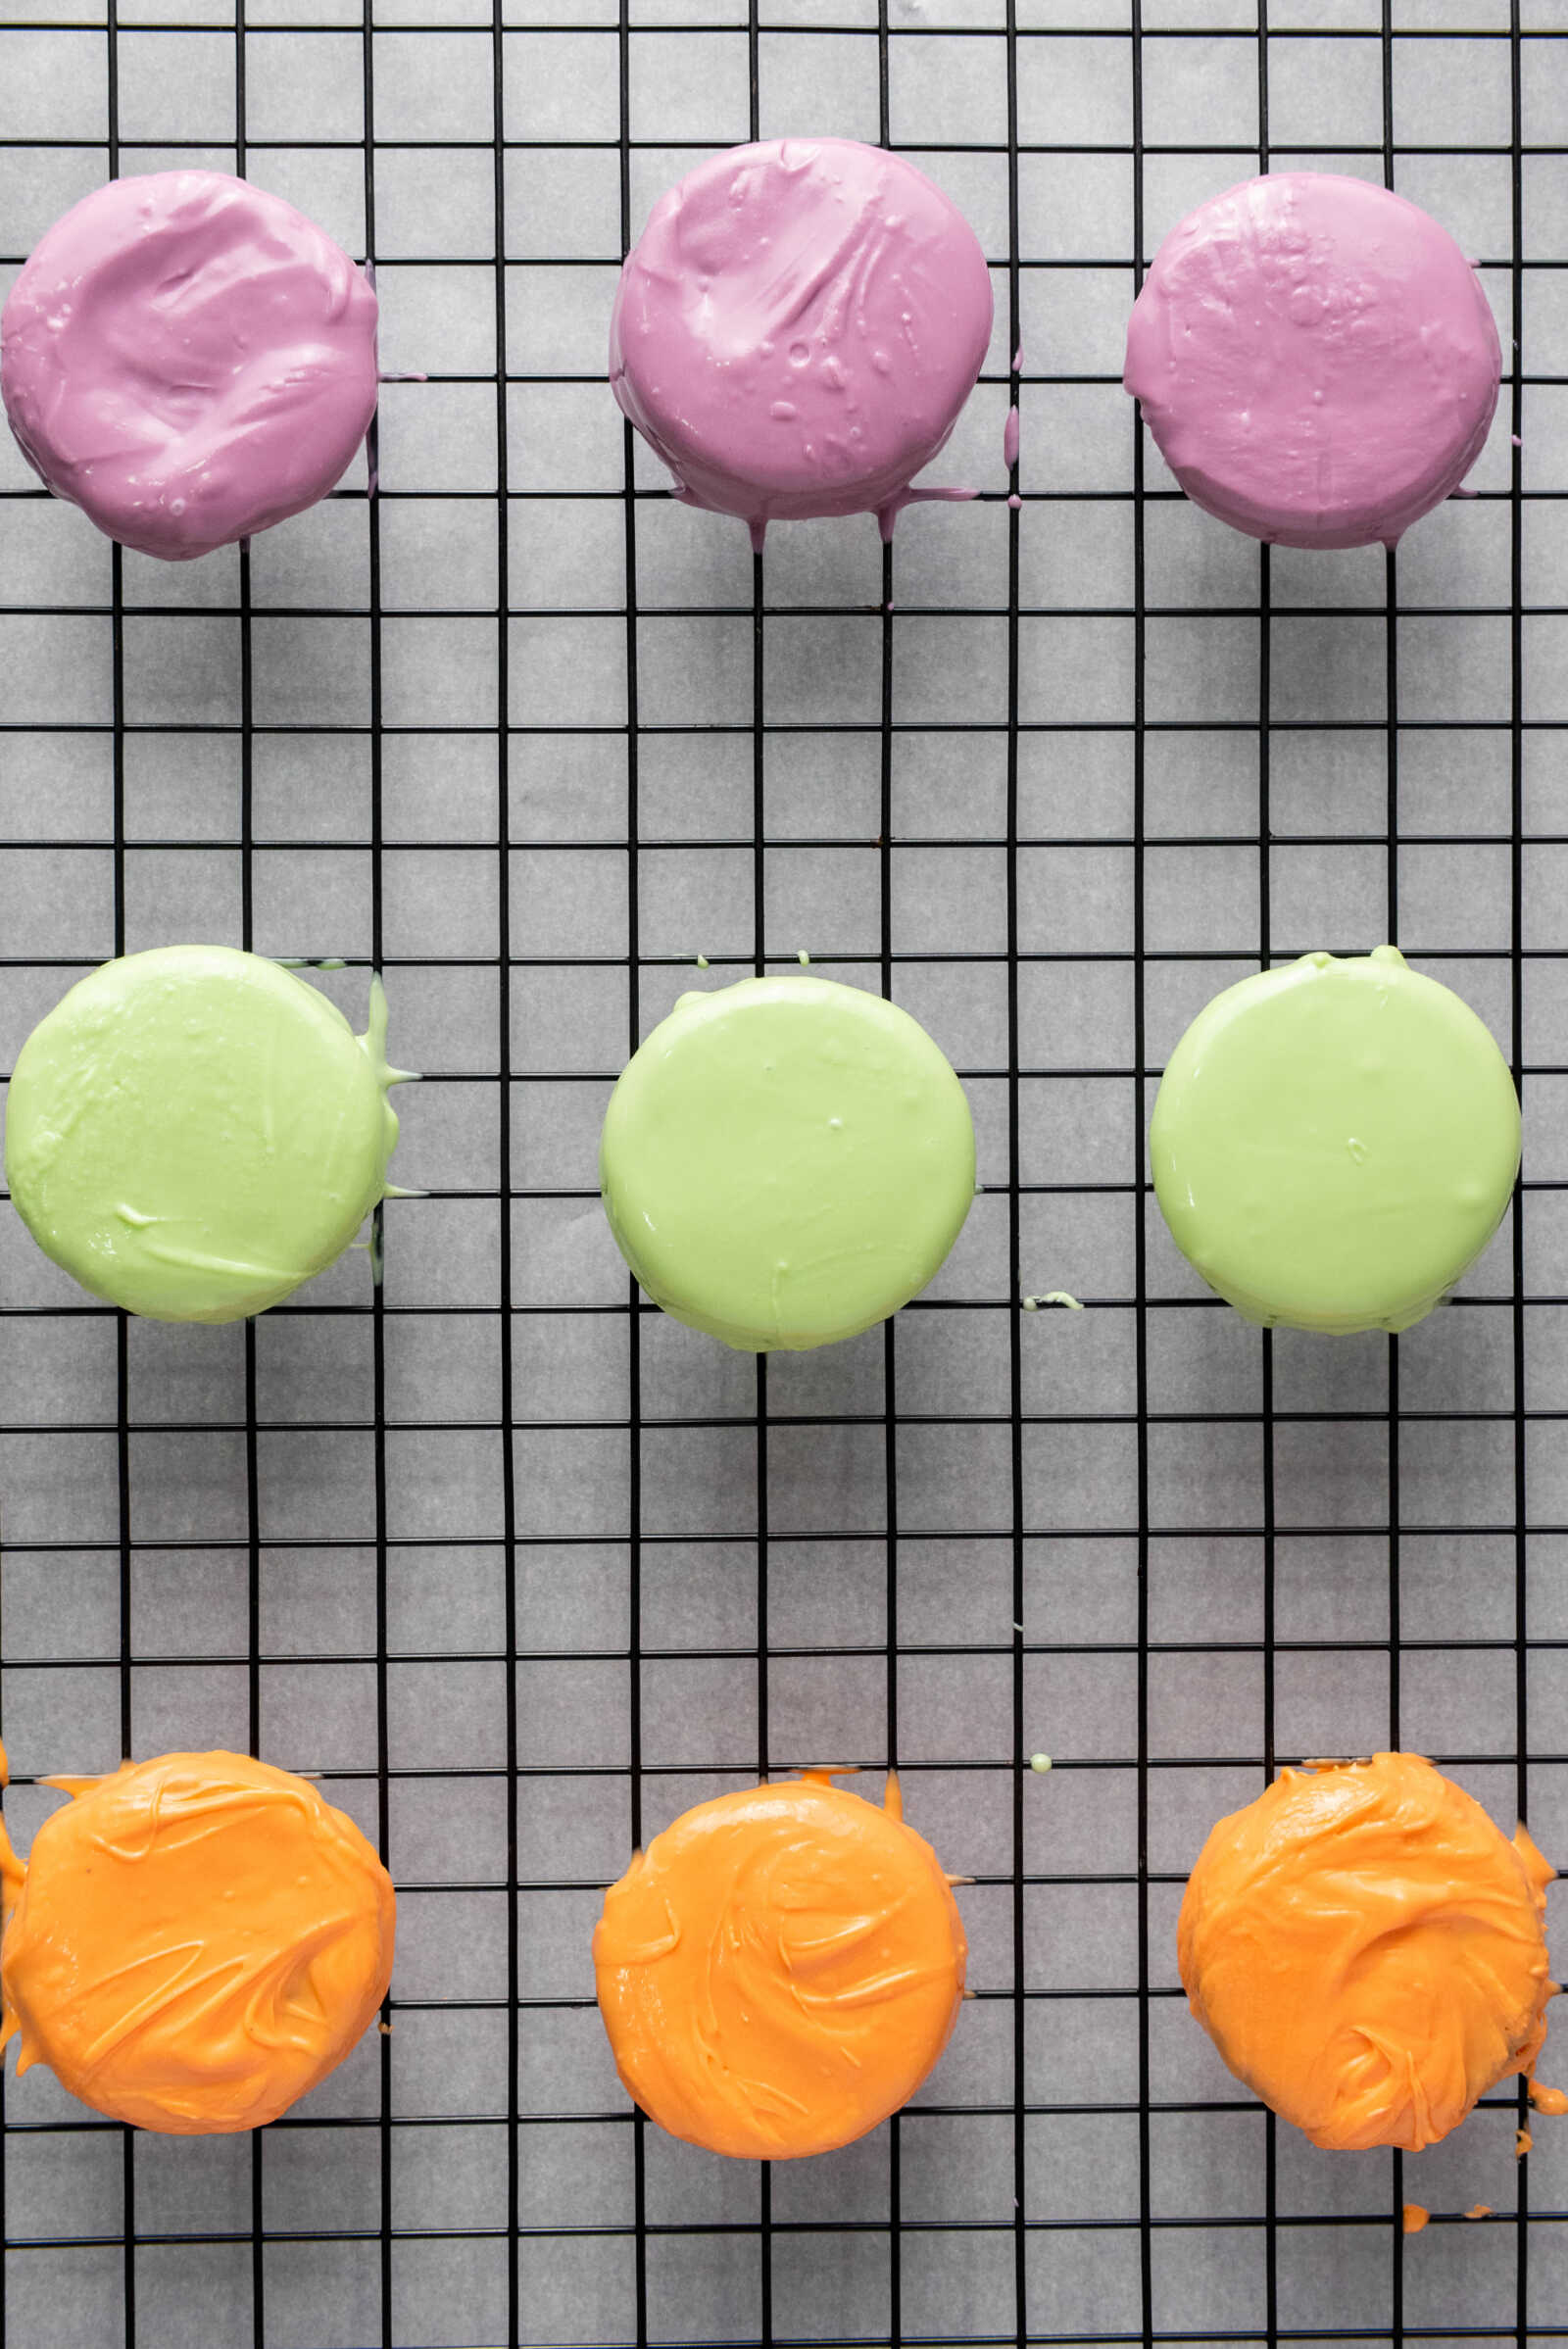
Using a fork or dipping tool, place one Oreo into the melted candy. Gently flip it until fully coated.
Lift it out and tap the fork lightly on the edge of the bowl to remove excess coating. Then place it onto your prepared baking sheet.
- Dip 4 Oreos in purple
- Dip 4 Oreos in green
- Dip 4 Oreos in orange
This creates a fun, colorful variety that looks amazing on a serving tray.
4. Decorate While Wet
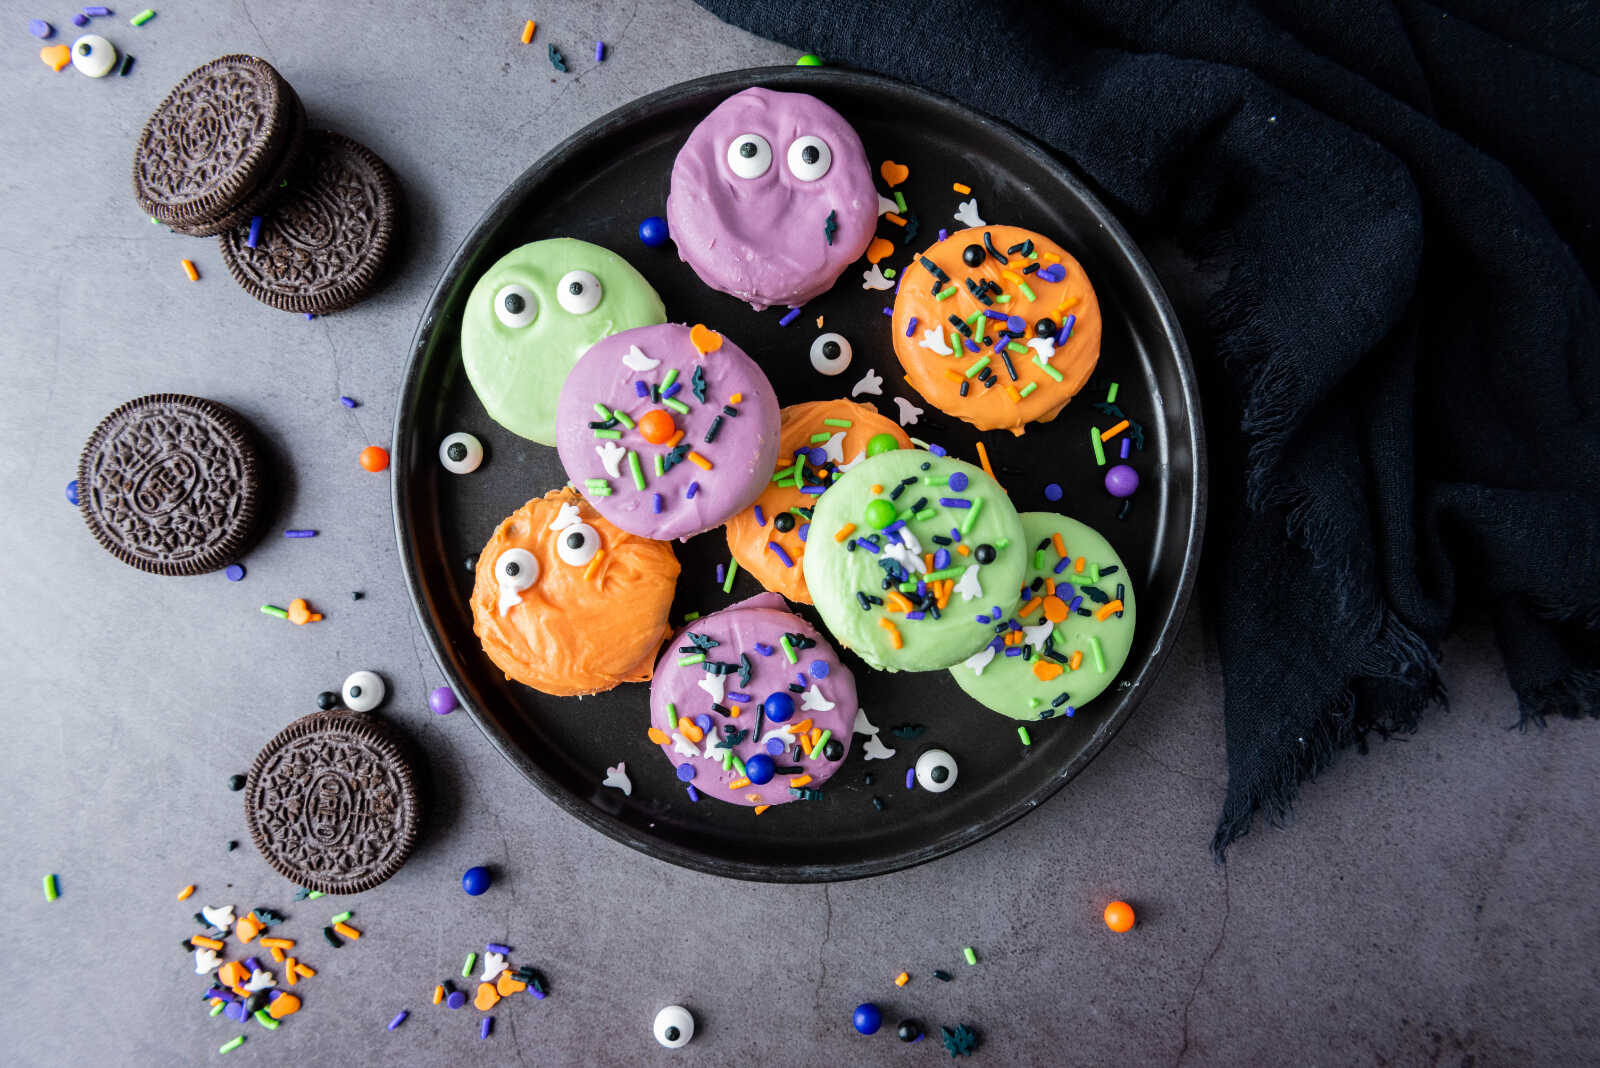
Before the candy coating hardens, sprinkle your Halloween decorations on top.
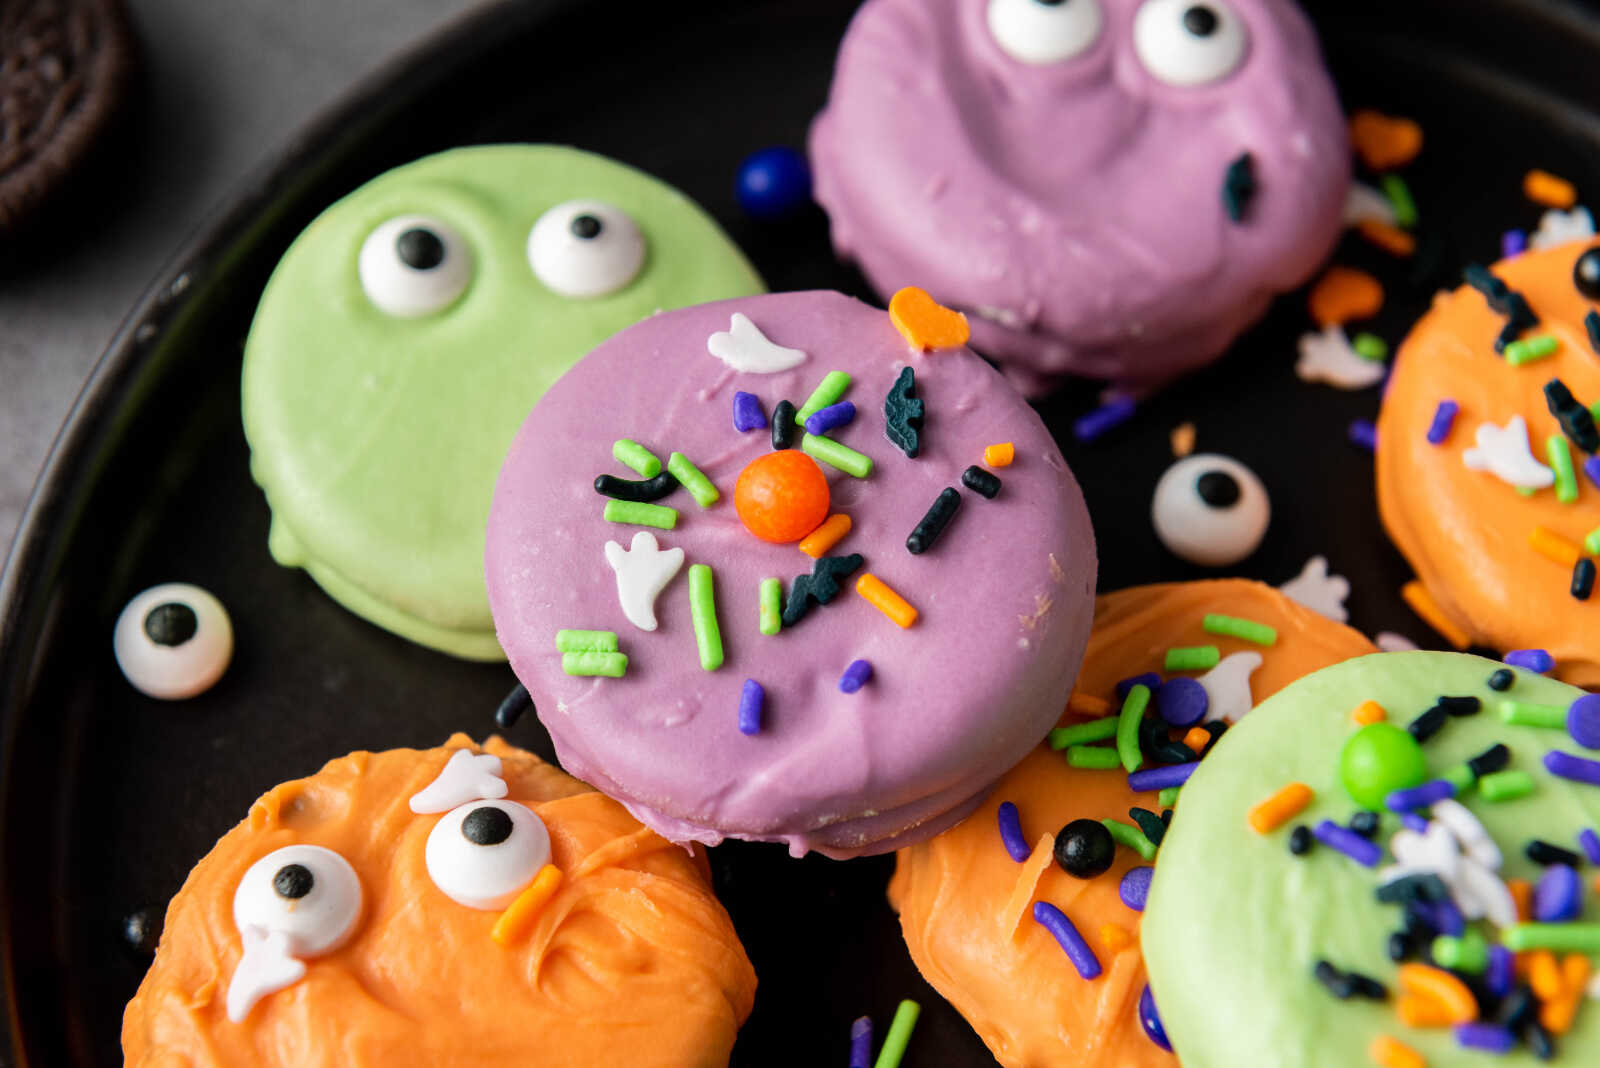
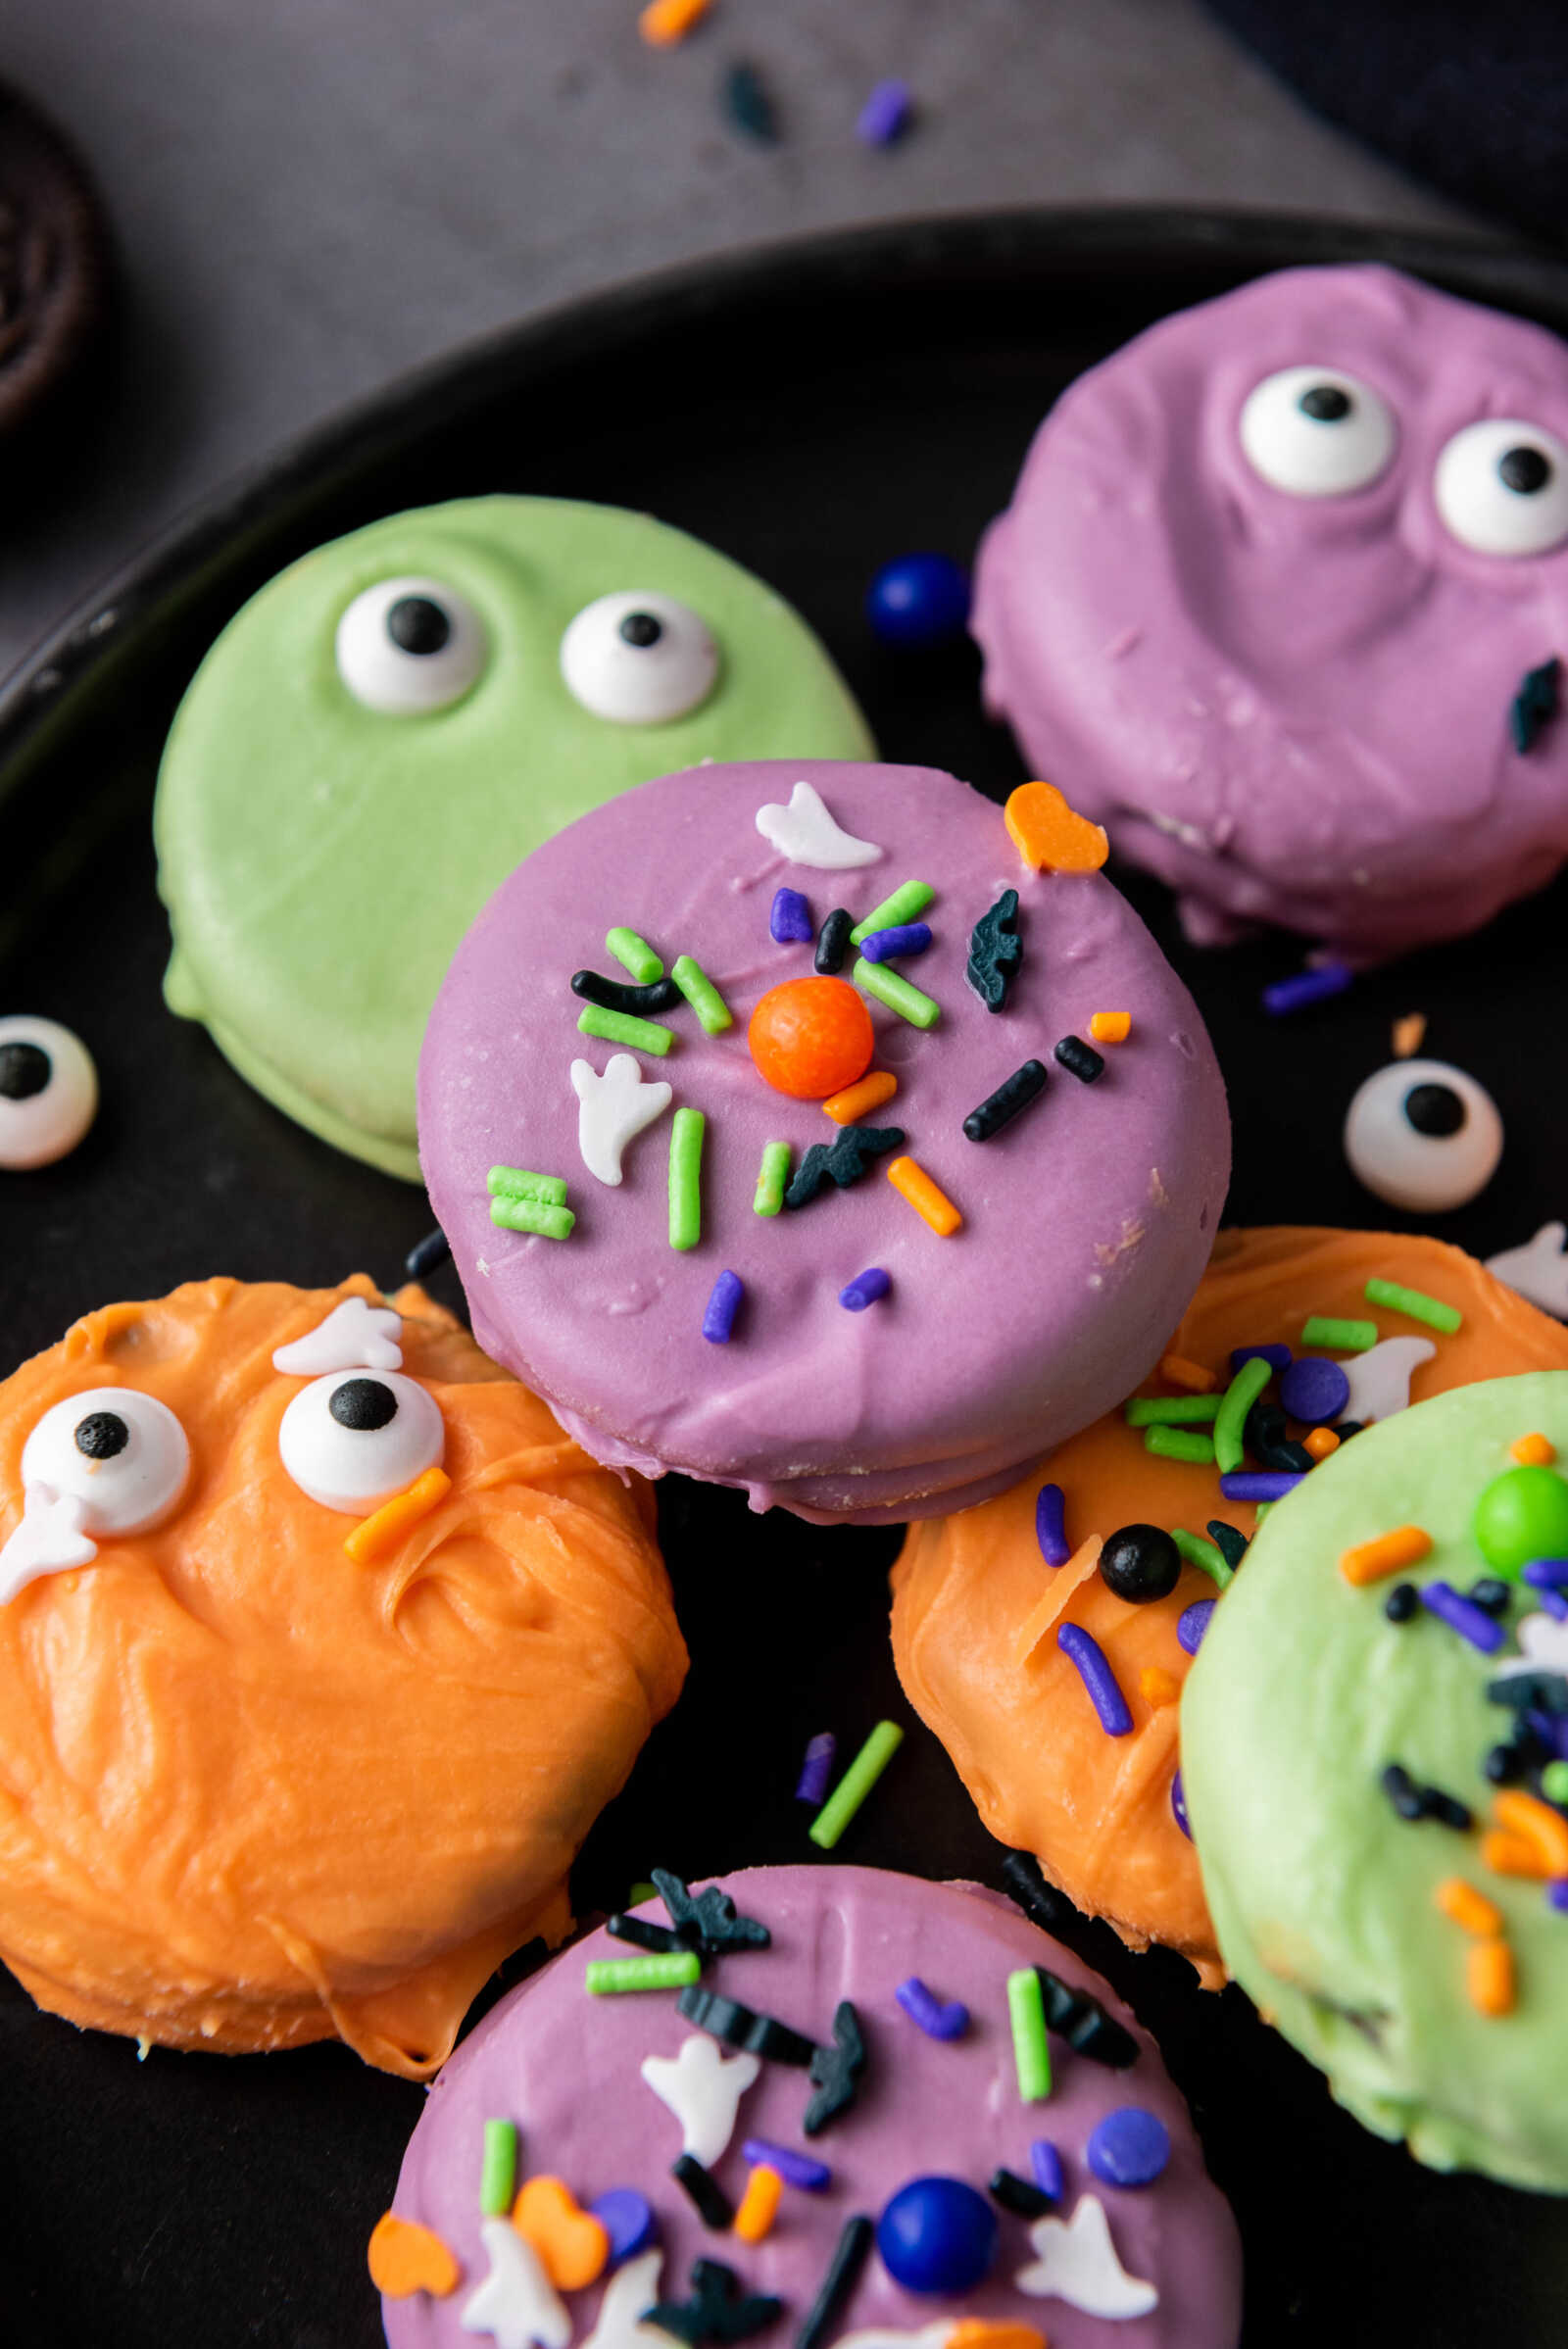
This is where the magic happens—let your creativity shine! Mix and match sprinkles, layer textures, and let kids design their own spooky creations.
5. Let Them Set
Allow the Oreos to sit at room temperature until the coating hardens (about 30 minutes to 1 hour).
If you’re short on time, place the tray in the fridge for about 15 minutes.
6. Serve and Enjoy
Once set, transfer your Halloween Oreo treats to a festive plate, dessert board, or airtight container.
They’re ready to serve—and trust me, they’ll disappear fast!
Fun Variations to Try
Once you’ve mastered the basic version, there are so many fun ways to switch things up:
Mummy Oreos
Use white candy melts and drizzle thin lines across the Oreo, leaving space for candy eyes.
Spider Oreos
Add pretzel sticks or piped chocolate legs and candy eyes for a spooky spider effect.
Frankenstein Oreos
Use green candy melts and add mini chocolate chips for bolts and eyes.
Oreo Pops
Insert a lollipop stick before dipping to create Oreo pops—perfect for party favors!

Tips for Perfect Halloween Oreos
- Use quality candy melts for smoother coating
- Work quickly before the coating hardens
- Avoid moisture—water can ruin melted chocolate
- Use a fork, not a spoon for easier dipping
- Decorate immediately so sprinkles stick well
How to Store Halloween Oreo Treats
These treats store beautifully, making them perfect for prepping ahead.
- Store in an airtight container at room temperature for up to 5 days
- Keep in a cool, dry place (avoid heat or sunlight)
- You can refrigerate them, but let them come to room temp before serving for best texture

Perfect Occasions for These Treats
These Halloween Oreos are incredibly versatile and fit into so many occasions:
- Classroom Halloween parties
- Trunk-or-treat events
- Family movie nights
- Boo baskets
- Halloween dessert boards
- Bake sales or fundraisers
- Swap trick-or-treating for a home baking night!
They also make adorable edible gifts when packaged in clear treat bags with festive ribbon.
Make It a Family Tradition
One of my favorite things about this recipe is how easy it is to turn into a family tradition. Every year, you can switch up the colors, try new designs, or even host a little “decorate your own Oreo” night with your kids.
It’s simple moments like these—laughing over messy sprinkles and comparing designs—that end up becoming the most memorable.

FAQ: Halloween Oreo Treats
Can I use regular chocolate instead of candy melts?
Yes, but candy melts are easier to work with and set more firmly.
Can I make these ahead of time?
Absolutely! They’re perfect for making 2–3 days in advance.
Do I need special tools?
Nope! A fork works just fine for dipping.
Can kids help make these?
Yes! This is one of the best kid-friendly Halloween recipes out there.
Nutrition Information (Per Oreo)
- Calories: 160
- Total Fat: 7g
- Saturated Fat: 4g
- Cholesterol: 0mg
- Sodium: 90mg
- Total Carbohydrates: 22g
- Dietary Fiber: 1g
- Sugars: 17g
- Protein: 1g
Total Calories (12 treats): 1920
Final Thoughts
These Halloween Oreo Treats are the perfect combination of easy, festive, and fun. Whether you’re creating content for your blog, planning a party, or just making a sweet memory with your kids, this recipe delivers every time.
They look impressive, taste delicious, and come together in under an hour—which, let’s be honest, is exactly the kind of recipe we all need during busy holiday seasons.
So grab your Oreos, melt those colors, and get ready to create something spooky, sweet, and totally unforgettable.