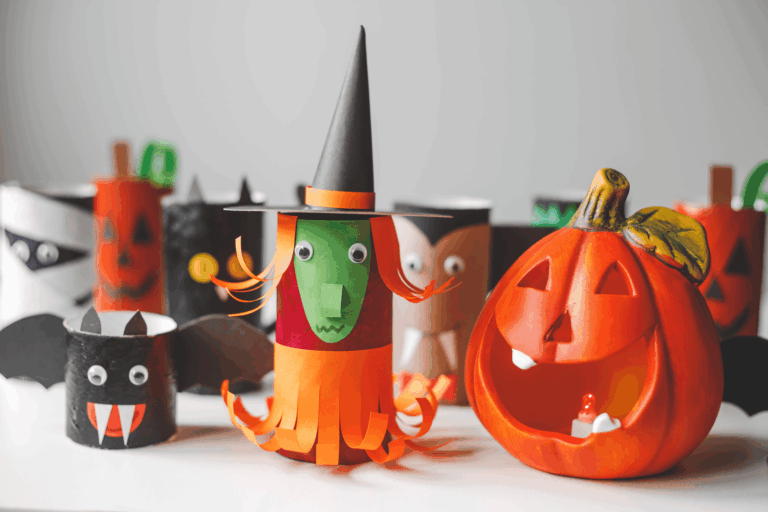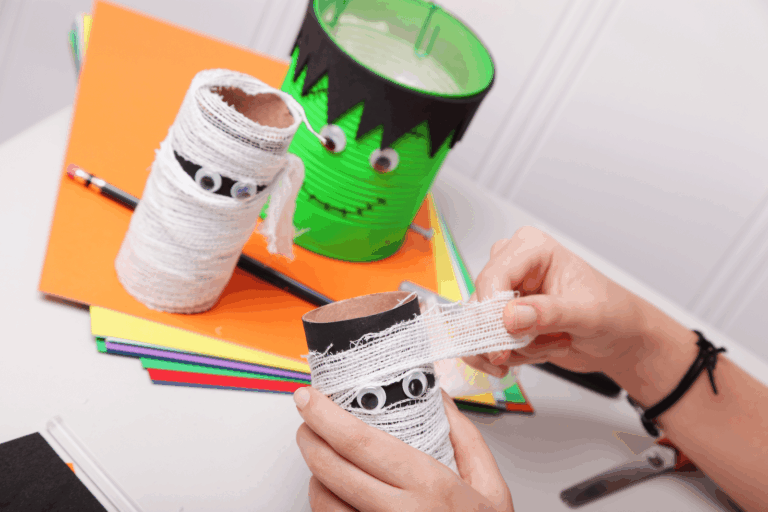
DIY Frankenstein Upcycled Can Craft – A Spooky Fun Halloween Project
Halloween is the perfect season to get creative with your craft supplies, and this DIY Frankenstein can project is a spooky, budget-friendly activity that kids and adults alike will love. Using just a recycled can, some paint, felt, googly eyes, and a Sharpie pen, you can create your very own monster decoration that’s equal parts cute and creepy! Whether you use it as a candy holder, a pencil cup, or a Halloween party centerpiece, this Frankenstein can is sure to add character to your holiday décor.
Supplies You’ll Need
- 1 empty, clean tin can (soup, beans, etc.)
- Green acrylic paint (or spray paint)
- Black felt sheet (for hair)
- Googly eyes (medium or large size works best)
- Black Sharpie pen or permanent marker
- Craft glue or hot glue gun
- Scissors
- Optional: small bolts, screws, or silver-painted buttons for Frankenstein’s “neck bolts”
Step-by-Step Instructions
Prepare Your Can
Start by rinsing out your can thoroughly and removing any labels. Dry it completely before moving on to painting. If the edges are sharp, file them down or cover them with a layer of tape for safety. As a safety precaution, I highly recommend using the type of can opener that does not leave sharp edges.
Paint the Base
Using green acrylic or spray paint, coat the outside of the can. You may need two coats for full coverage—let each coat dry completely before applying the next. This creates Frankenstein’s signature green skin.
Add the Hair
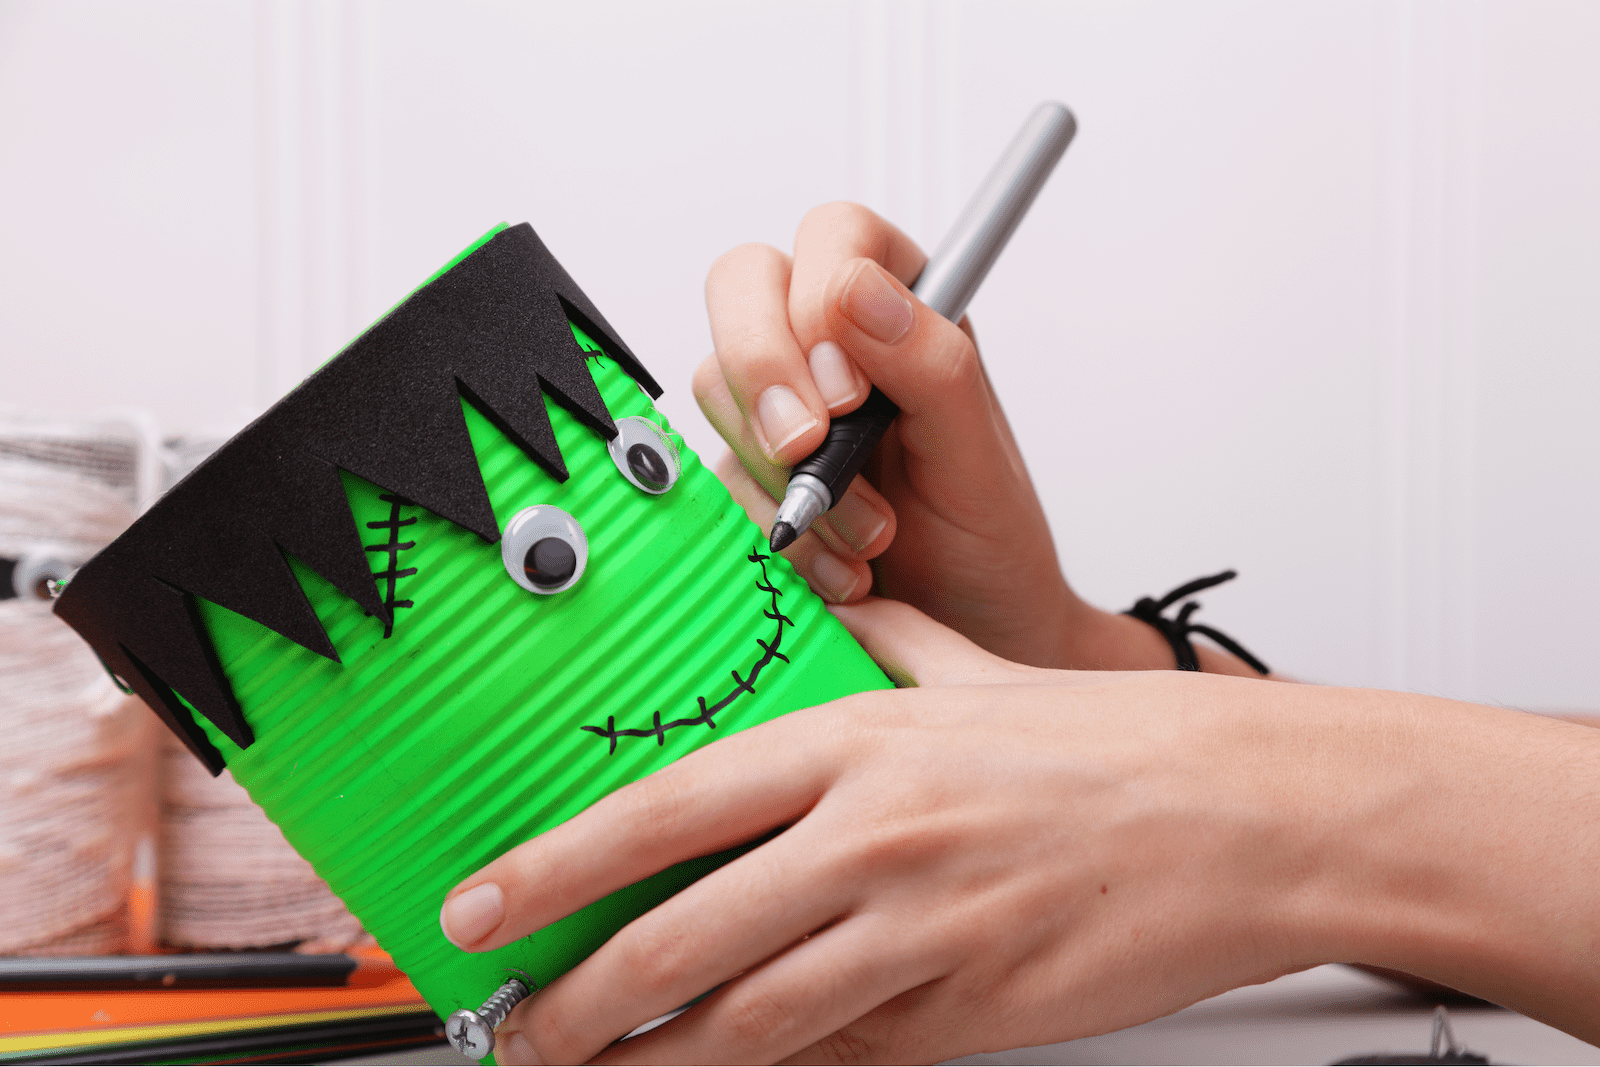
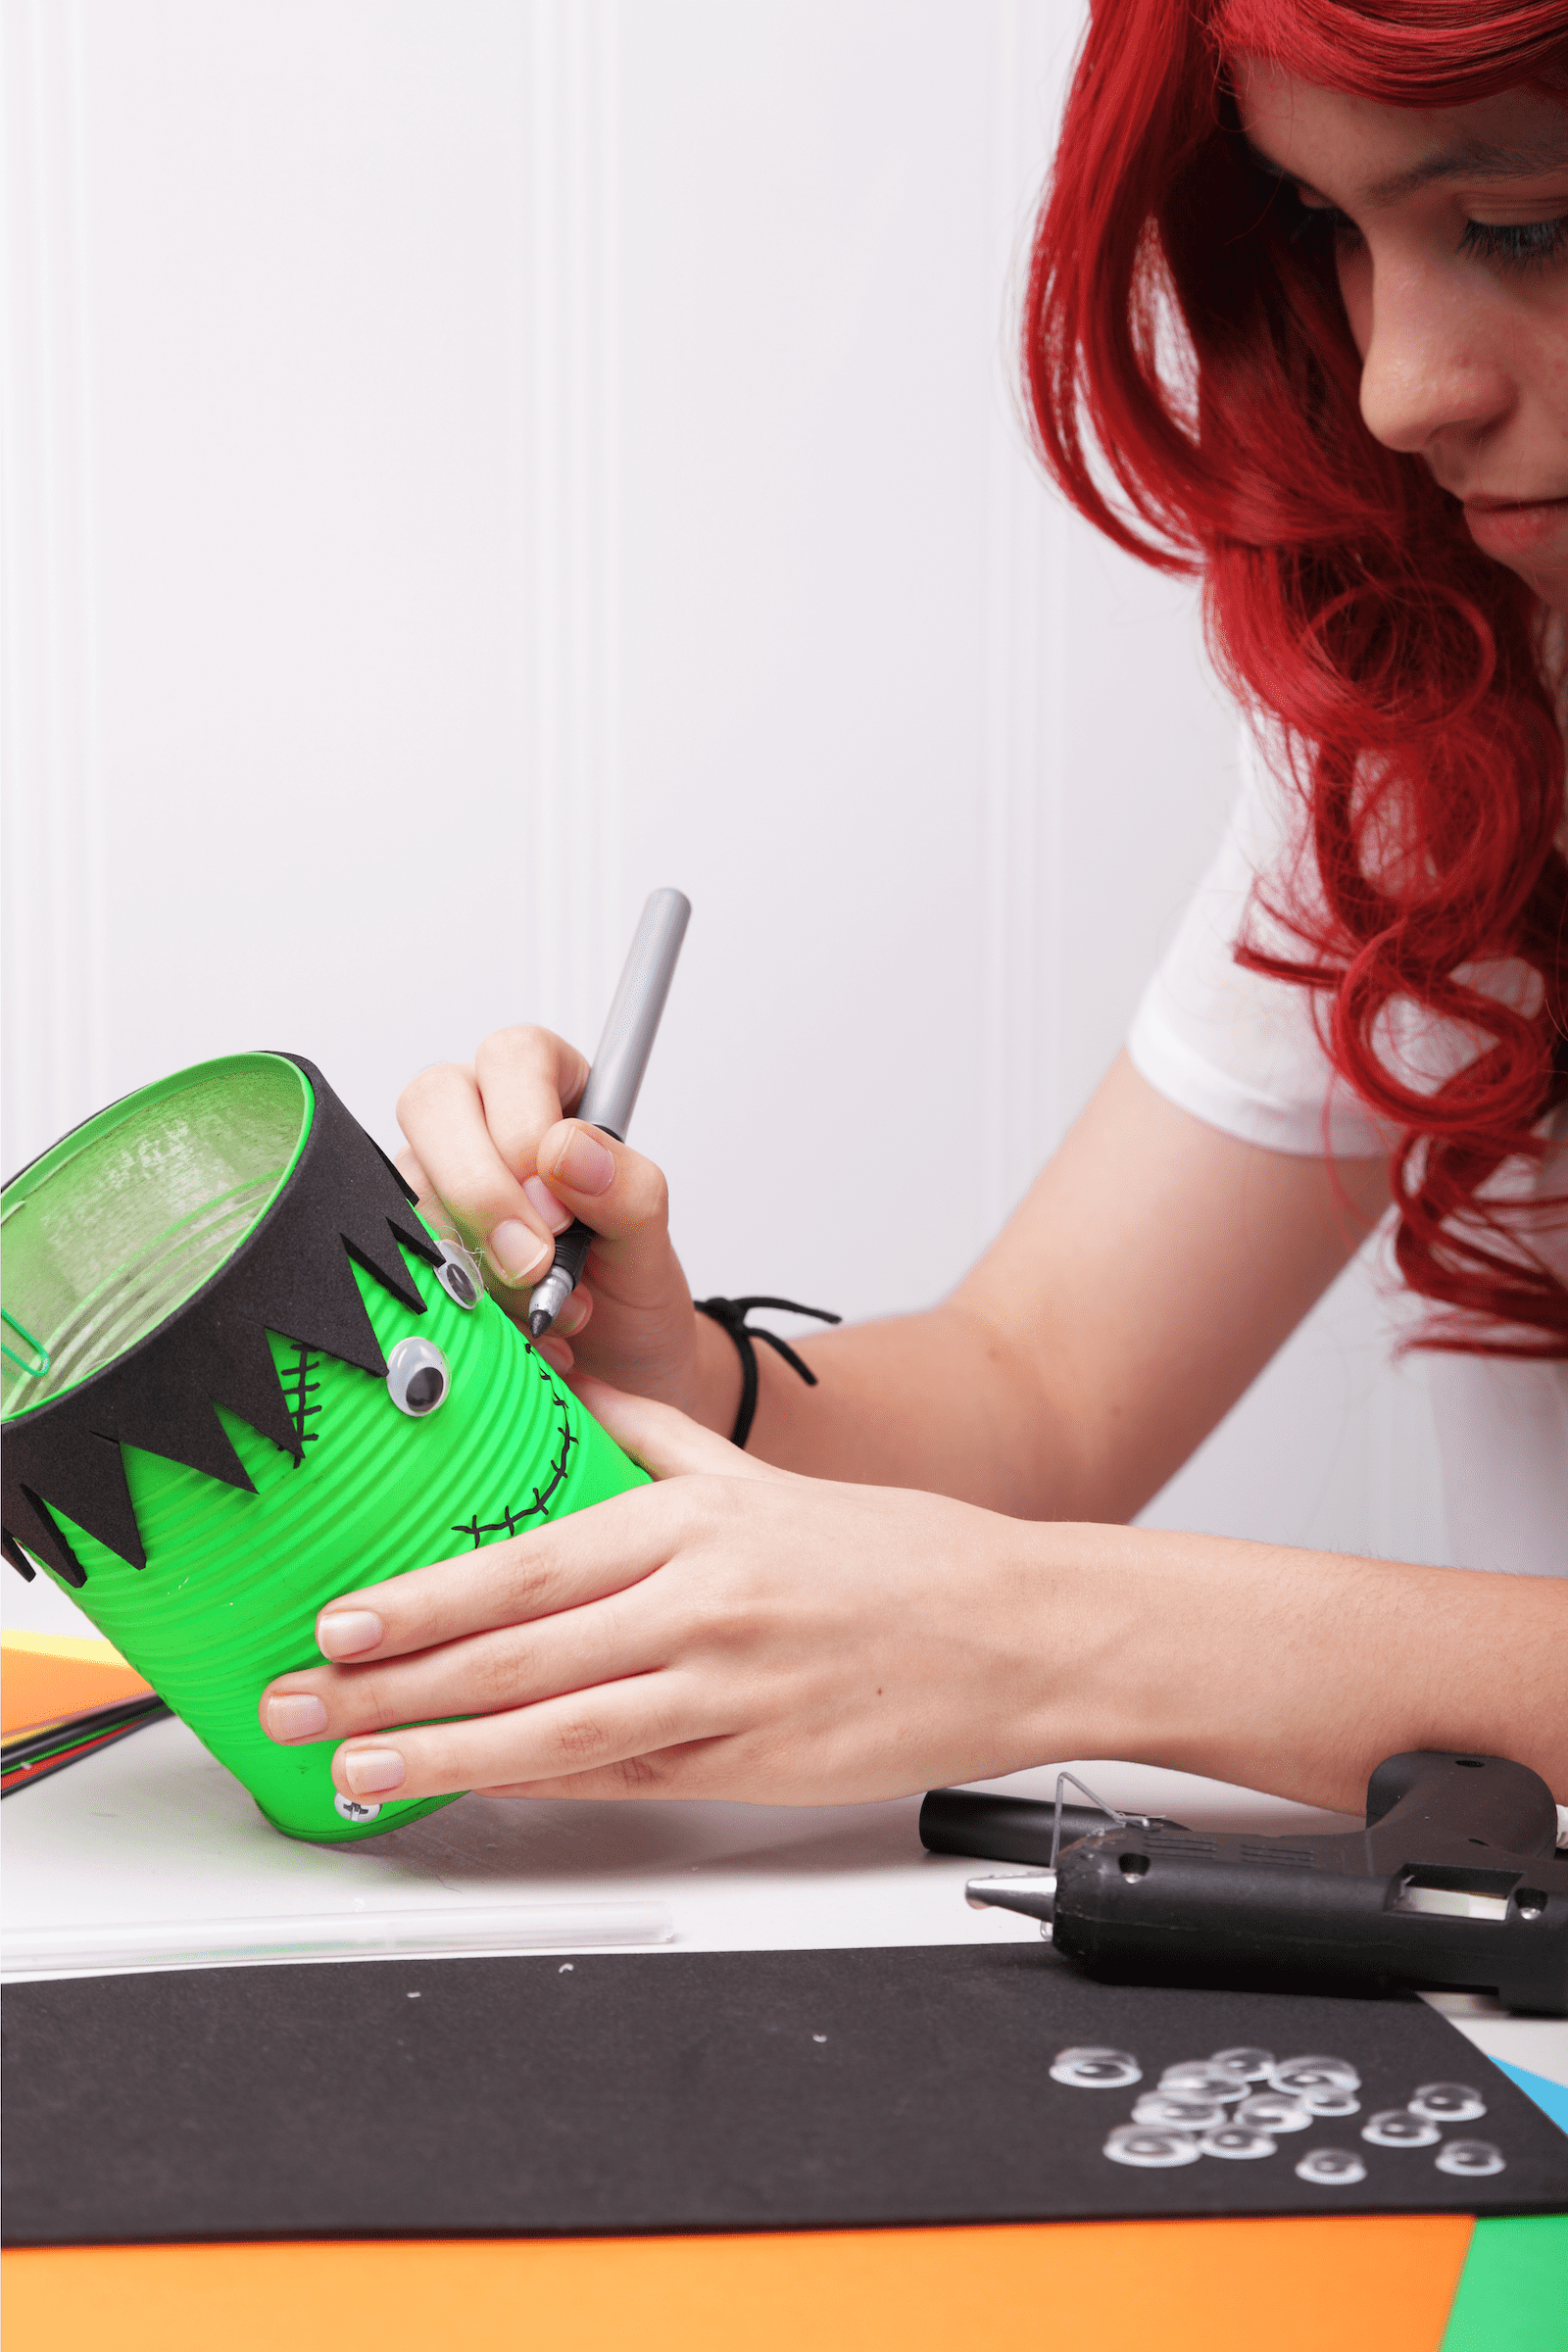
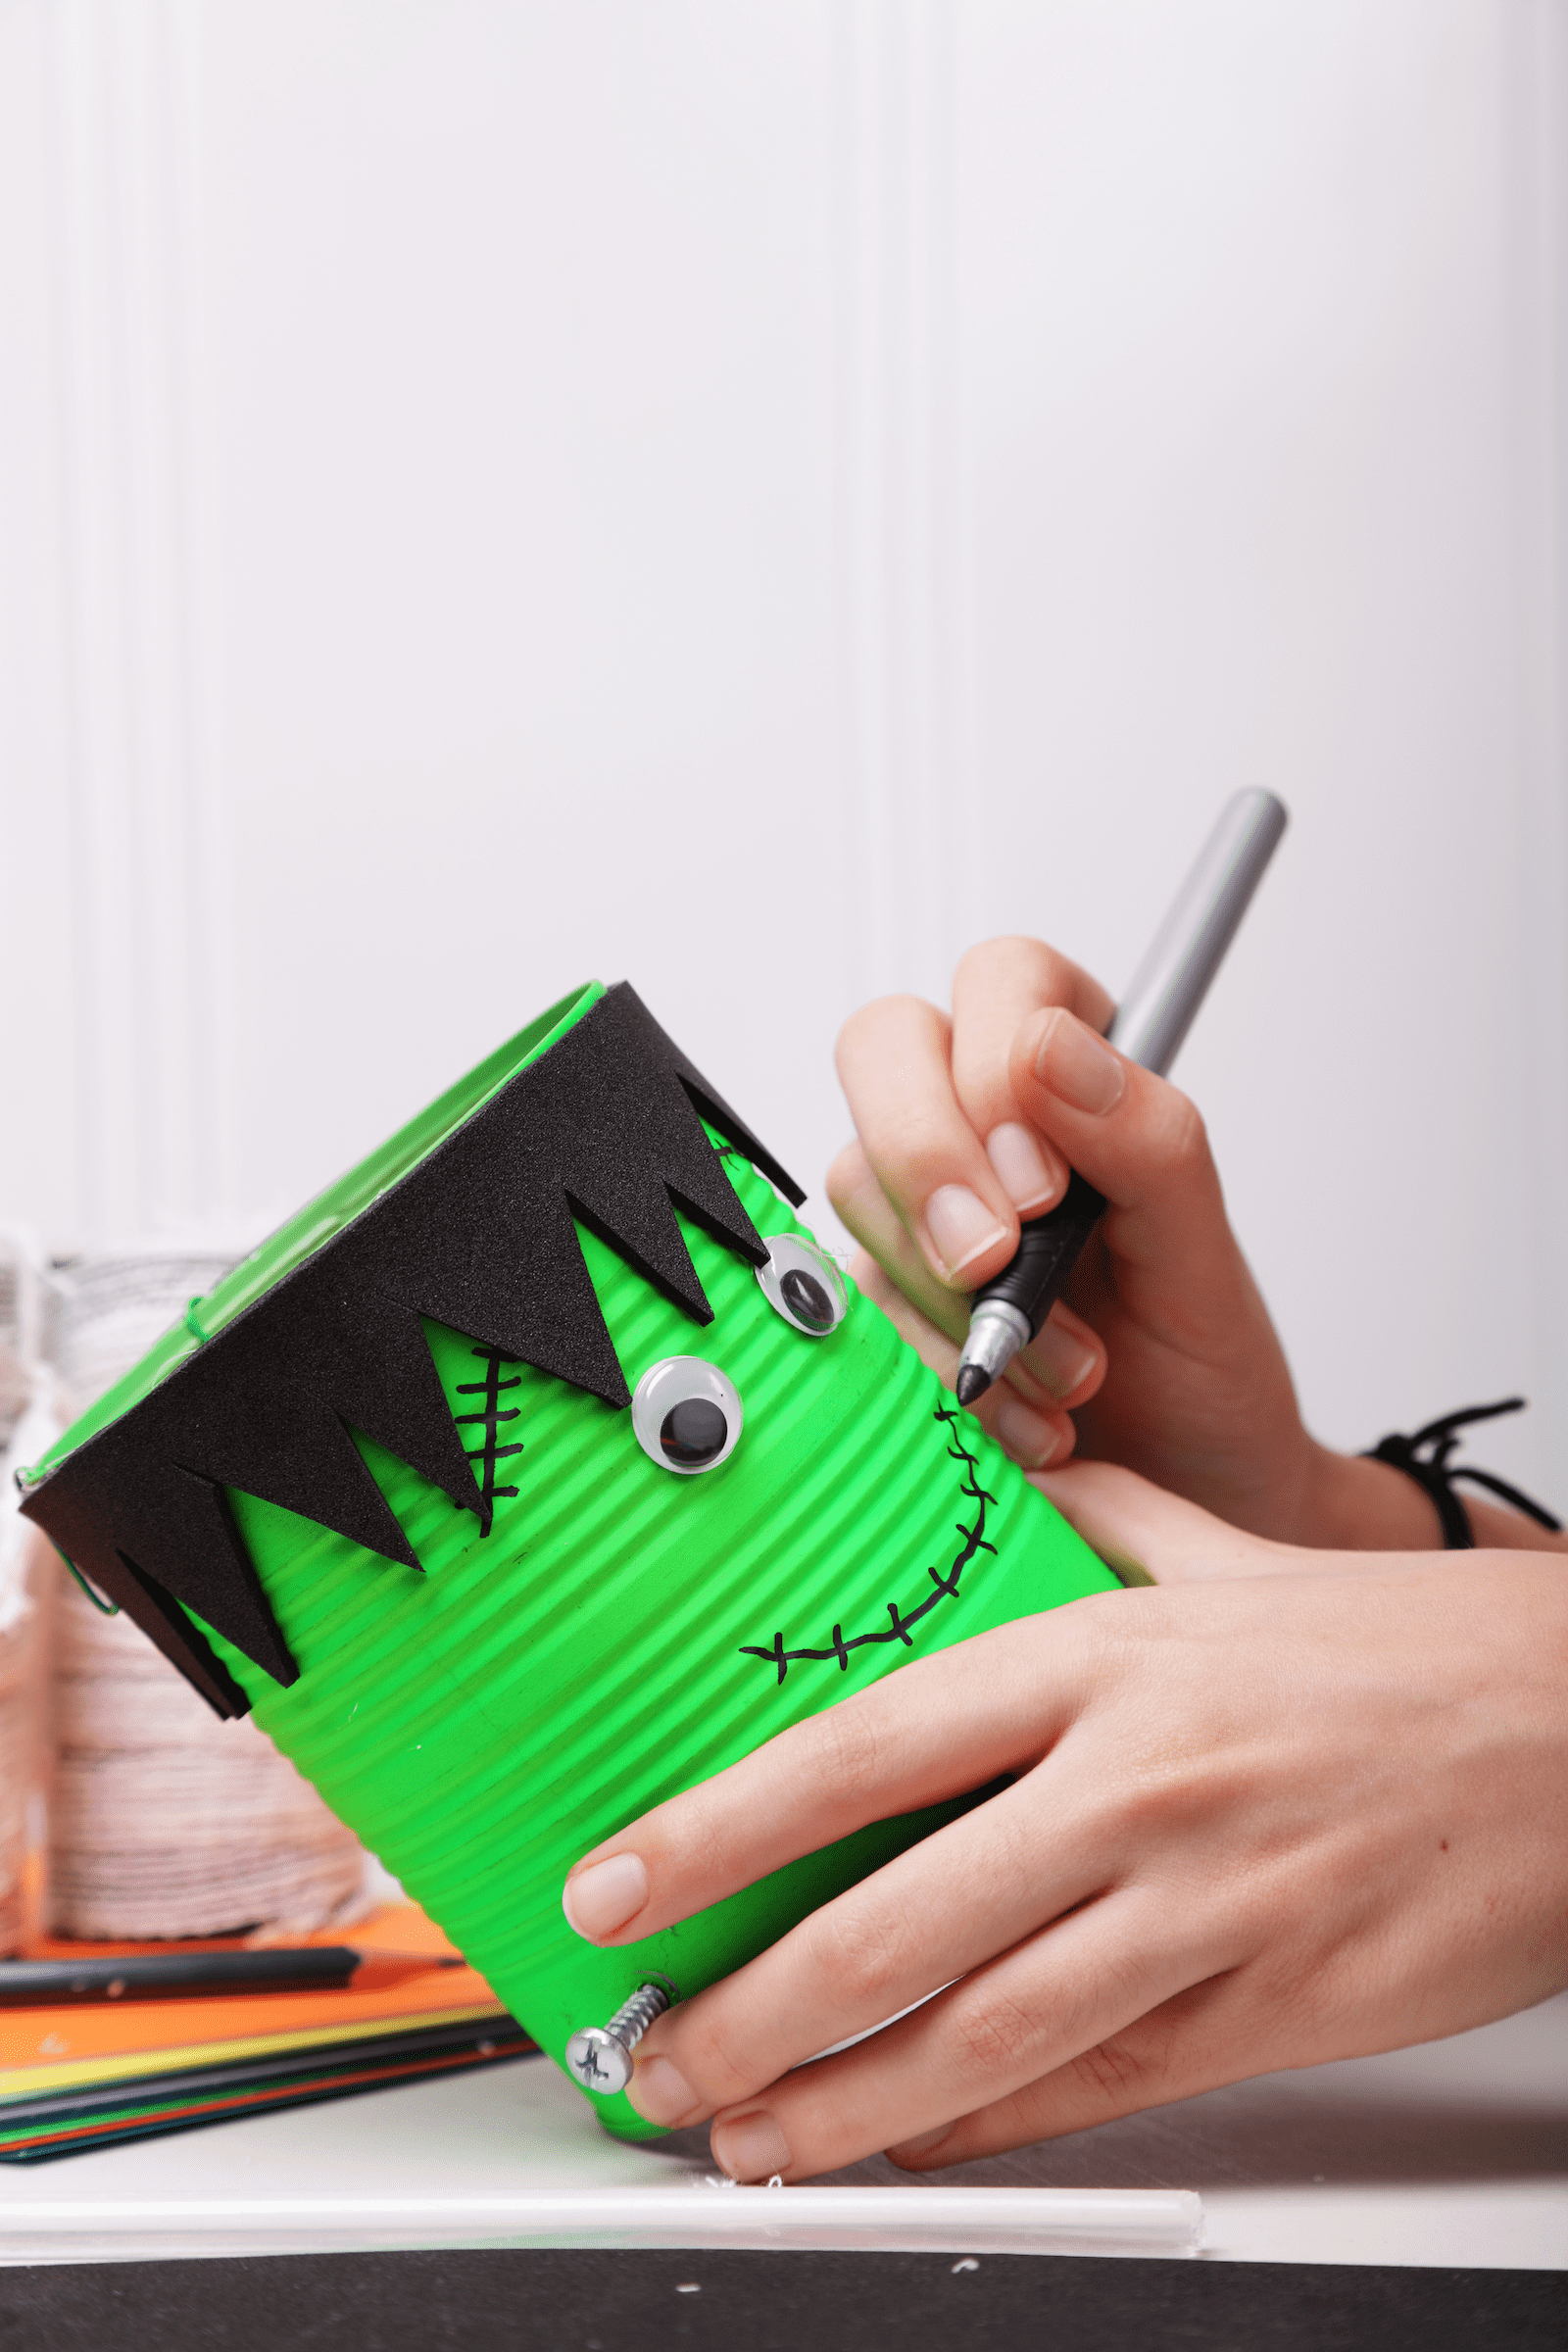
Cut jagged strips from your black felt to look like Frankenstein’s spiky hair. Wrap the felt piece around the top edge of the can and glue it in place. Overlap slightly so it fits snugly all the way around.
Attach the Eyes
Glue two googly eyes onto the front of the can, just below the felt hairline. Larger eyes give a fun cartoonish effect, while smaller ones make him look more mischievous.
Draw the Face
Use your Sharpie to draw Frankenstein’s stitched mouth, scars, and eyebrows. Add little “x” stitches for a classic Frankenstein look.
Add the Bolts (Optional)
For extra detail, glue small bolts, screws, or silver-painted buttons to the sides of the can to mimic Frankenstein’s neck bolts. This step really brings your monster to life!
Creative Ways to Use Your Frankenstein Can
- Candy Holder: Fill it with treats for trick-or-treaters or set it out at your Halloween party table.
- Pencil Cup: Add a spooky twist to your desk or homework station.
- Planter: Pop in a small potted plant or faux greenery for a fun Frankenstein flower pot.
- Centerpiece: Make a group of Frankenstein cans with different facial expressions for a quirky Halloween party table display.
Tips for Crafting with Kids
- Lay down newspaper or a craft mat to protect surfaces from paint.
- If younger kids are helping, pre-cut the felt hair and let them glue on the pieces.
- Use washable markers instead of Sharpies for little hands, and let them design their own monster faces.
Final Thoughts
This DIY craft Frankenstein can is the perfect mix of recycling and creativity. It’s quick, inexpensive, and makes a big impact on your Halloween décor. Plus, it’s a fun way to spend an afternoon crafting with family and friends. Gather your supplies, put on some spooky music, and get ready to bring Frankenstein’s monster to life—one can at a time!