Easy Jack-o’-Lantern Paper Plate Pumpkin Craft for Kids
Halloween crafts are one of the best ways to keep kids entertained during the fall season, and this easy paper plate pumpkin craft is perfect for little hands. Using simple supplies like paint, paper, glue, and scissors, kids can create their very own smiling jack-o’-lantern while practicing fine motor skills and creativity.
This Jack-o’-Lantern paper plate pumpkin craft is ideal for preschoolers, elementary-aged kids, classrooms, homeschool activities, or a fun afternoon at home. The bright orange pumpkin face, curly green paper vines, and classic jack-o’-lantern smile make this a festive Halloween decoration kids will be proud to display.
The best part? Most of these supplies are inexpensive and easy to find around the house.
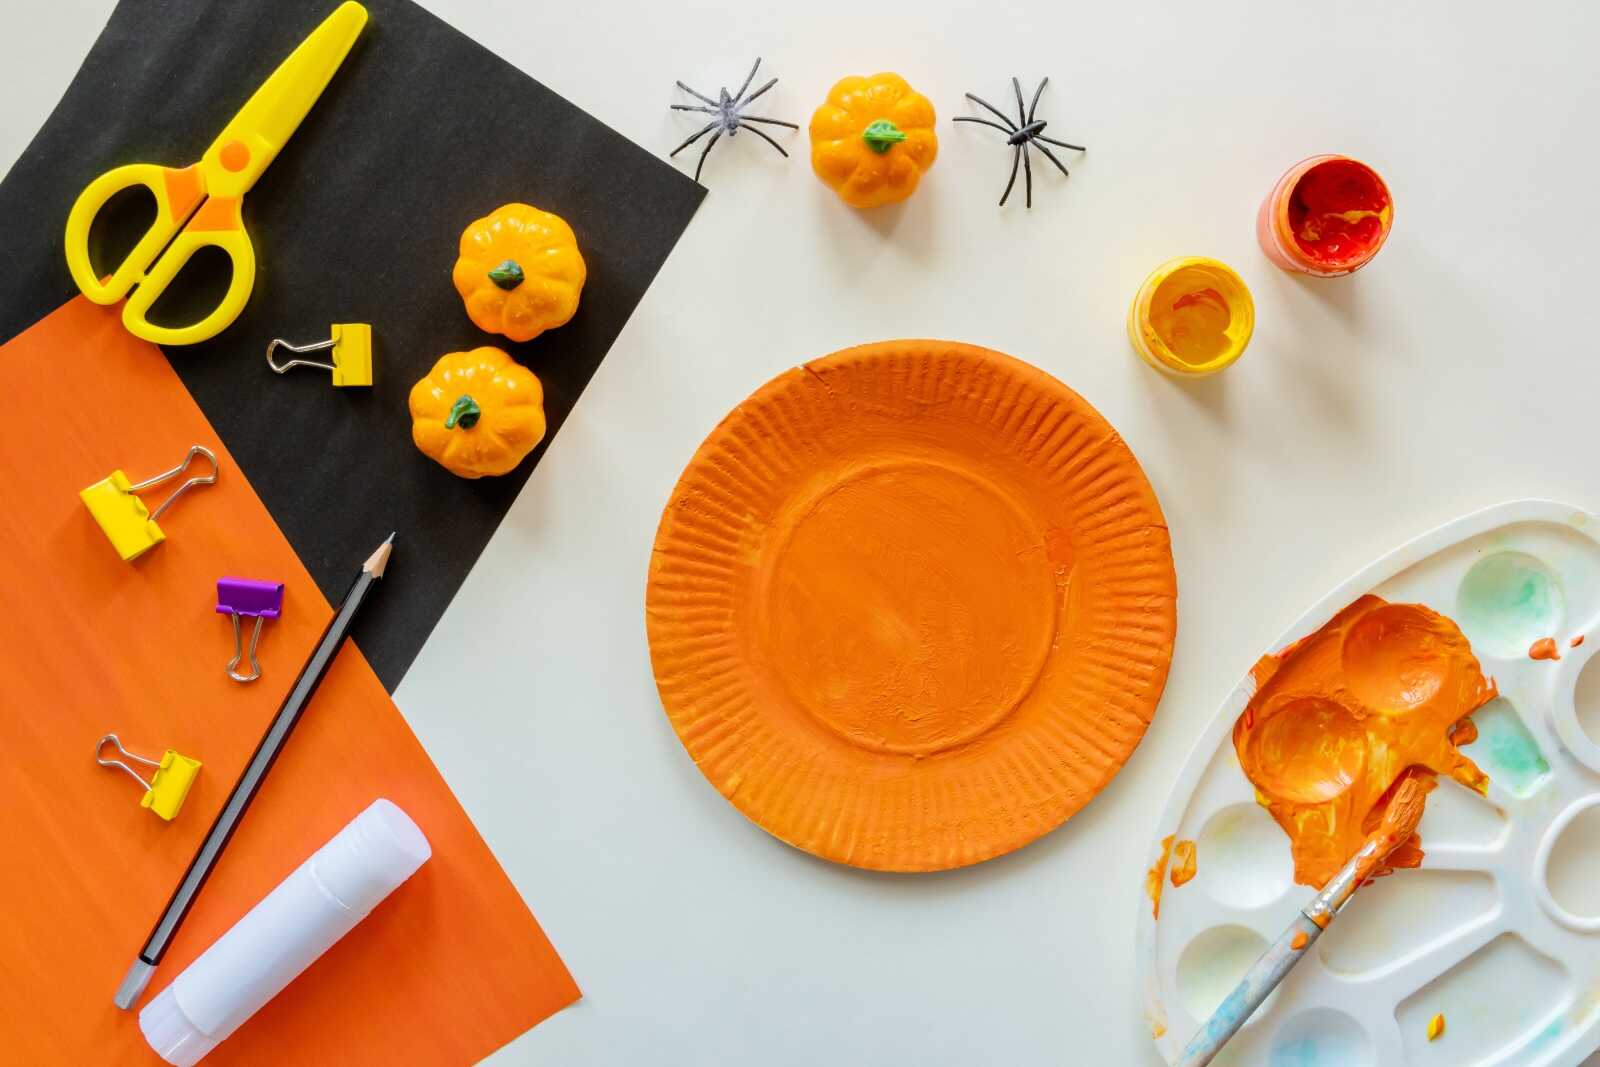
Supplies Needed
Before getting started, gather the following materials:
- White paper plate
- Orange paint
- Paintbrush
- Black construction paper
- Green construction paper
- Brown construction paper
- Glue stick
- Child-safe scissors
- Pencil
Step-by-Step Instructions
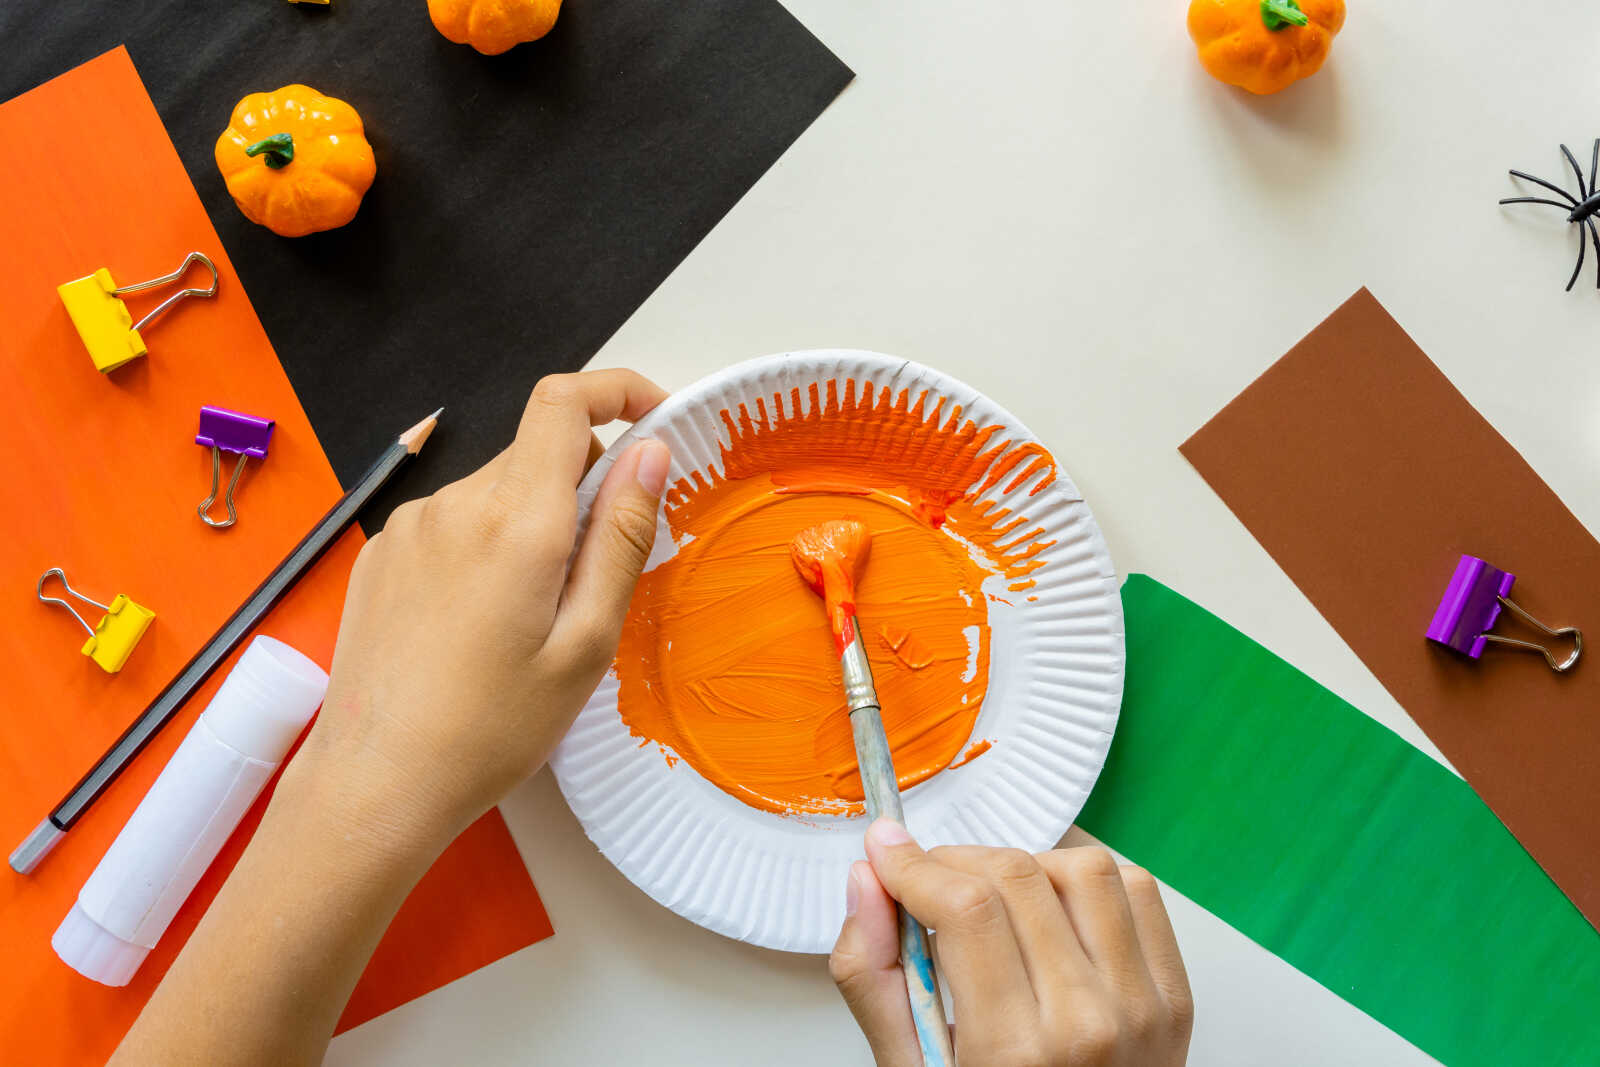
Step 1: Paint the Paper Plate Orange
Start by painting the entire paper plate orange. Use a paintbrush to spread the paint evenly across both the center and ridged edges of the plate.
Make sure kids cover all the white areas so the plate looks like a bright pumpkin. This step can get messy, so placing newspaper or a craft mat underneath is helpful.
Allow the paint to dry completely before moving on to the next step.
Step 2: Let the Pumpkin Dry
Once the paper plate is fully painted, set it aside to dry. Depending on how thick the paint is applied, this may take 15–30 minutes.
While waiting, kids can begin preparing the pumpkin face pieces and stem using construction paper.
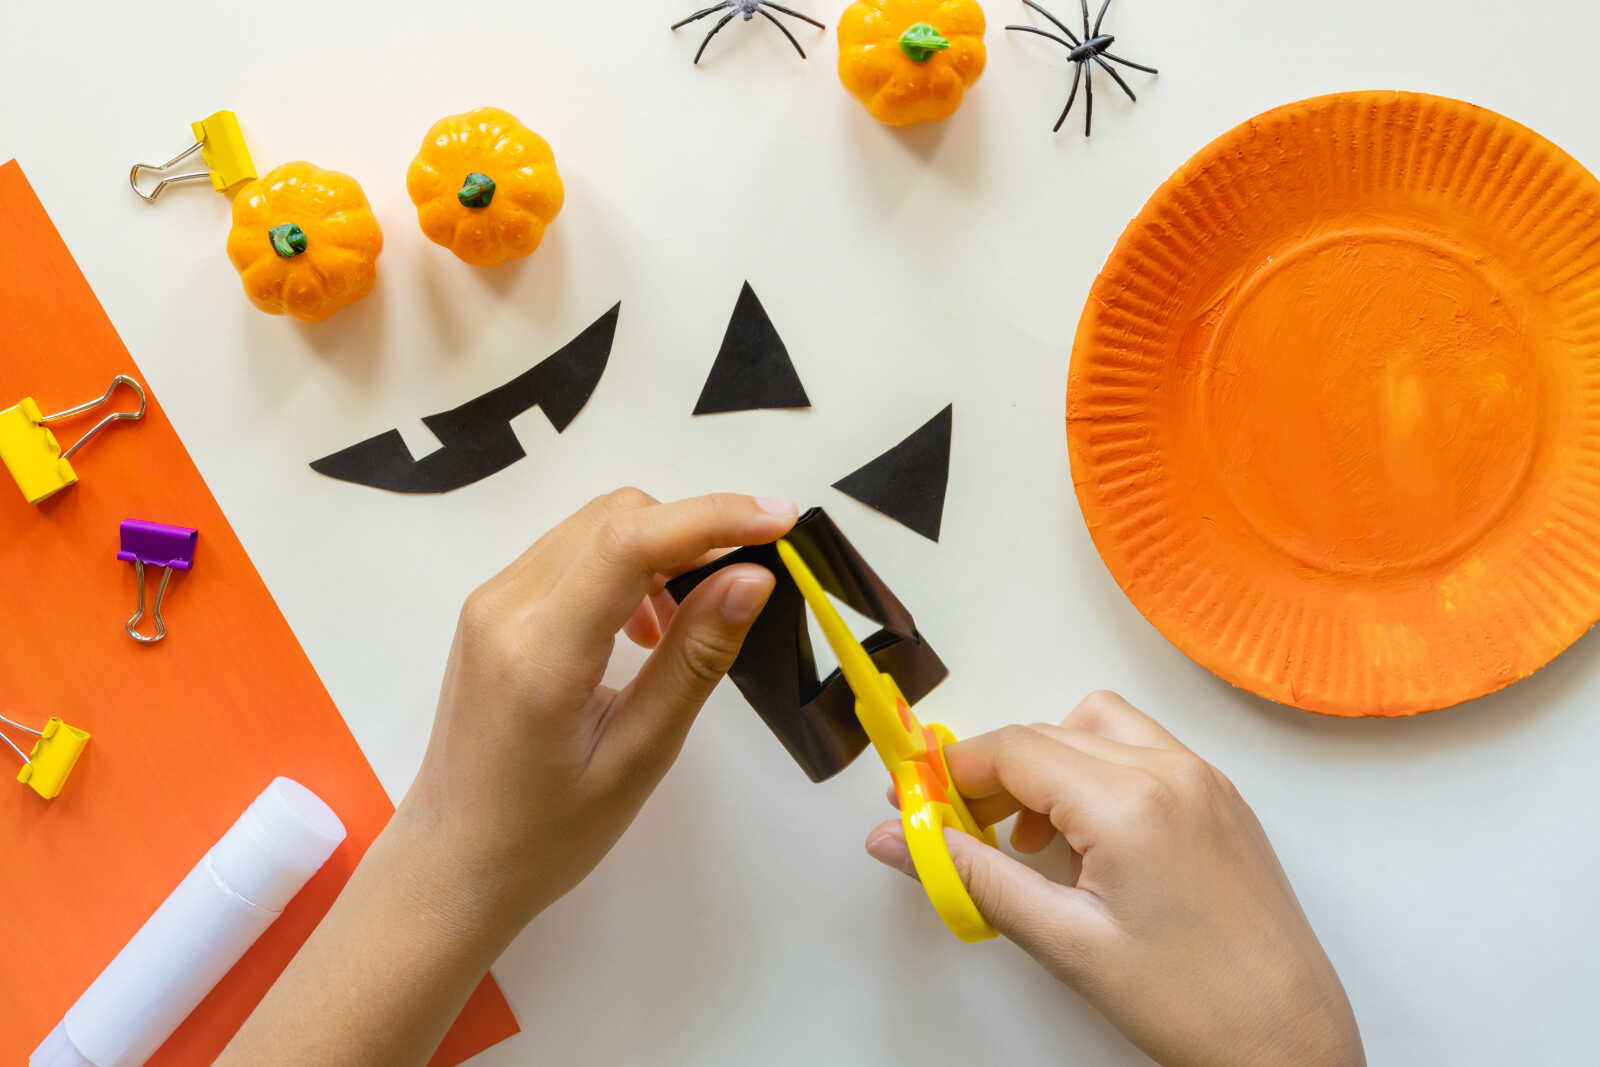
Step 3: Cut Out the Pumpkin Face Pieces
Using black construction paper, cut out two triangle eyes and a jack-o’-lantern smile.
For younger children, adults can lightly sketch the shapes beforehand to make cutting easier. Older kids may enjoy designing their own silly or spooky pumpkin faces.
The smile can be simple or include zig-zag pumpkin teeth for extra Halloween personality.
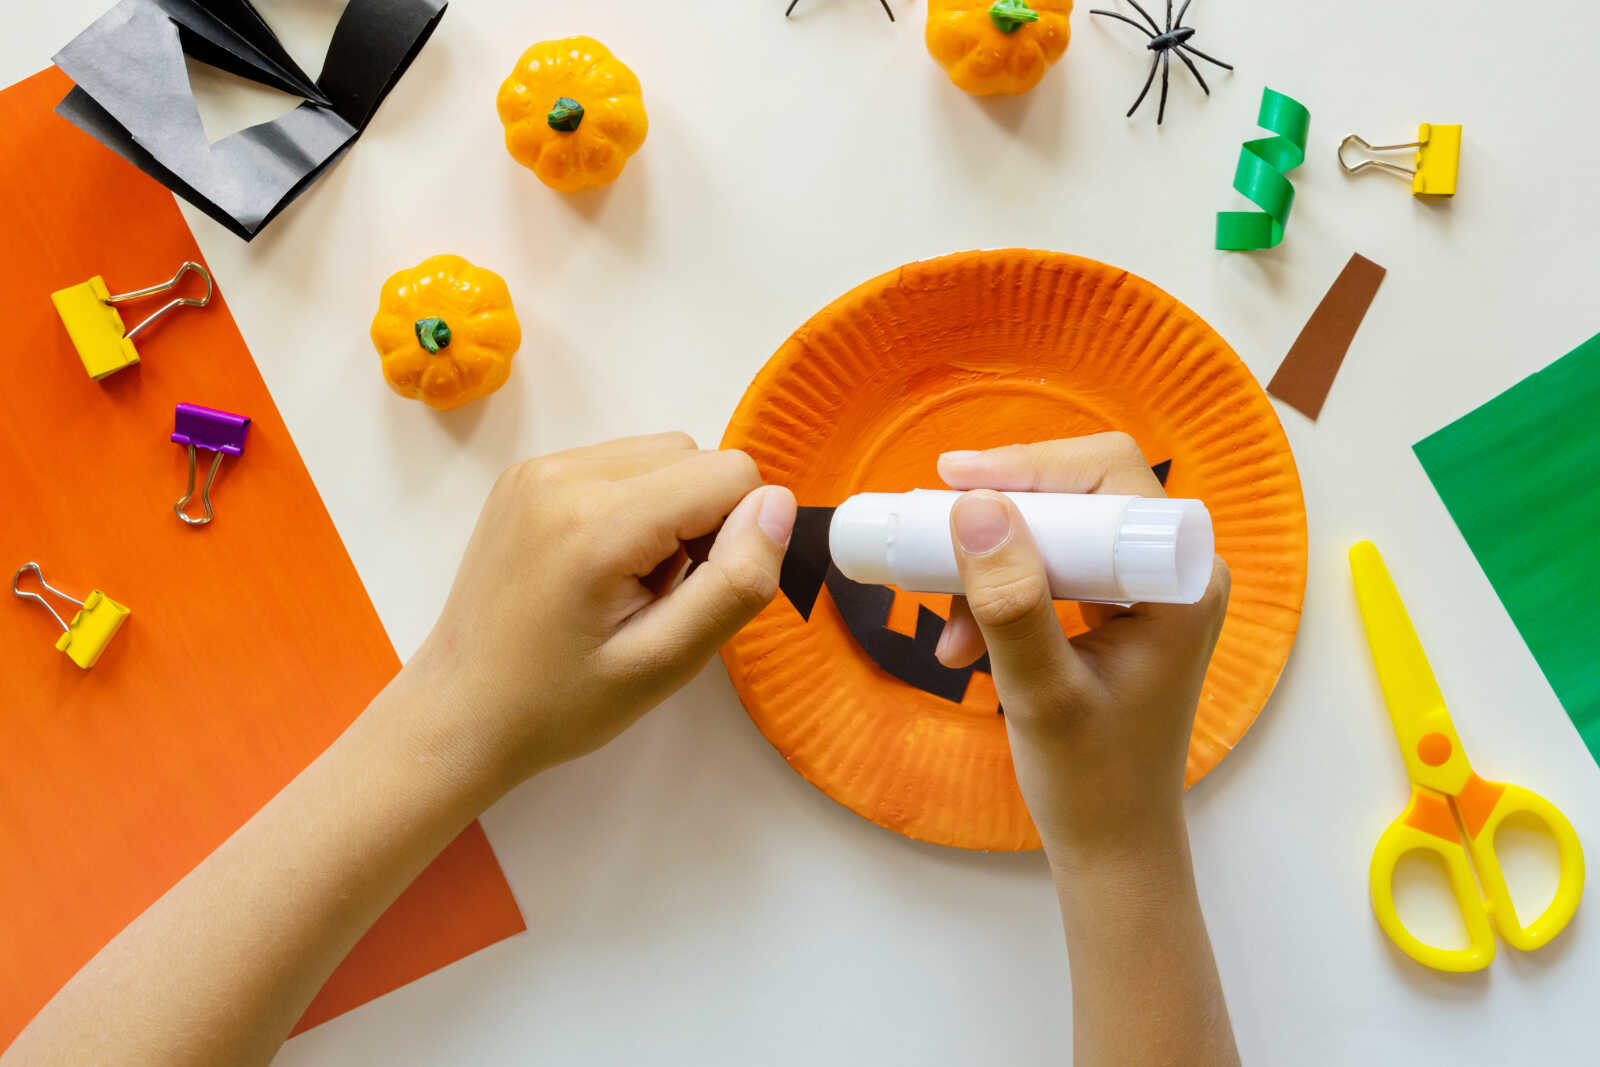
Step 4: Glue the Pumpkin Face Onto the Plate
Once the orange paint is dry, use a glue stick to attach the black paper eyes and mouth onto the paper plate.
Position the triangle eyes near the top center of the plate and place the smile lower down to create the jack-o’-lantern face.
Press each piece firmly so the paper sticks securely.
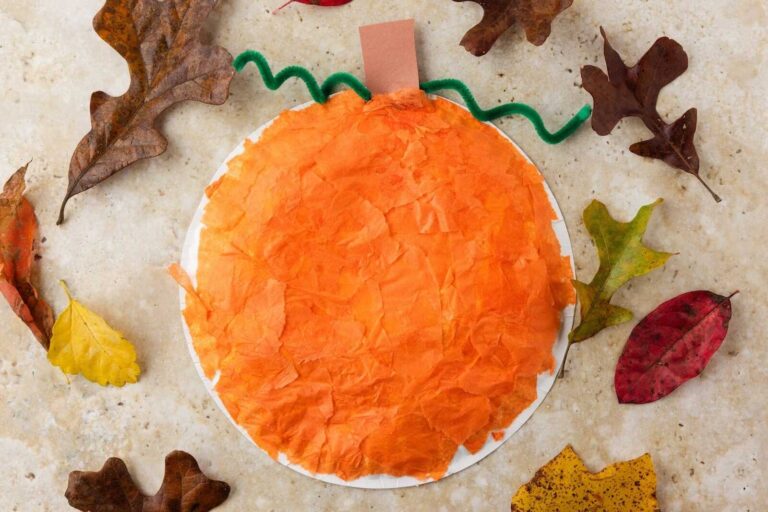
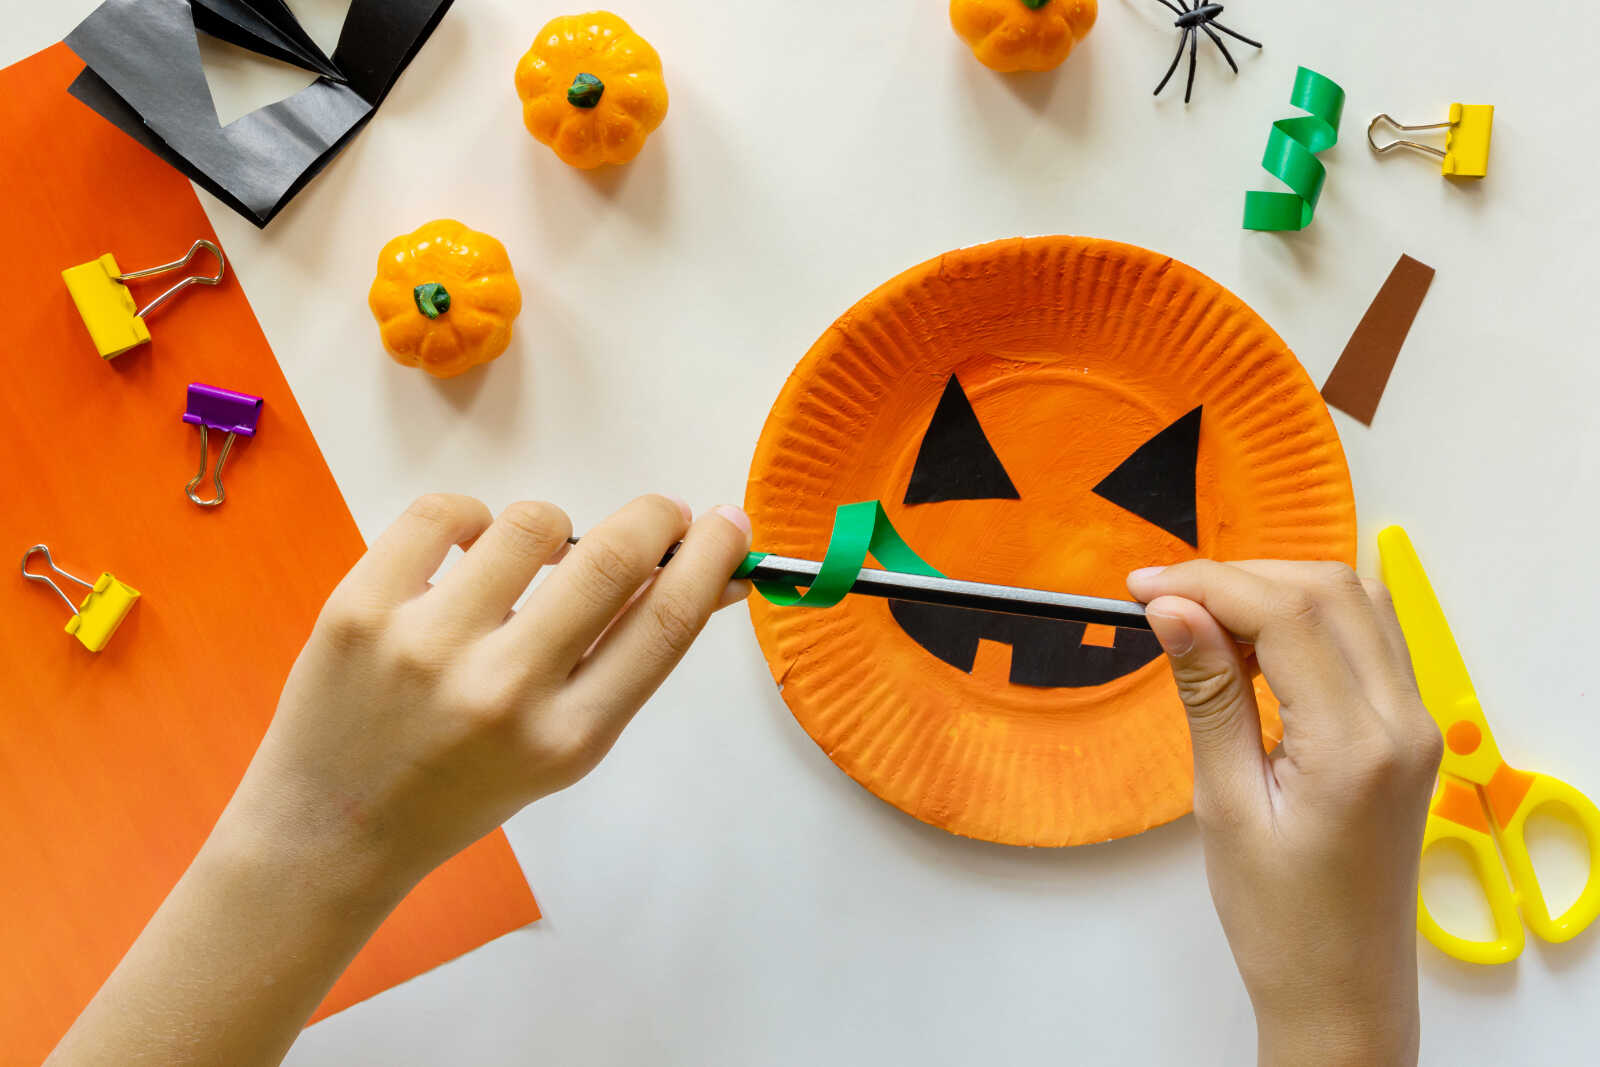
Step 5: Create the Curly Pumpkin Vines
Cut thin strips from green construction paper to create pumpkin vines.
Wrap the paper strips around a pencil to curl them into spirals. This simple trick creates fun, springy pumpkin vines that add dimension to the craft.
Kids usually love this part because the curls instantly make the pumpkin look more realistic.
Step 6: Make the Pumpkin Stem
Cut a small rectangle from brown construction paper for the pumpkin stem.
Glue the stem near the top center of the paper plate, slightly behind the curly green vines.
You can trim the stem into different shapes if you want a more natural pumpkin look.
Step 7: Attach the Curly Green Vines
Glue the curled green paper strips around the top of the pumpkin near the stem. You can add one vine or several depending on how decorative you want the pumpkin to look.
The curly vines help make the pumpkin appear more festive and whimsical.
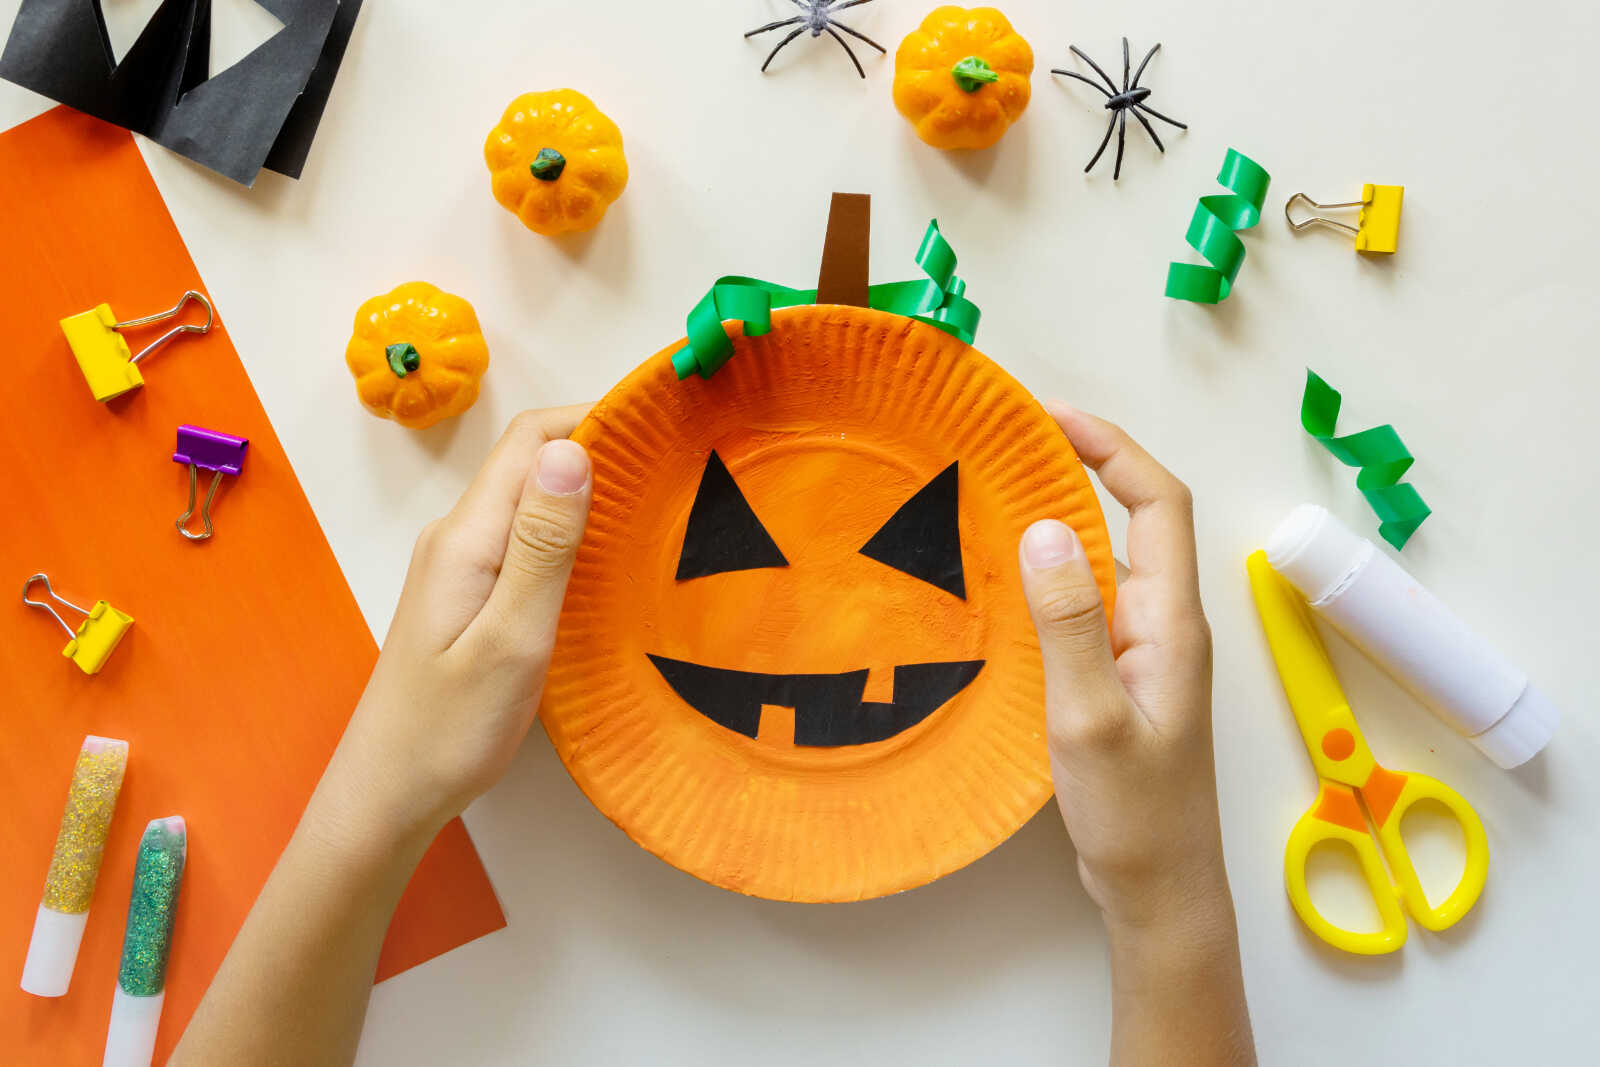
Step 8: Display Your Halloween Pumpkin Craft
Your paper plate pumpkin craft is now complete and ready to display.
Kids can hang the pumpkin on the wall, place it on a classroom bulletin board, or use it as Halloween party decor. You could even make multiple pumpkins with different facial expressions to create an entire pumpkin patch.
Tips for Making This Craft With Kids
Use Washable Paint
Washable paint makes cleanup much easier, especially with younger children.
Pre-Cut Shapes for Toddlers
If crafting with preschoolers or toddlers, pre-cutting the eyes and mouth can help reduce frustration.
Add Extra Decorations
Kids can personalize their pumpkins with:
- Glitter
- Stickers
- Googly eyes
- Sequins
- Ribbon
- Foam shapes
Turn It Into a Learning Activity
This craft can also become an educational activity by:
- Practicing shape recognition
- Learning Halloween vocabulary
- Working on scissor skills
- Exploring colors and textures
Why Kids Love Paper Plate Crafts
Paper plate crafts are popular because they are:
- Affordable
- Easy to prepare
- Great for groups
- Simple for multiple ages
- Easy to customize
The rounded shape of a paper plate naturally works perfectly for pumpkins, making this an especially beginner-friendly Halloween craft.
Fun Variations to Try
Friendly Pumpkin
Create a smiling pumpkin with large cheerful eyes.
Spooky Jack-o’-Lantern
Make sharp triangle eyes and jagged teeth for a scarier look.
Glitter Pumpkin
Add orange glitter or metallic paint for sparkle.
Monster Pumpkin
Use silly eyes, colorful paper, and funny mouths to make goofy monster pumpkins.
Mini Pumpkin Garland
Make several small paper plate pumpkins and string them together as Halloween garland.
Perfect for Halloween Parties and Classrooms
This easy pumpkin craft works wonderfully for:
- Classroom Halloween parties
- Homeschool art projects
- Library activities
- Daycare crafts
- Fall festivals
- Family craft nights
Because the supplies are inexpensive, it’s also a budget-friendly activity for larger groups of kids.
Final Thoughts
This easy paper plate pumpkin craft is a fun and simple Halloween activity kids will love creating. With bright orange paint, silly jack-o’-lantern faces, and curly green vines, each pumpkin turns into a unique Halloween masterpiece.
Whether you make this craft at home, in the classroom, or during a Halloween party, it’s a creative seasonal activity that encourages imagination while keeping kids happily busy.