Halloween Charcuterie Board – Try This Spooky Dry Ice Trick!
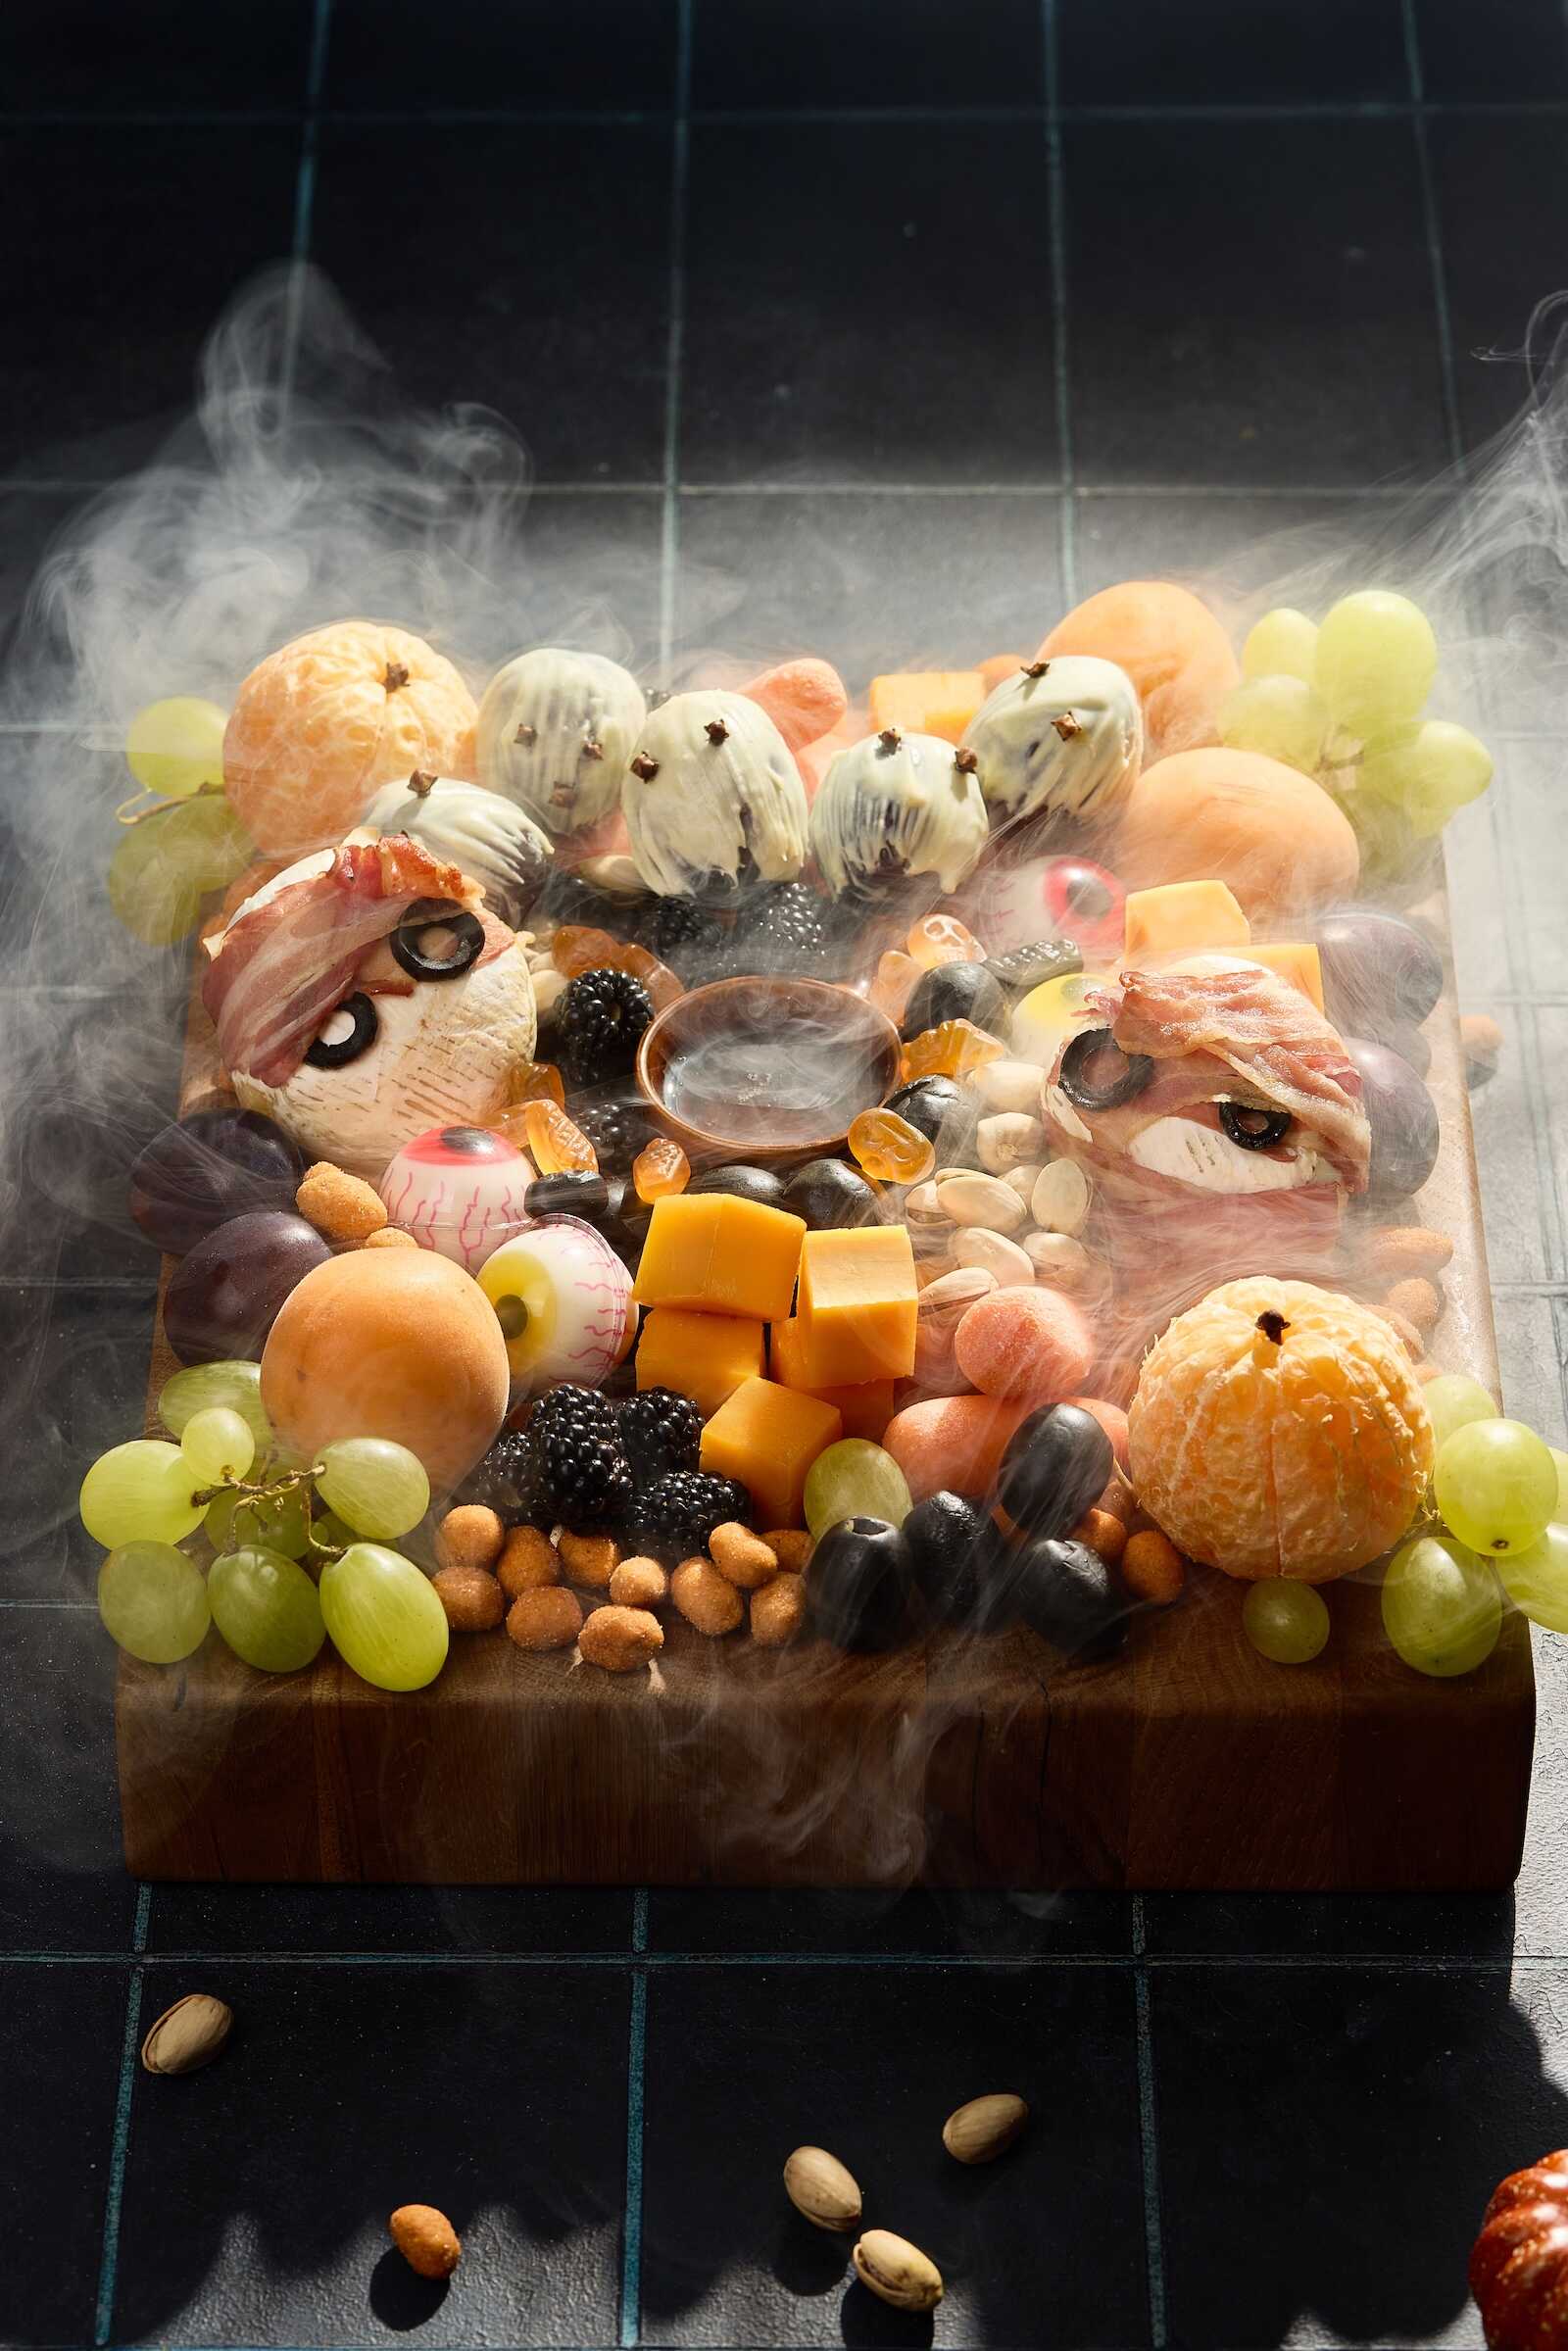
When it comes to Halloween entertaining, there’s nothing quite as memorable as a themed charcuterie board. It’s the perfect way to blend elegance with a little spook factor. Imagine your guests gathering around a beautifully styled board filled with cheeses, cured meats, candies, fruits, and festive treats—all brought to life with a chilling fog from a clever dry ice trick. Not only does it taste amazing, but it also looks like a scene straight out of a haunted house feast.
In this post, we’ll cover everything you need to know to make your own Halloween charcuterie board. From food selection and styling tips to spooky props and the star of the show—using dry ice safely to create a foggy, mystical effect—this guide will help you wow your guests with a Halloween centerpiece that’s as delicious as it is dramatic.
Why a Halloween Charcuterie Board?
A charcuterie board is the ultimate entertainer’s secret weapon. It’s flexible, easy to customize, and feeds a crowd with minimal cooking. At Halloween, it also doubles as an edible décor piece. Instead of carving multiple pumpkins or decorating your home with dollar-store cobwebs, a themed board becomes the star of the table.
Here’s why it works so well:
- Visual drama – Themed foods, moody colors, and props like skull bowls and black serving platters bring the Halloween aesthetic to life.
- Flexibility – You can make a board kid-friendly with sweet treats or elegant and adult-oriented with fine cheeses and wines.
- Conversation starter – Guests are drawn to the creativity, and when you add dry ice fog, it becomes a shareable, Instagram-worthy moment.
- Low stress – Most items can be store-bought, prepped ahead of time, and styled in minutes.
Choosing Your Board or Base
Before diving into food, start with the foundation. A Halloween charcuterie board deserves a base that sets the tone.
- Black or slate boards: These create a moody, gothic feel. A slate cheeseboard is perfect for chalking in spooky names like “Bat Wings” or “Witch’s Fingers.”
- Wooden cutting boards: Rustic and natural, they give a “witch’s cottage feast” vibe.
- Tiered trays: Great for small spaces—add height and layers for a dramatic effect.
- Cauldron bowl centerpiece: Place your dry ice here (in a smaller hidden bowl) and let it fog over your board.
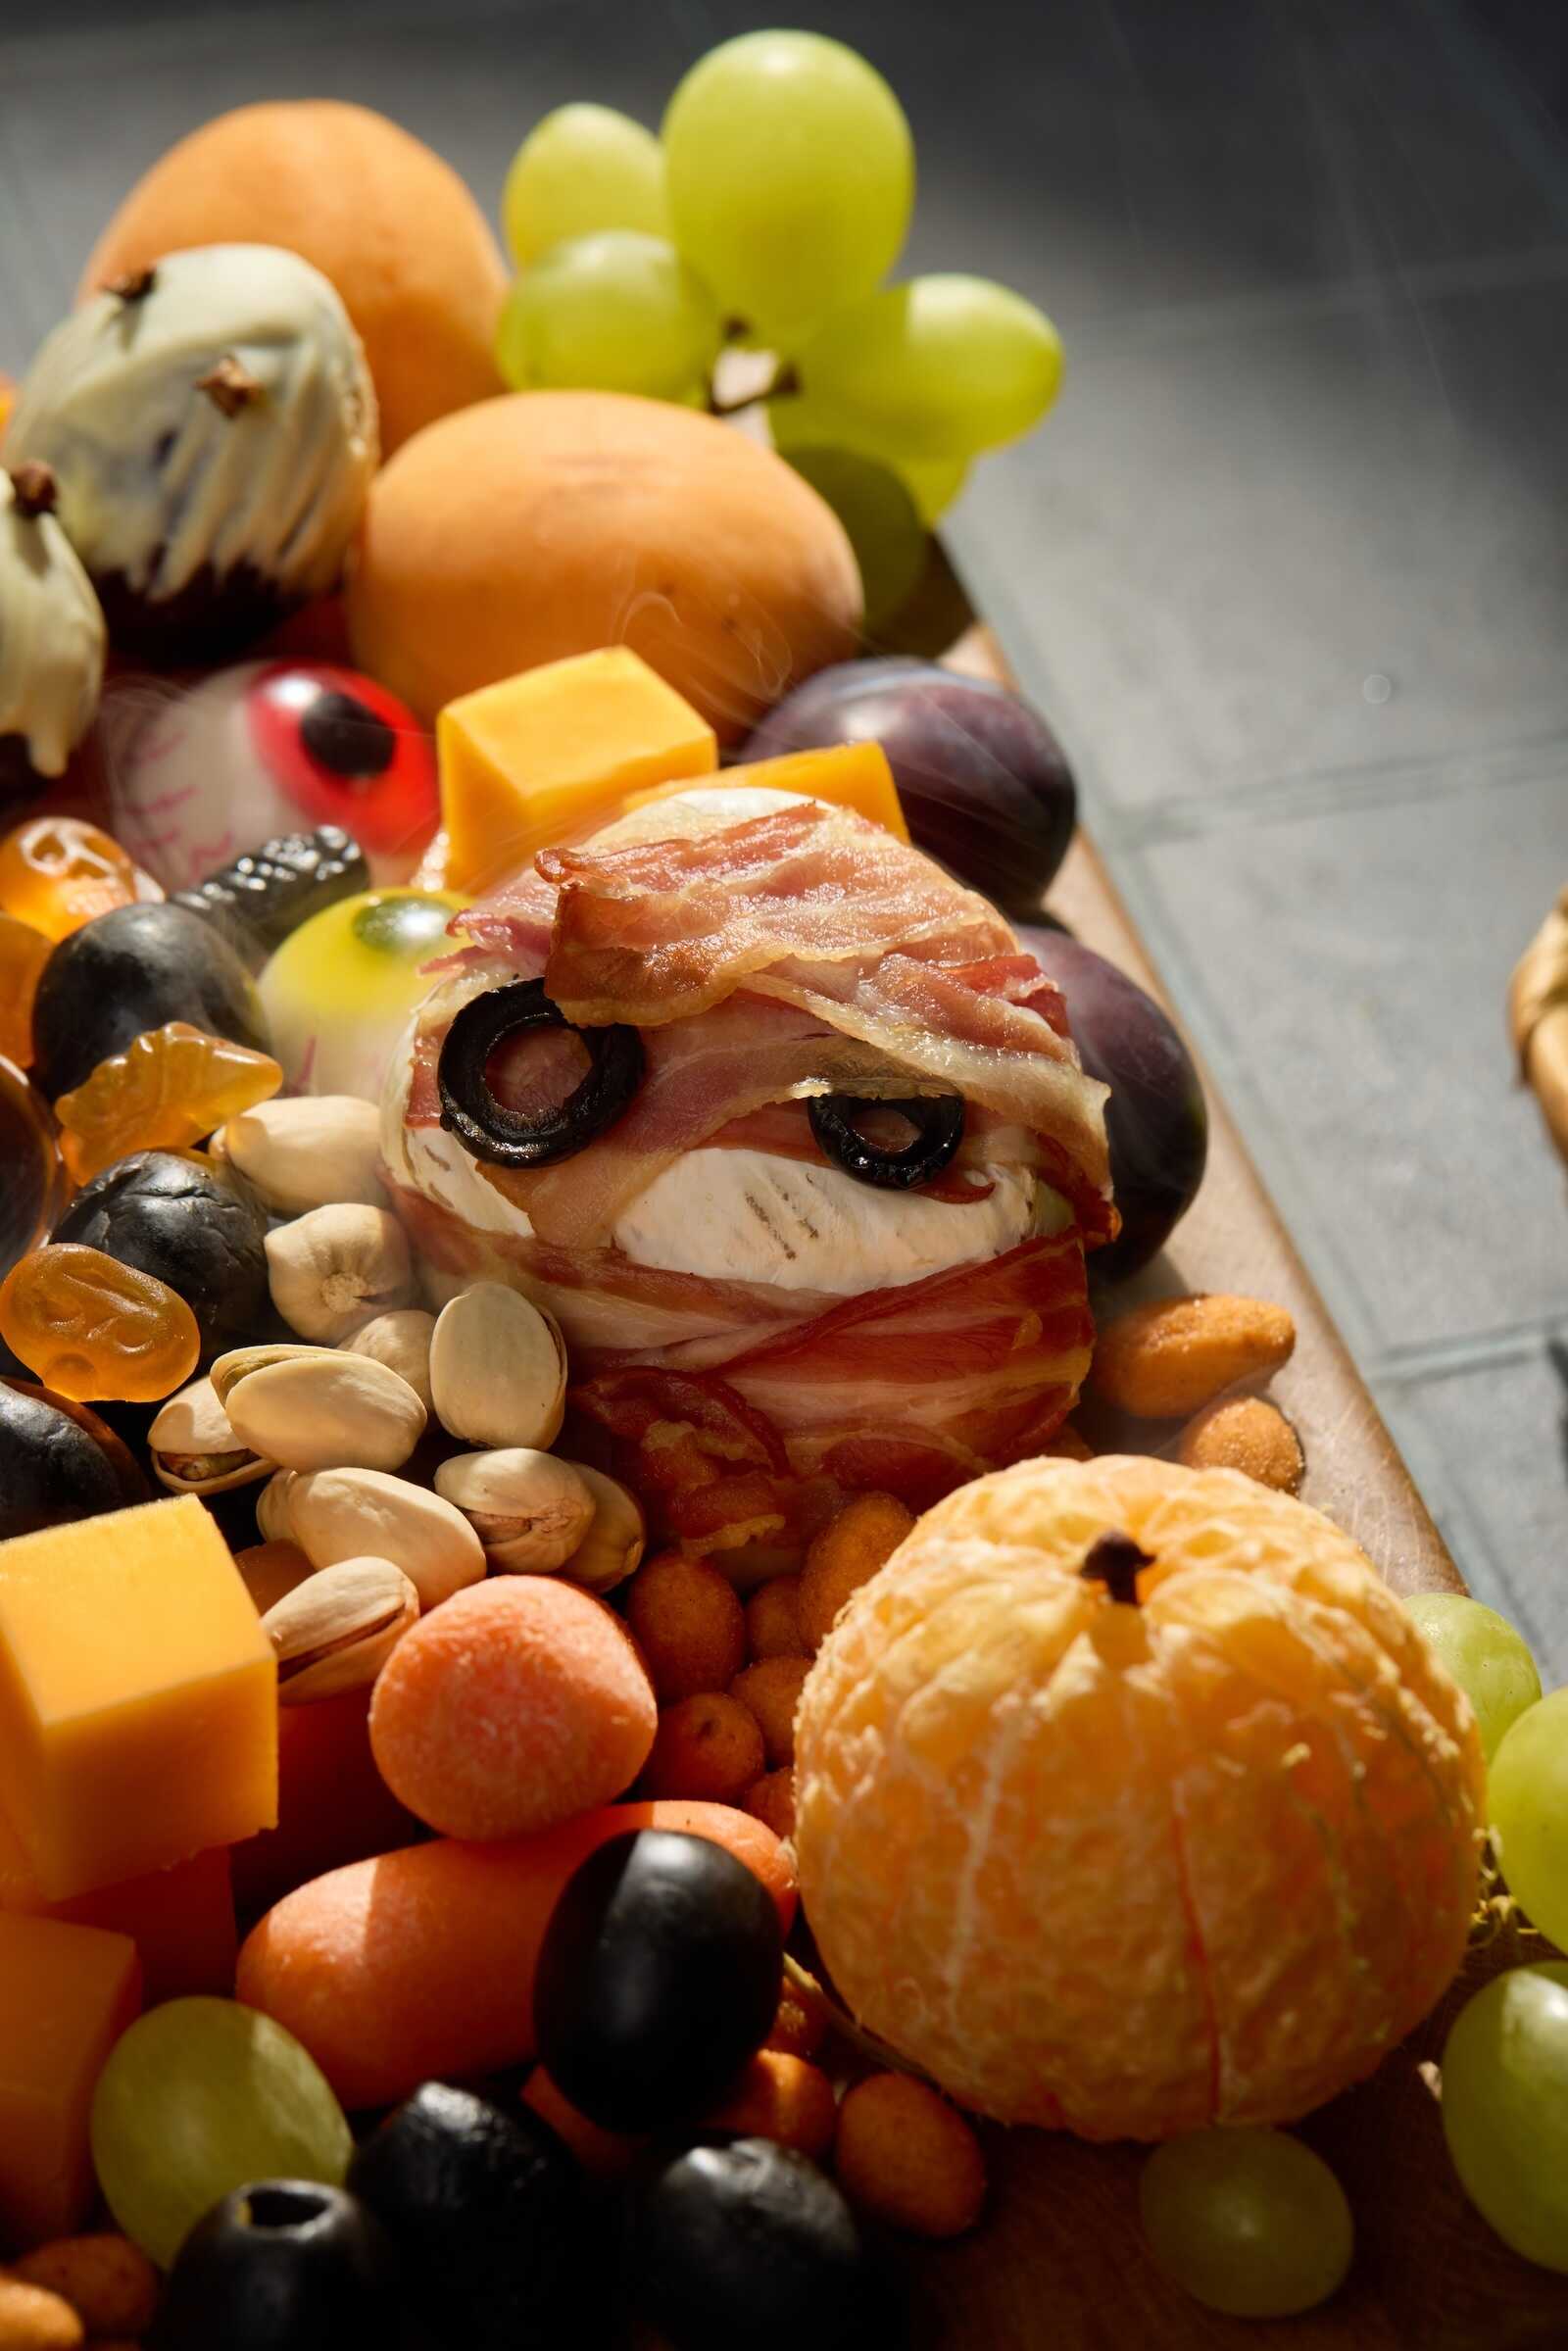
Food Selection – Balancing Creepy & Tasty
Cheeses with Character
Cheese is the backbone of any charcuterie board. For Halloween, look for colors, shapes, and textures that fit the theme.
- Aged cheddar (orange for Halloween hues).
- Brie wheel – top with raspberry jam “blood” and plastic fangs for decoration.
- Blue cheese – its moldy veins look delightfully eerie.
- Smoked gouda – adds earthy flavor and pairs well with spooky vibes.
Meats with a Dark Side
Fold or roll meats into fun, creepy shapes.
- Salami roses – use a wine glass to shape layers of salami into “bloody roses.”
- Prosciutto wraps – drape thin slices like tattered fabric.
- Pepperoni sticks – slice into rounds, or leave whole like witch’s fingers.
Fruits for a Spooky Splash
Fruit adds freshness and natural color.
- Black grapes – moody and gothic.
- Blood oranges – dramatic red-orange slices.
- Pomegranate seeds – look like edible jewels or dripping “blood.”
- Dried figs or dates – dark and wrinkled, adding texture.
Sweet Treats for Halloween Flair
Add seasonal candy for a festive touch.
- Candy corn
- Gummy worms and spiders
- Chocolate eyeballs
- Black licorice twists
- Halloween-themed cookies or macarons
Crackers, Nuts, and Fillers
Add crunch and texture, along with filling out the negative space on your board.
- Black sesame crackers
- Beet-colored pita chips
- Pumpkin seeds
- Candied pecans
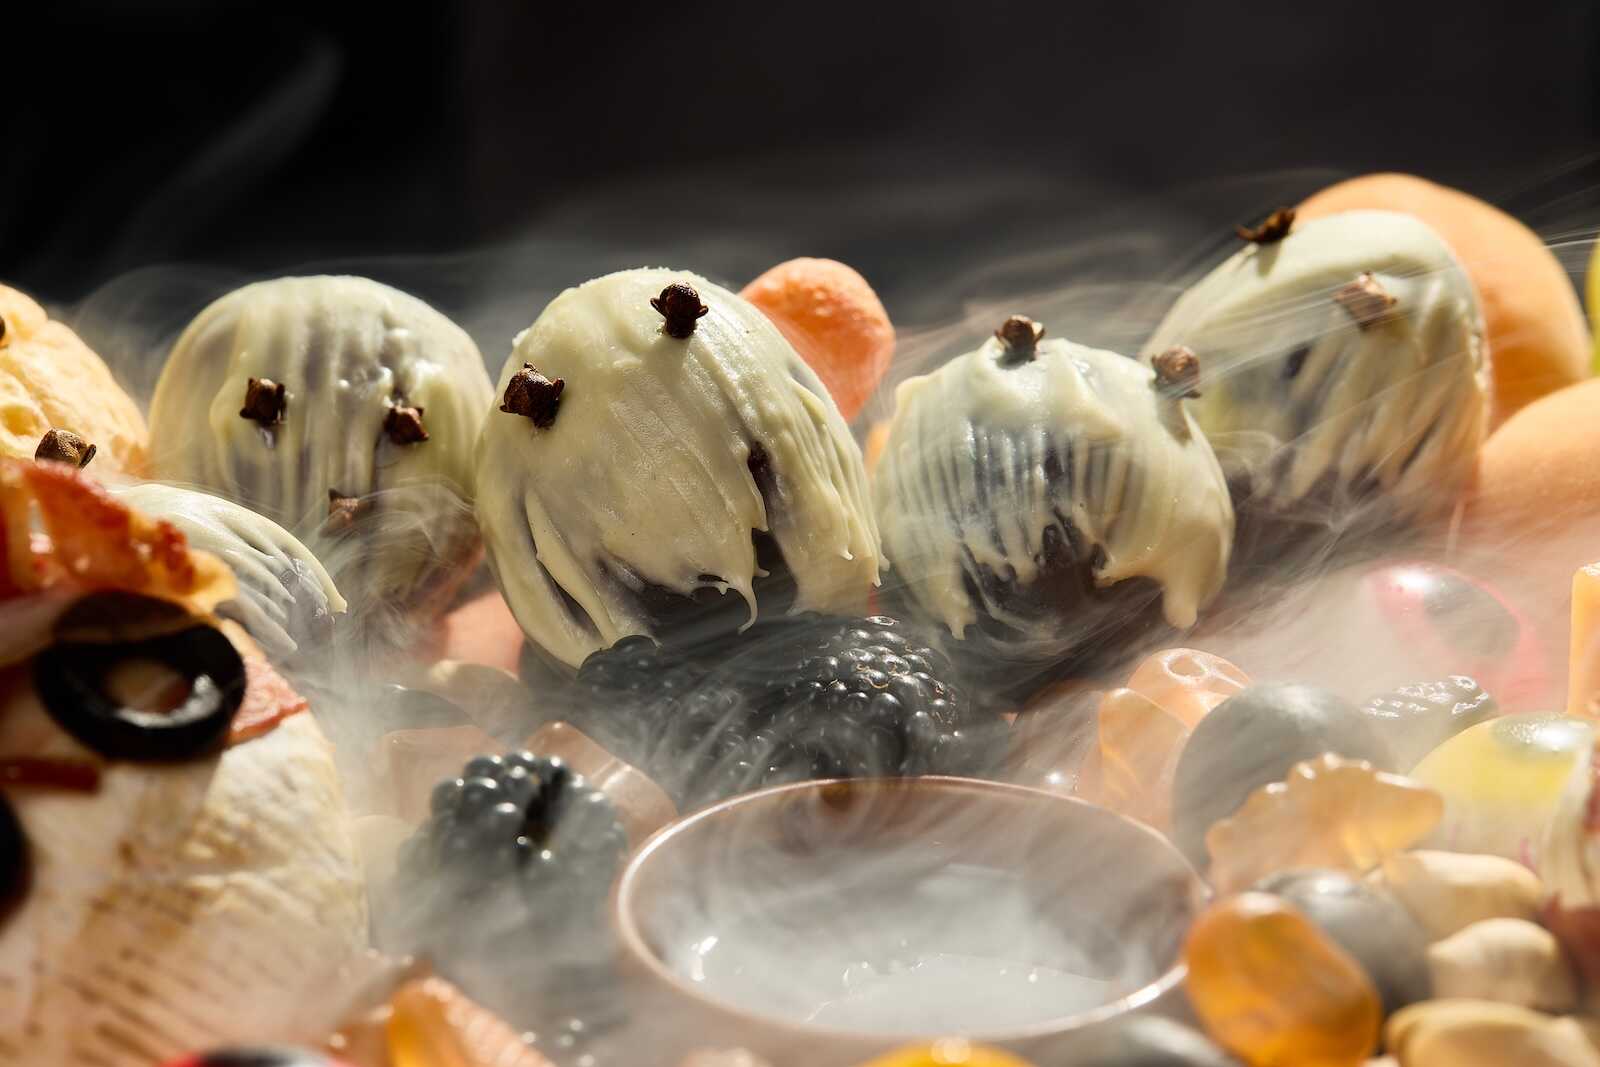
Styling & Arrangement Tips
The secret to a jaw-dropping charcuterie board is in the styling.
- Cluster in odd numbers: Place foods in groups of 3 or 5 for balance.
- Color blocking: Separate orange cheeses, black fruits, and bright candies to make the colors pop.
- Texture layering: Mix smooth brie with crumbly blue cheese, crunchy crackers, and chewy dried fruit.
- Spooky props: Add mini plastic spiders, skeleton hands, and dark napkins tucked between foods.
- Drippy accents: Let raspberry jam spill slightly over a brie wheel to mimic “blood.”
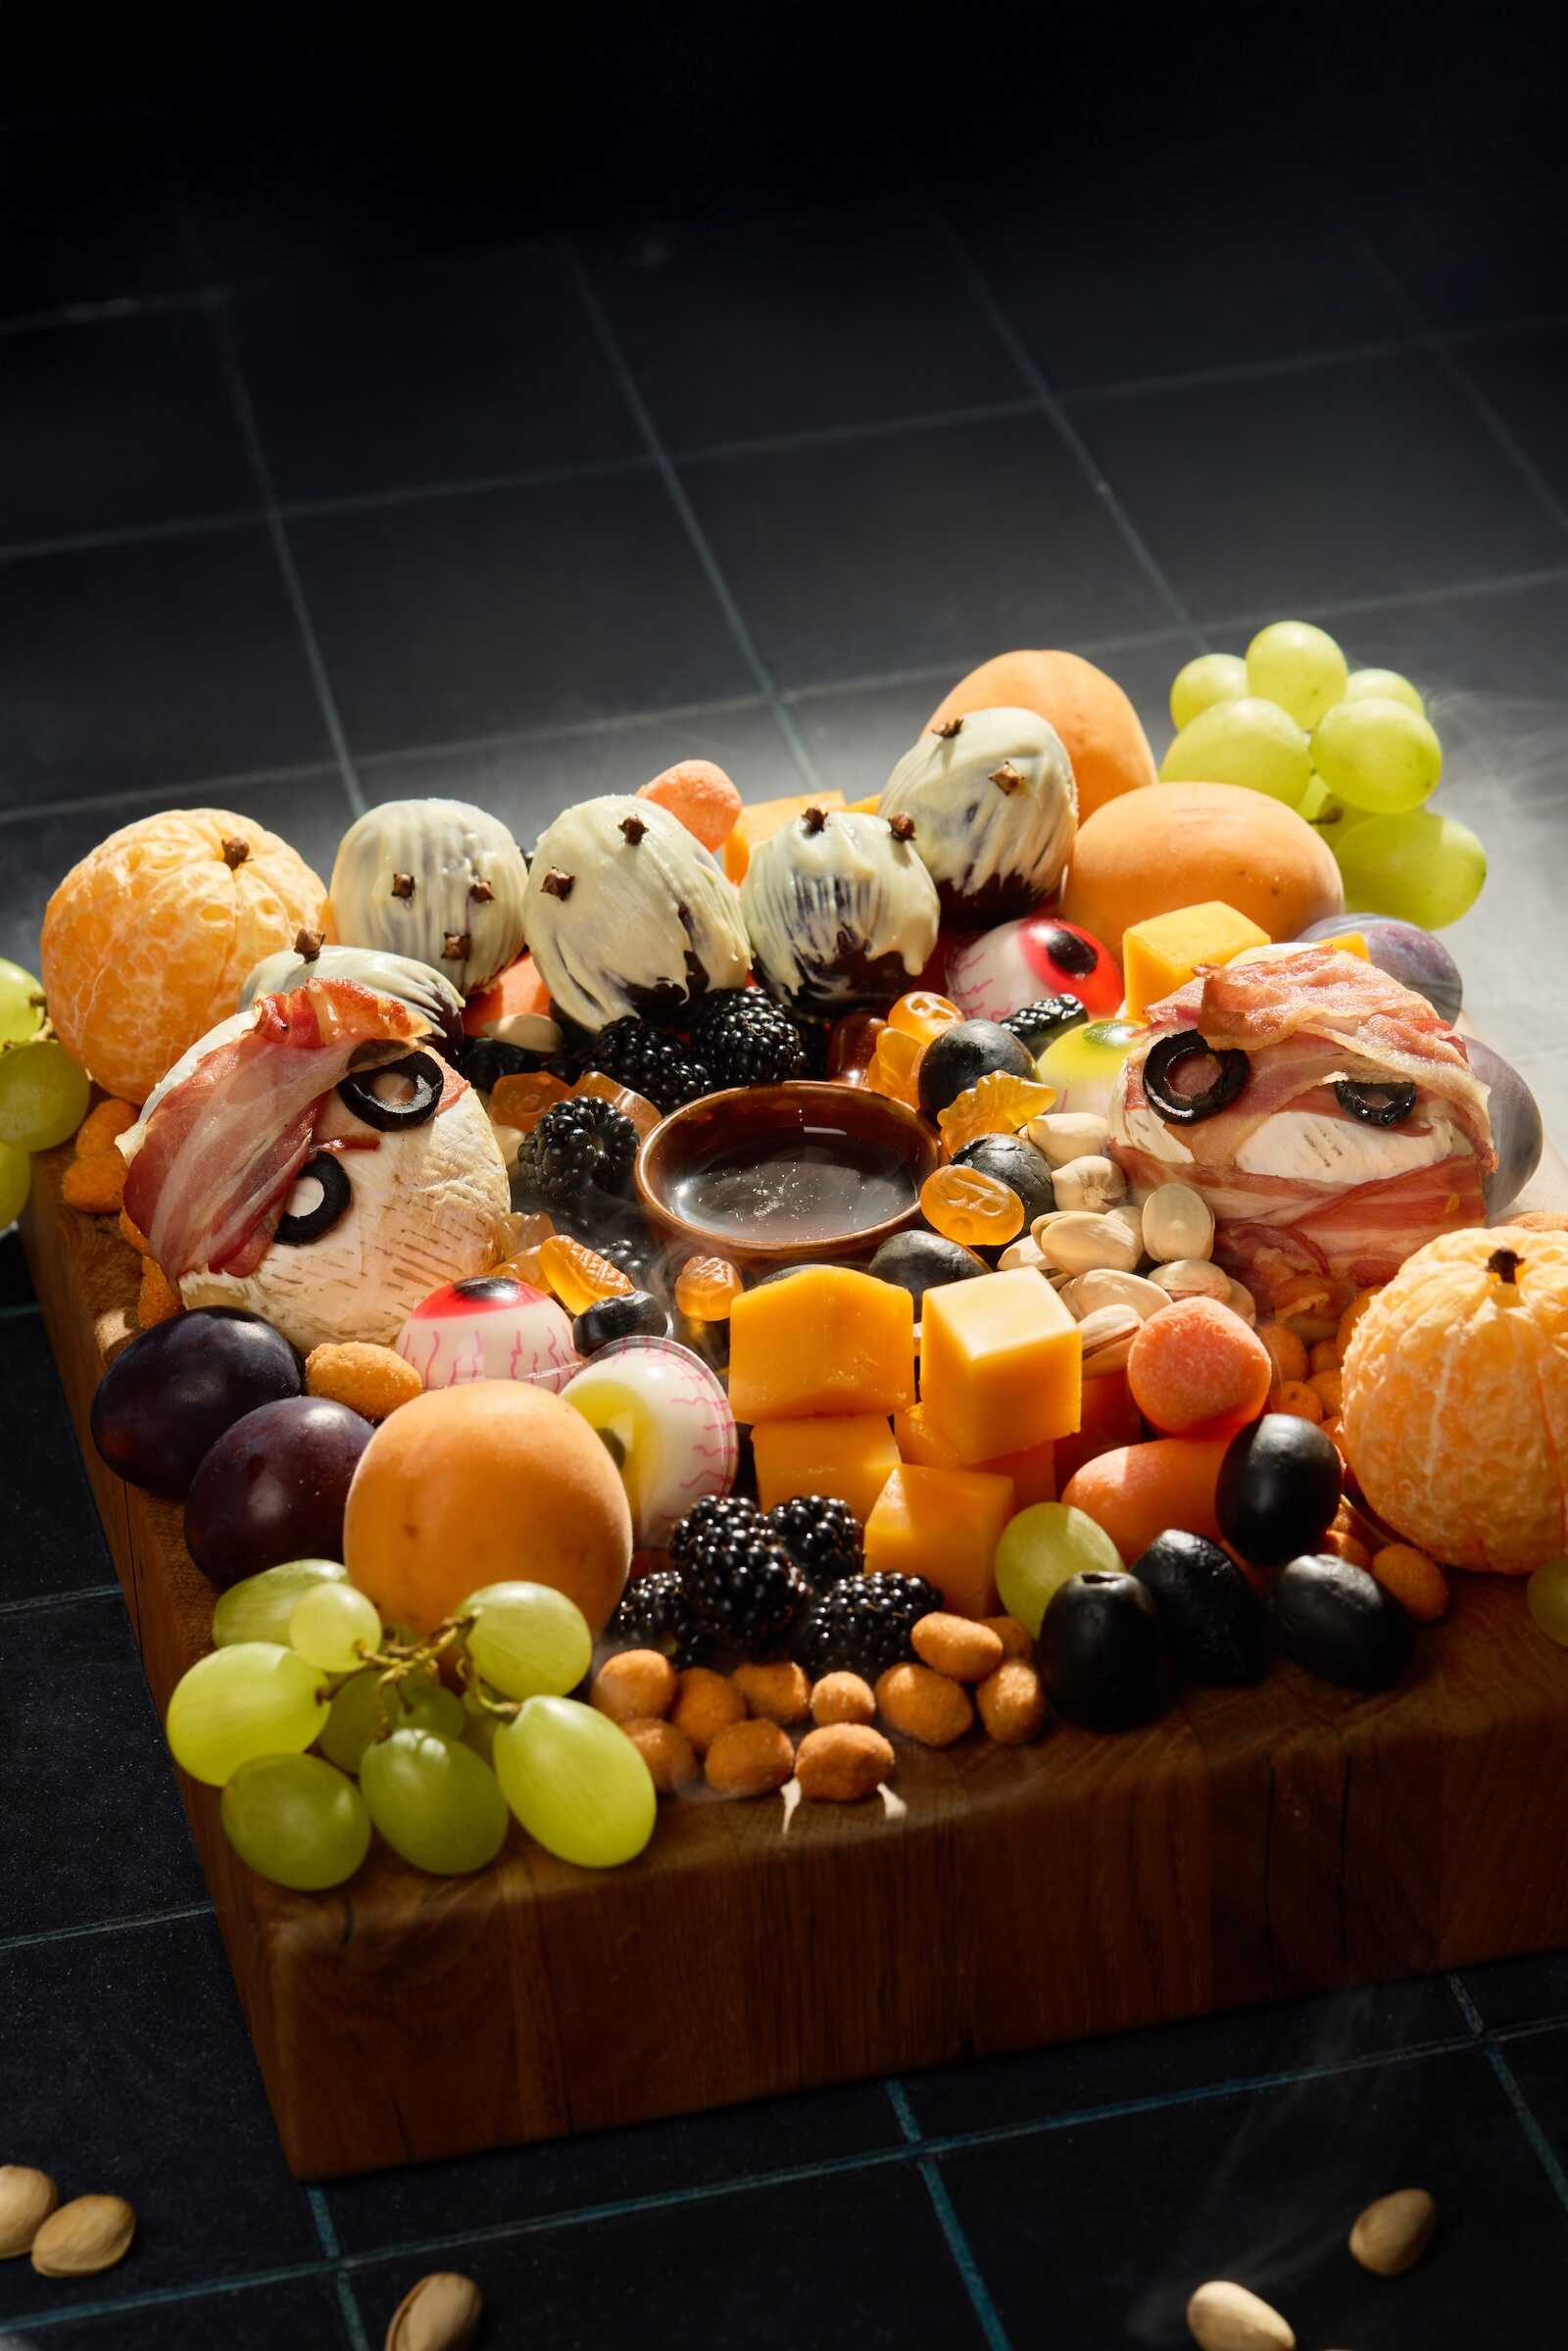
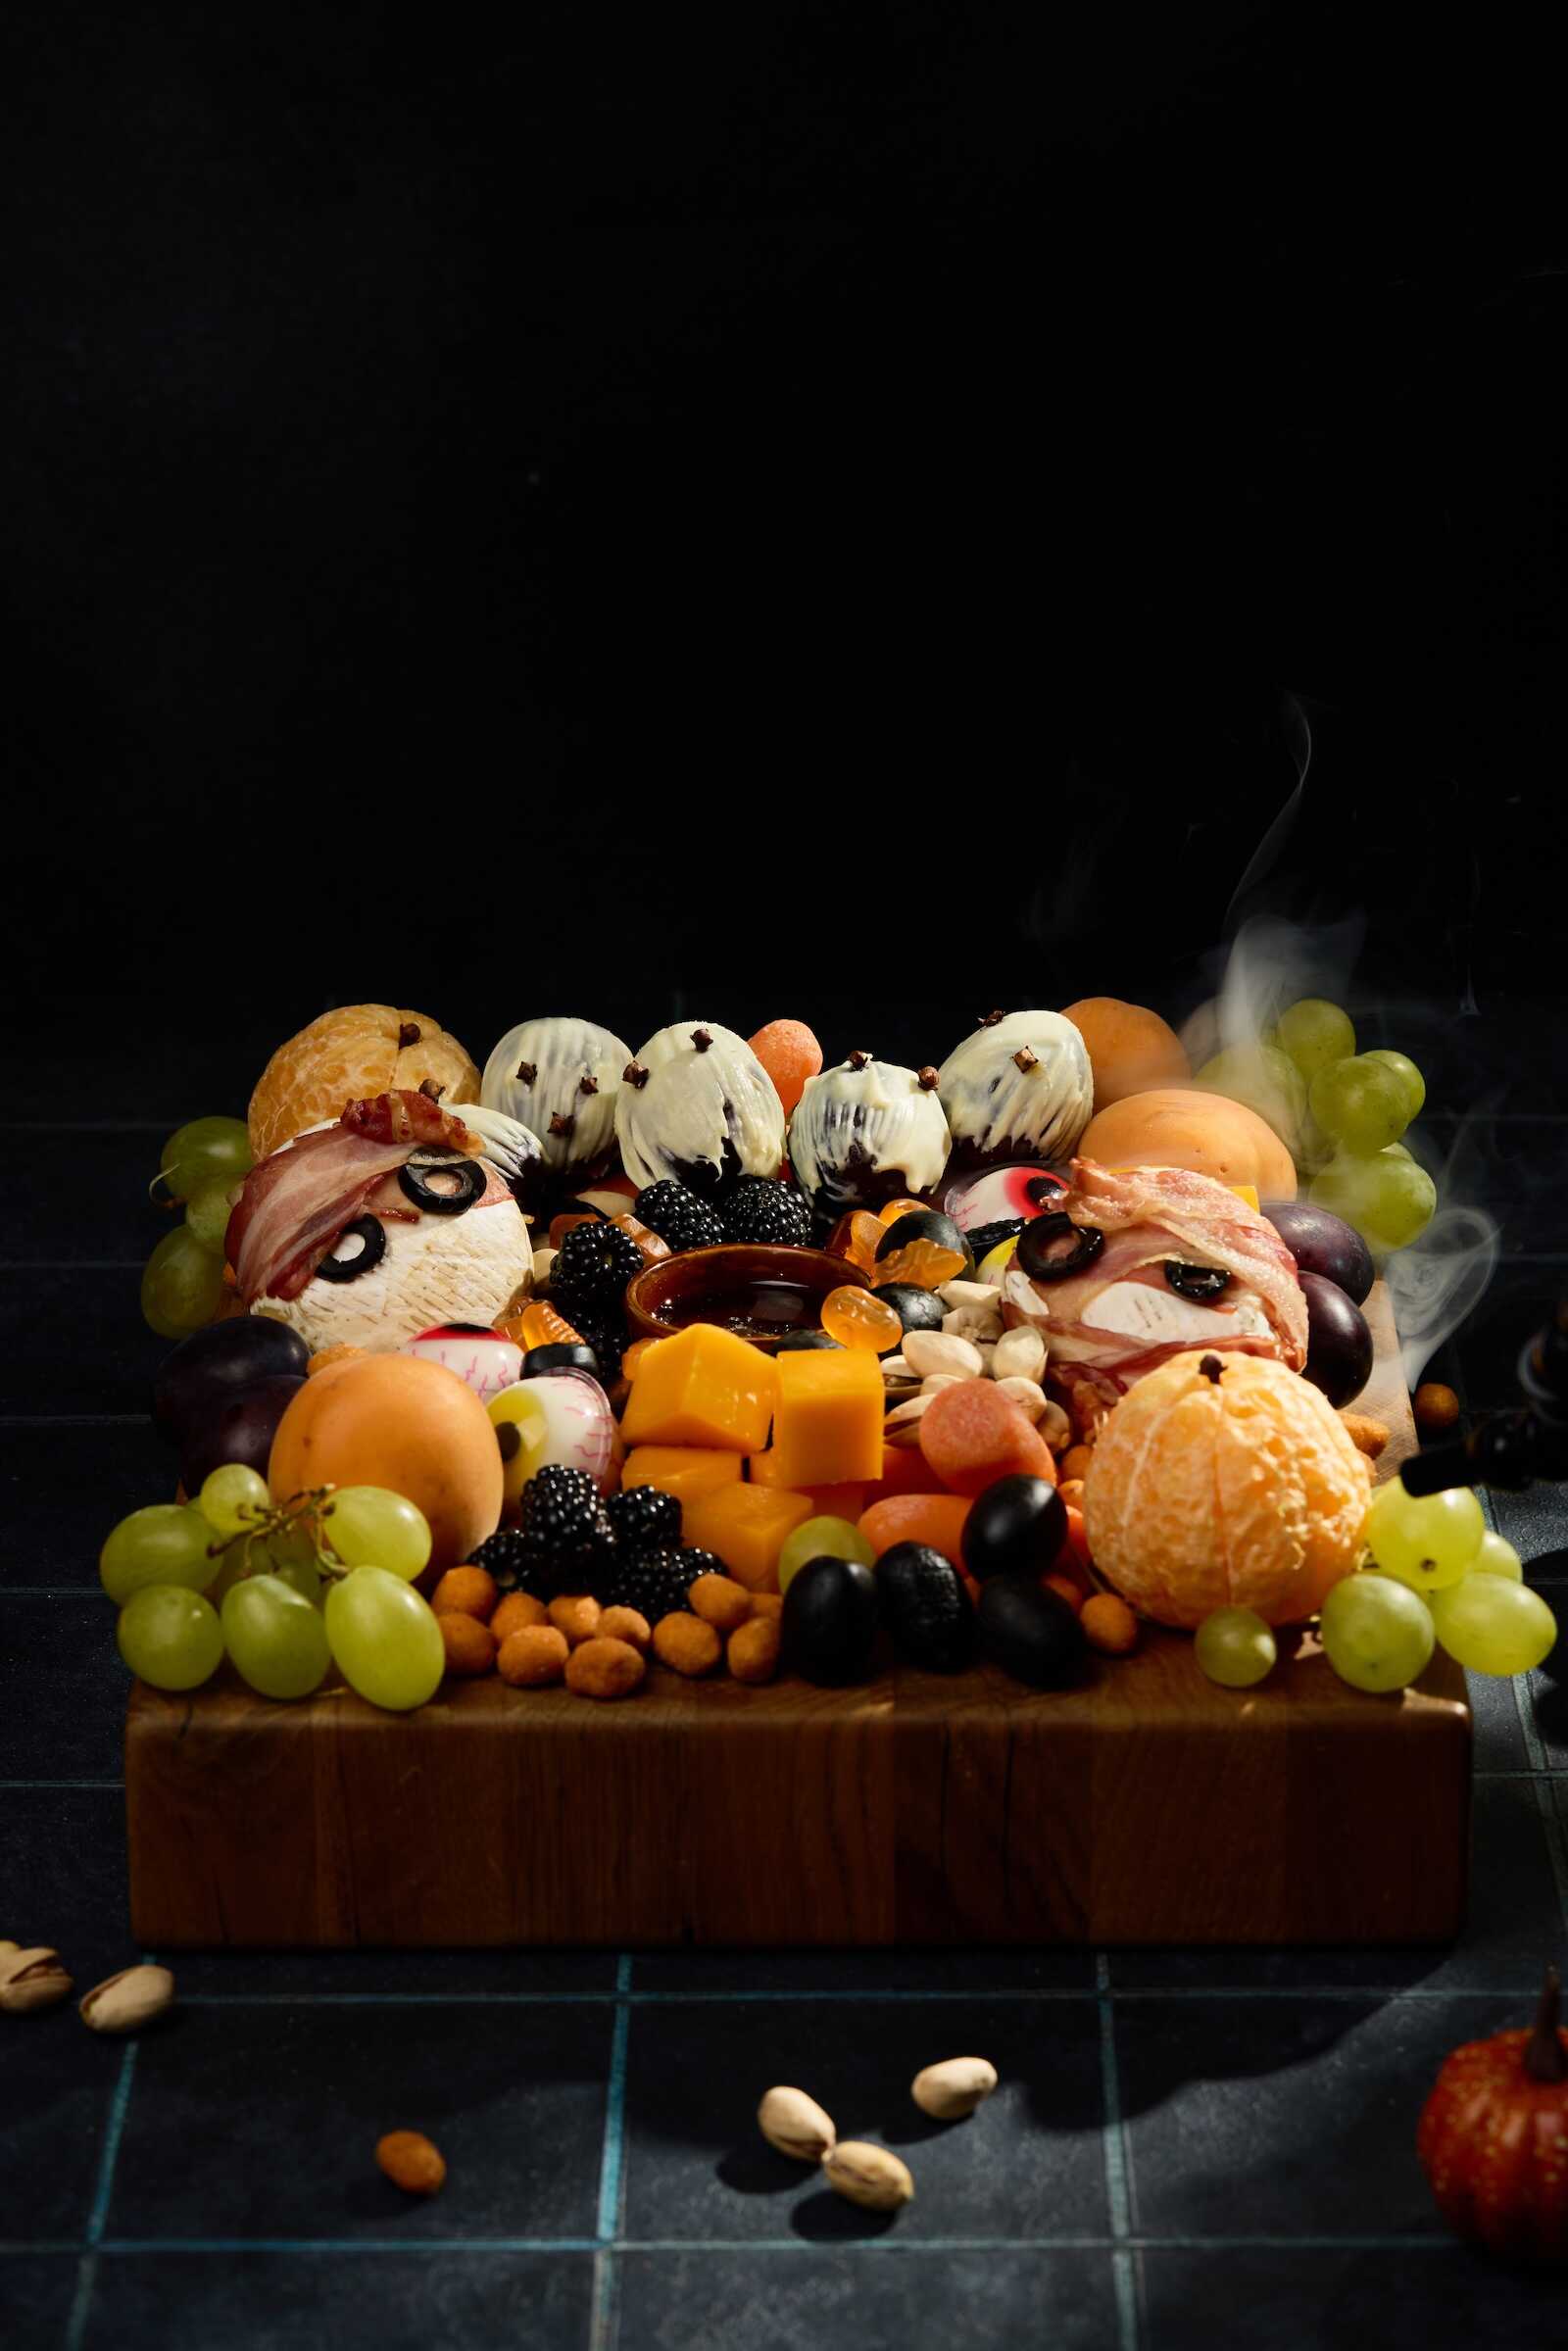
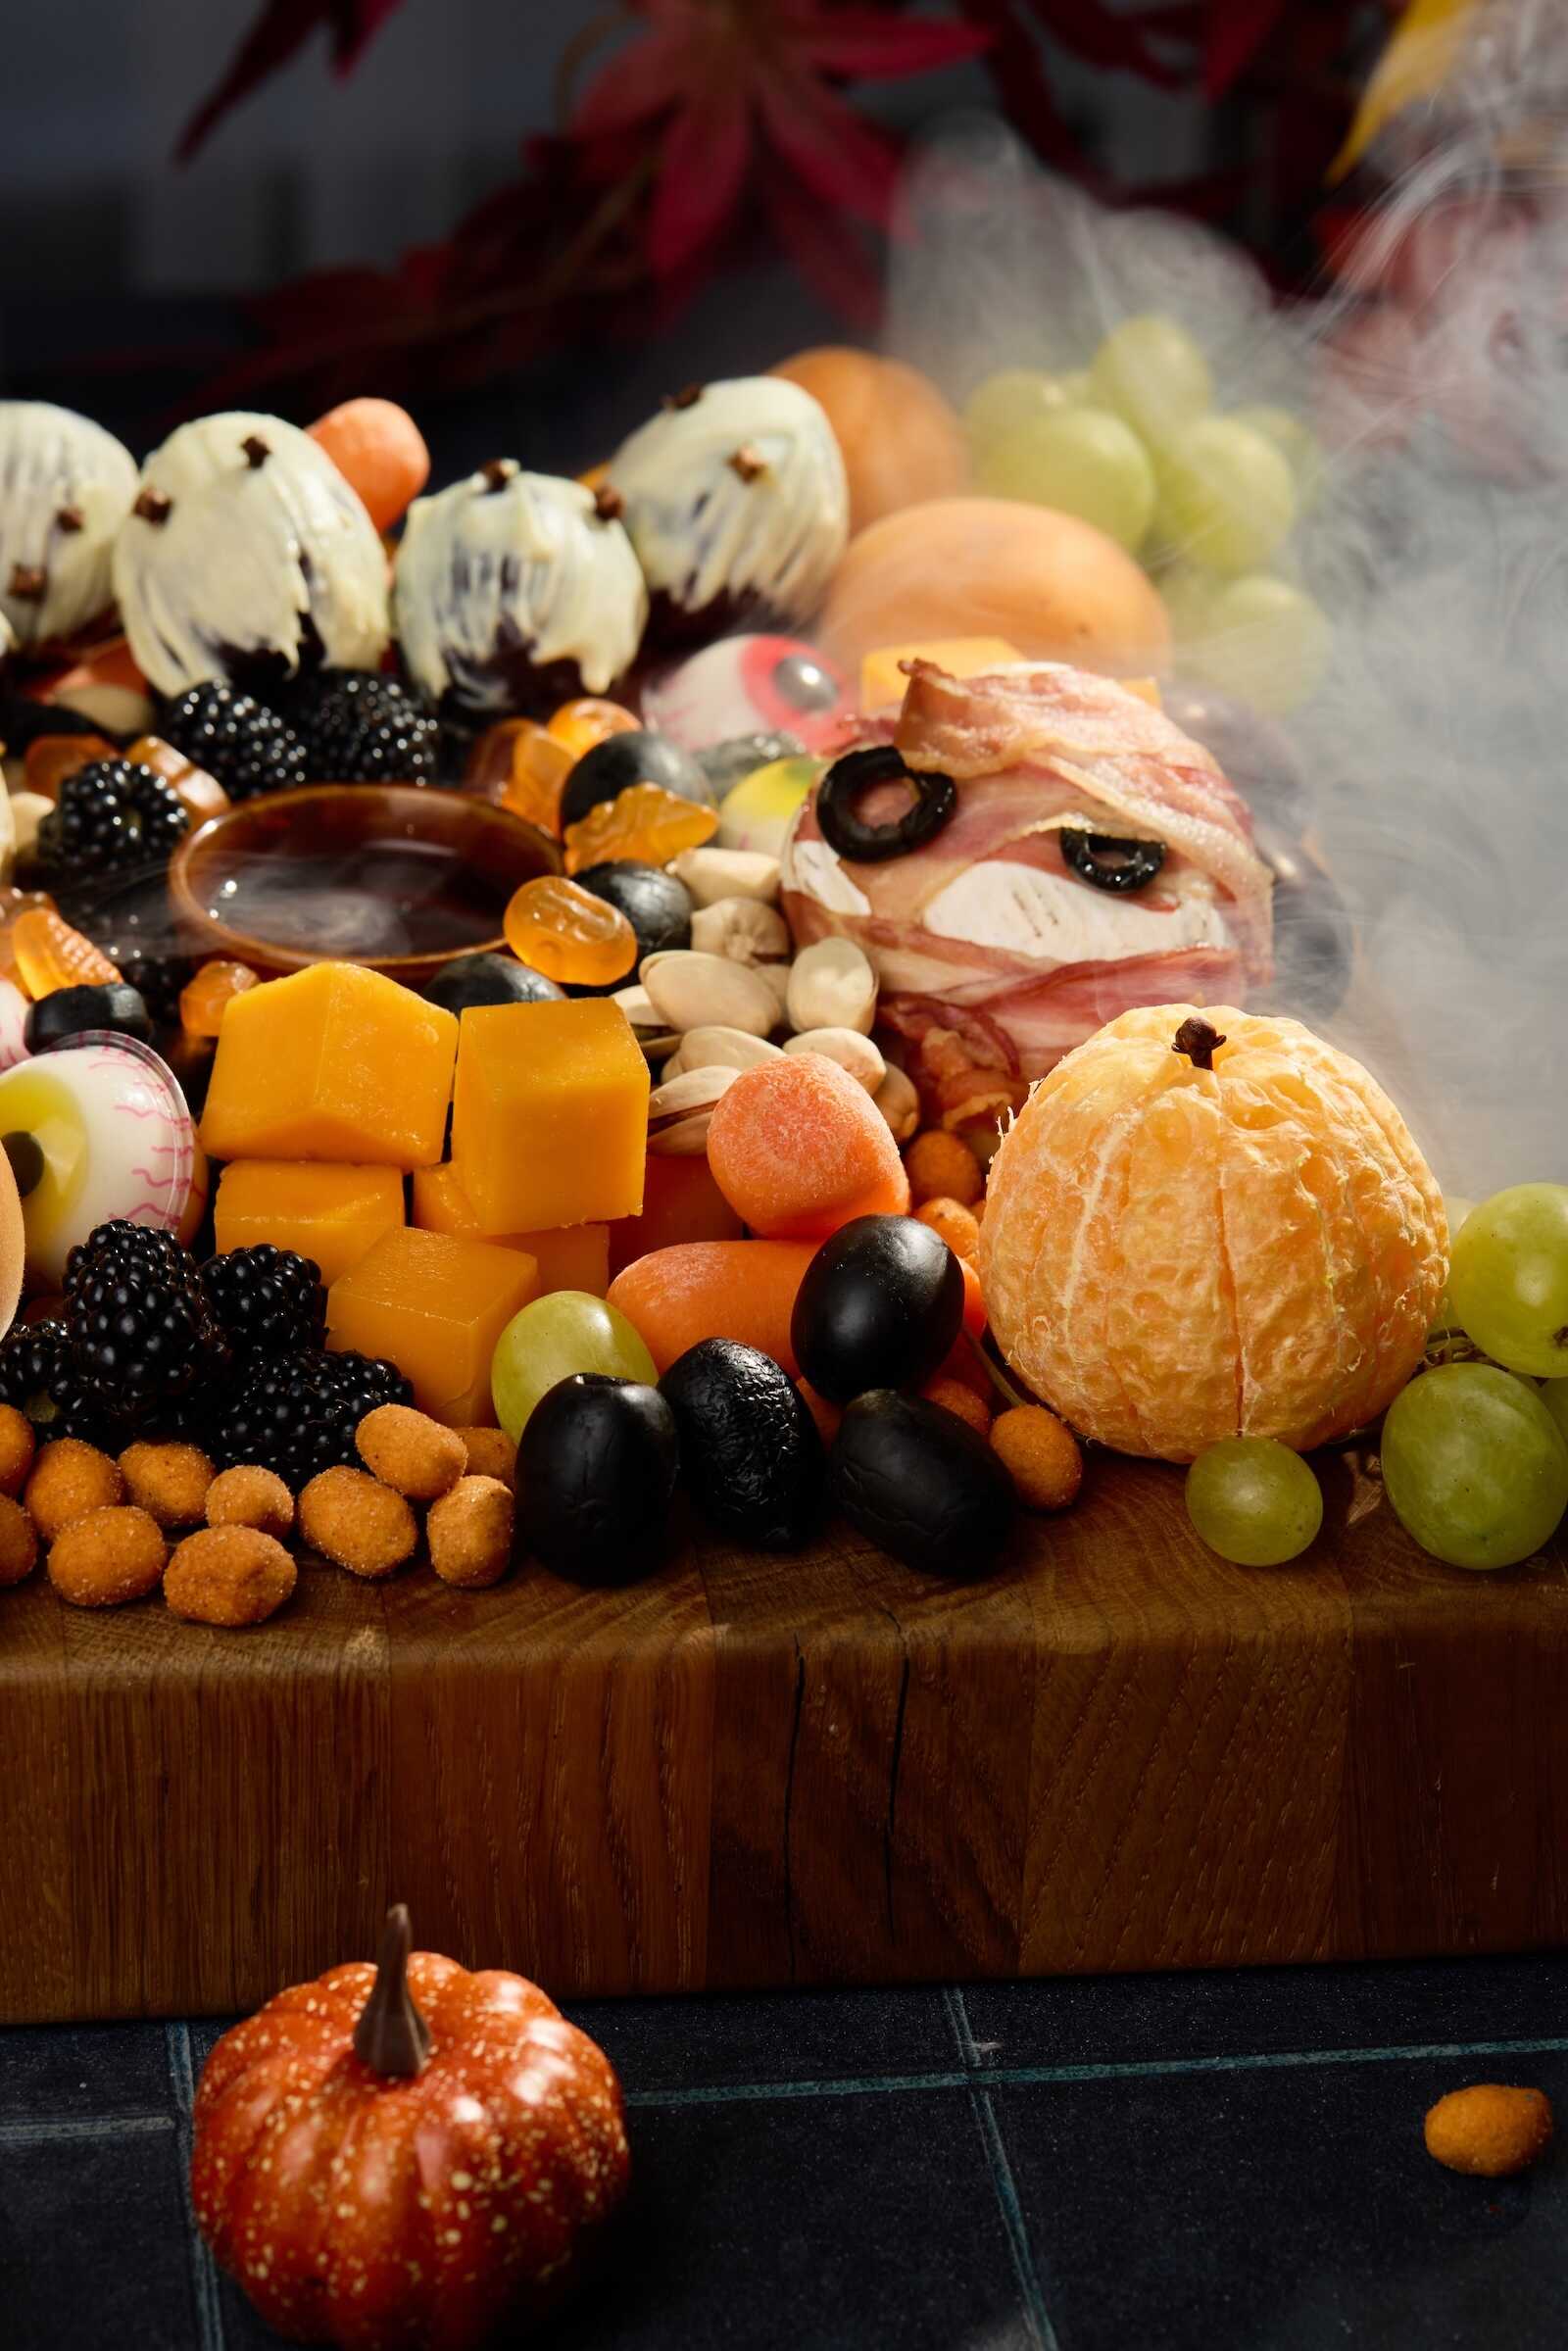
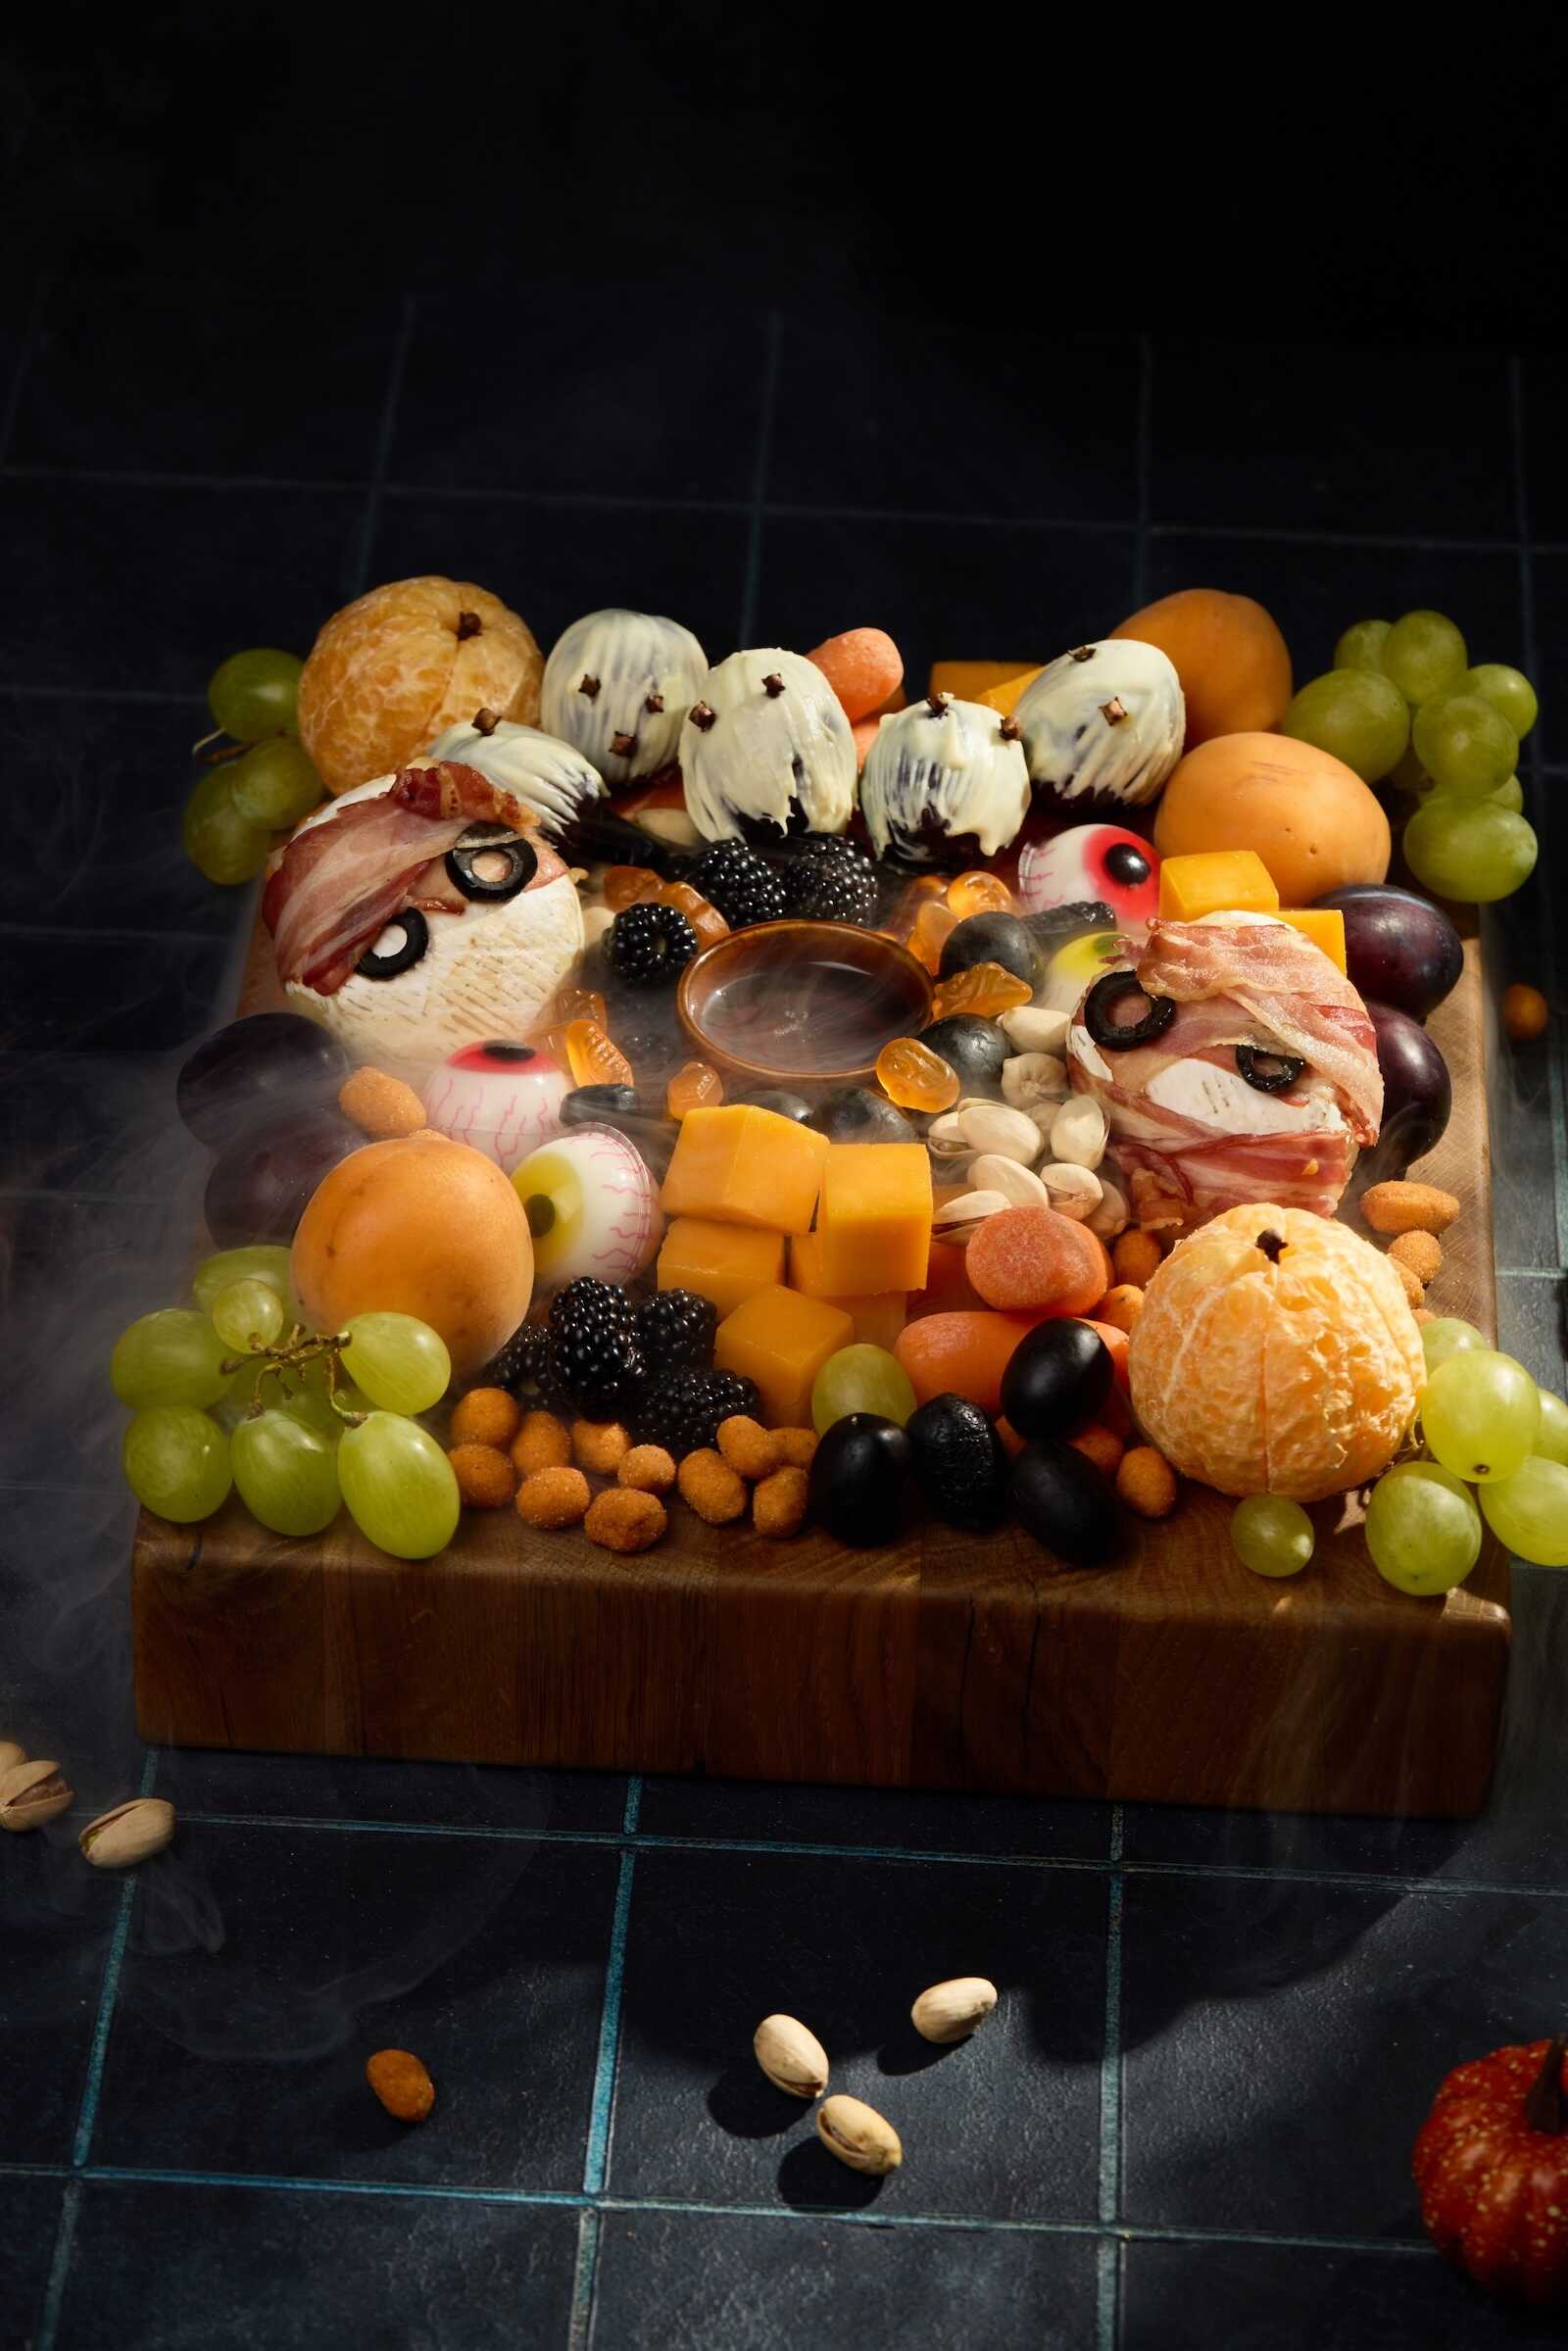
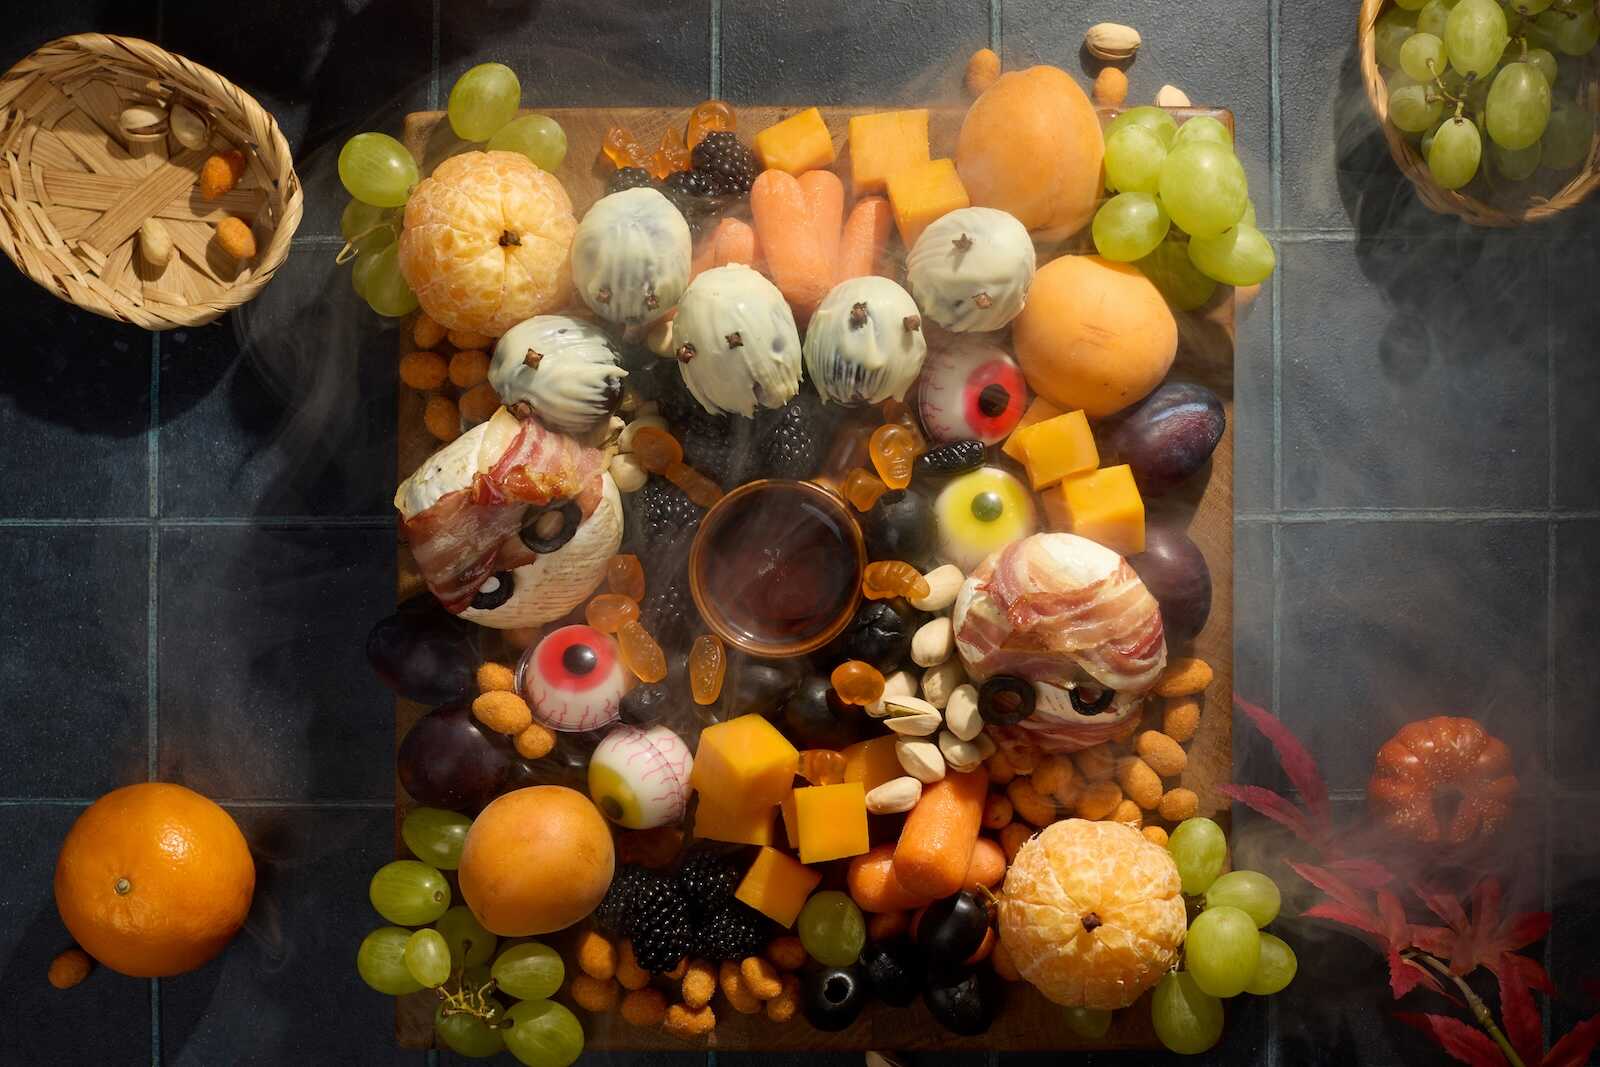
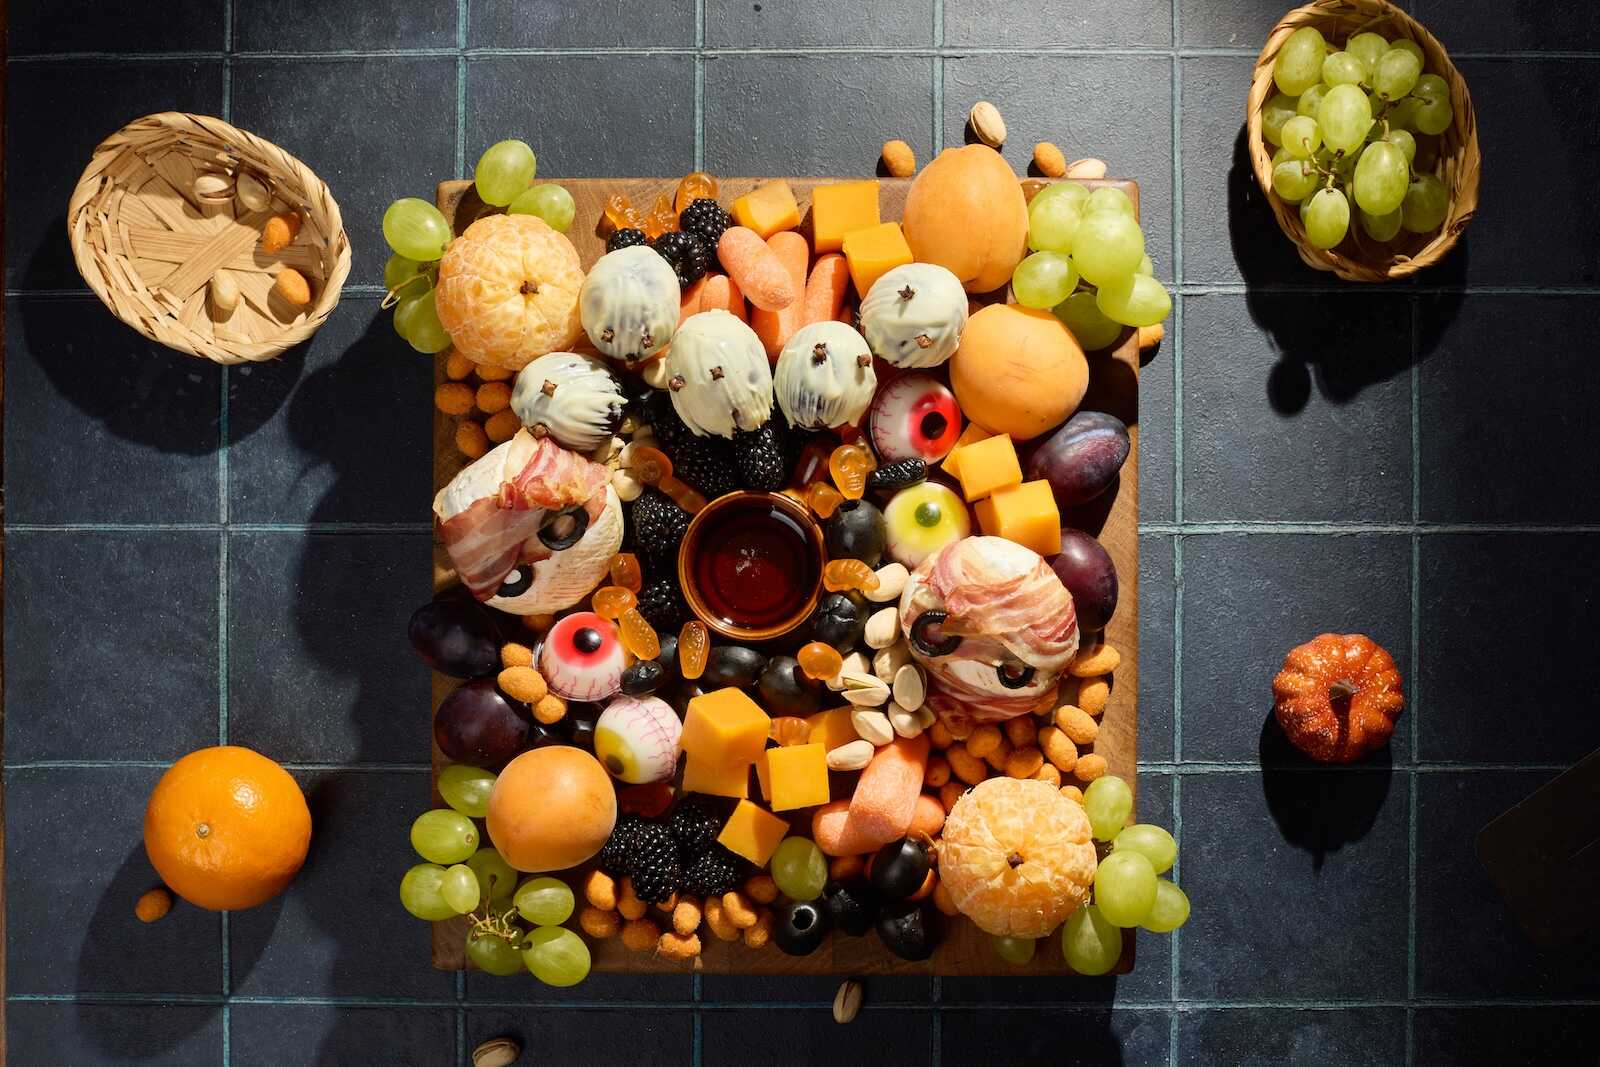
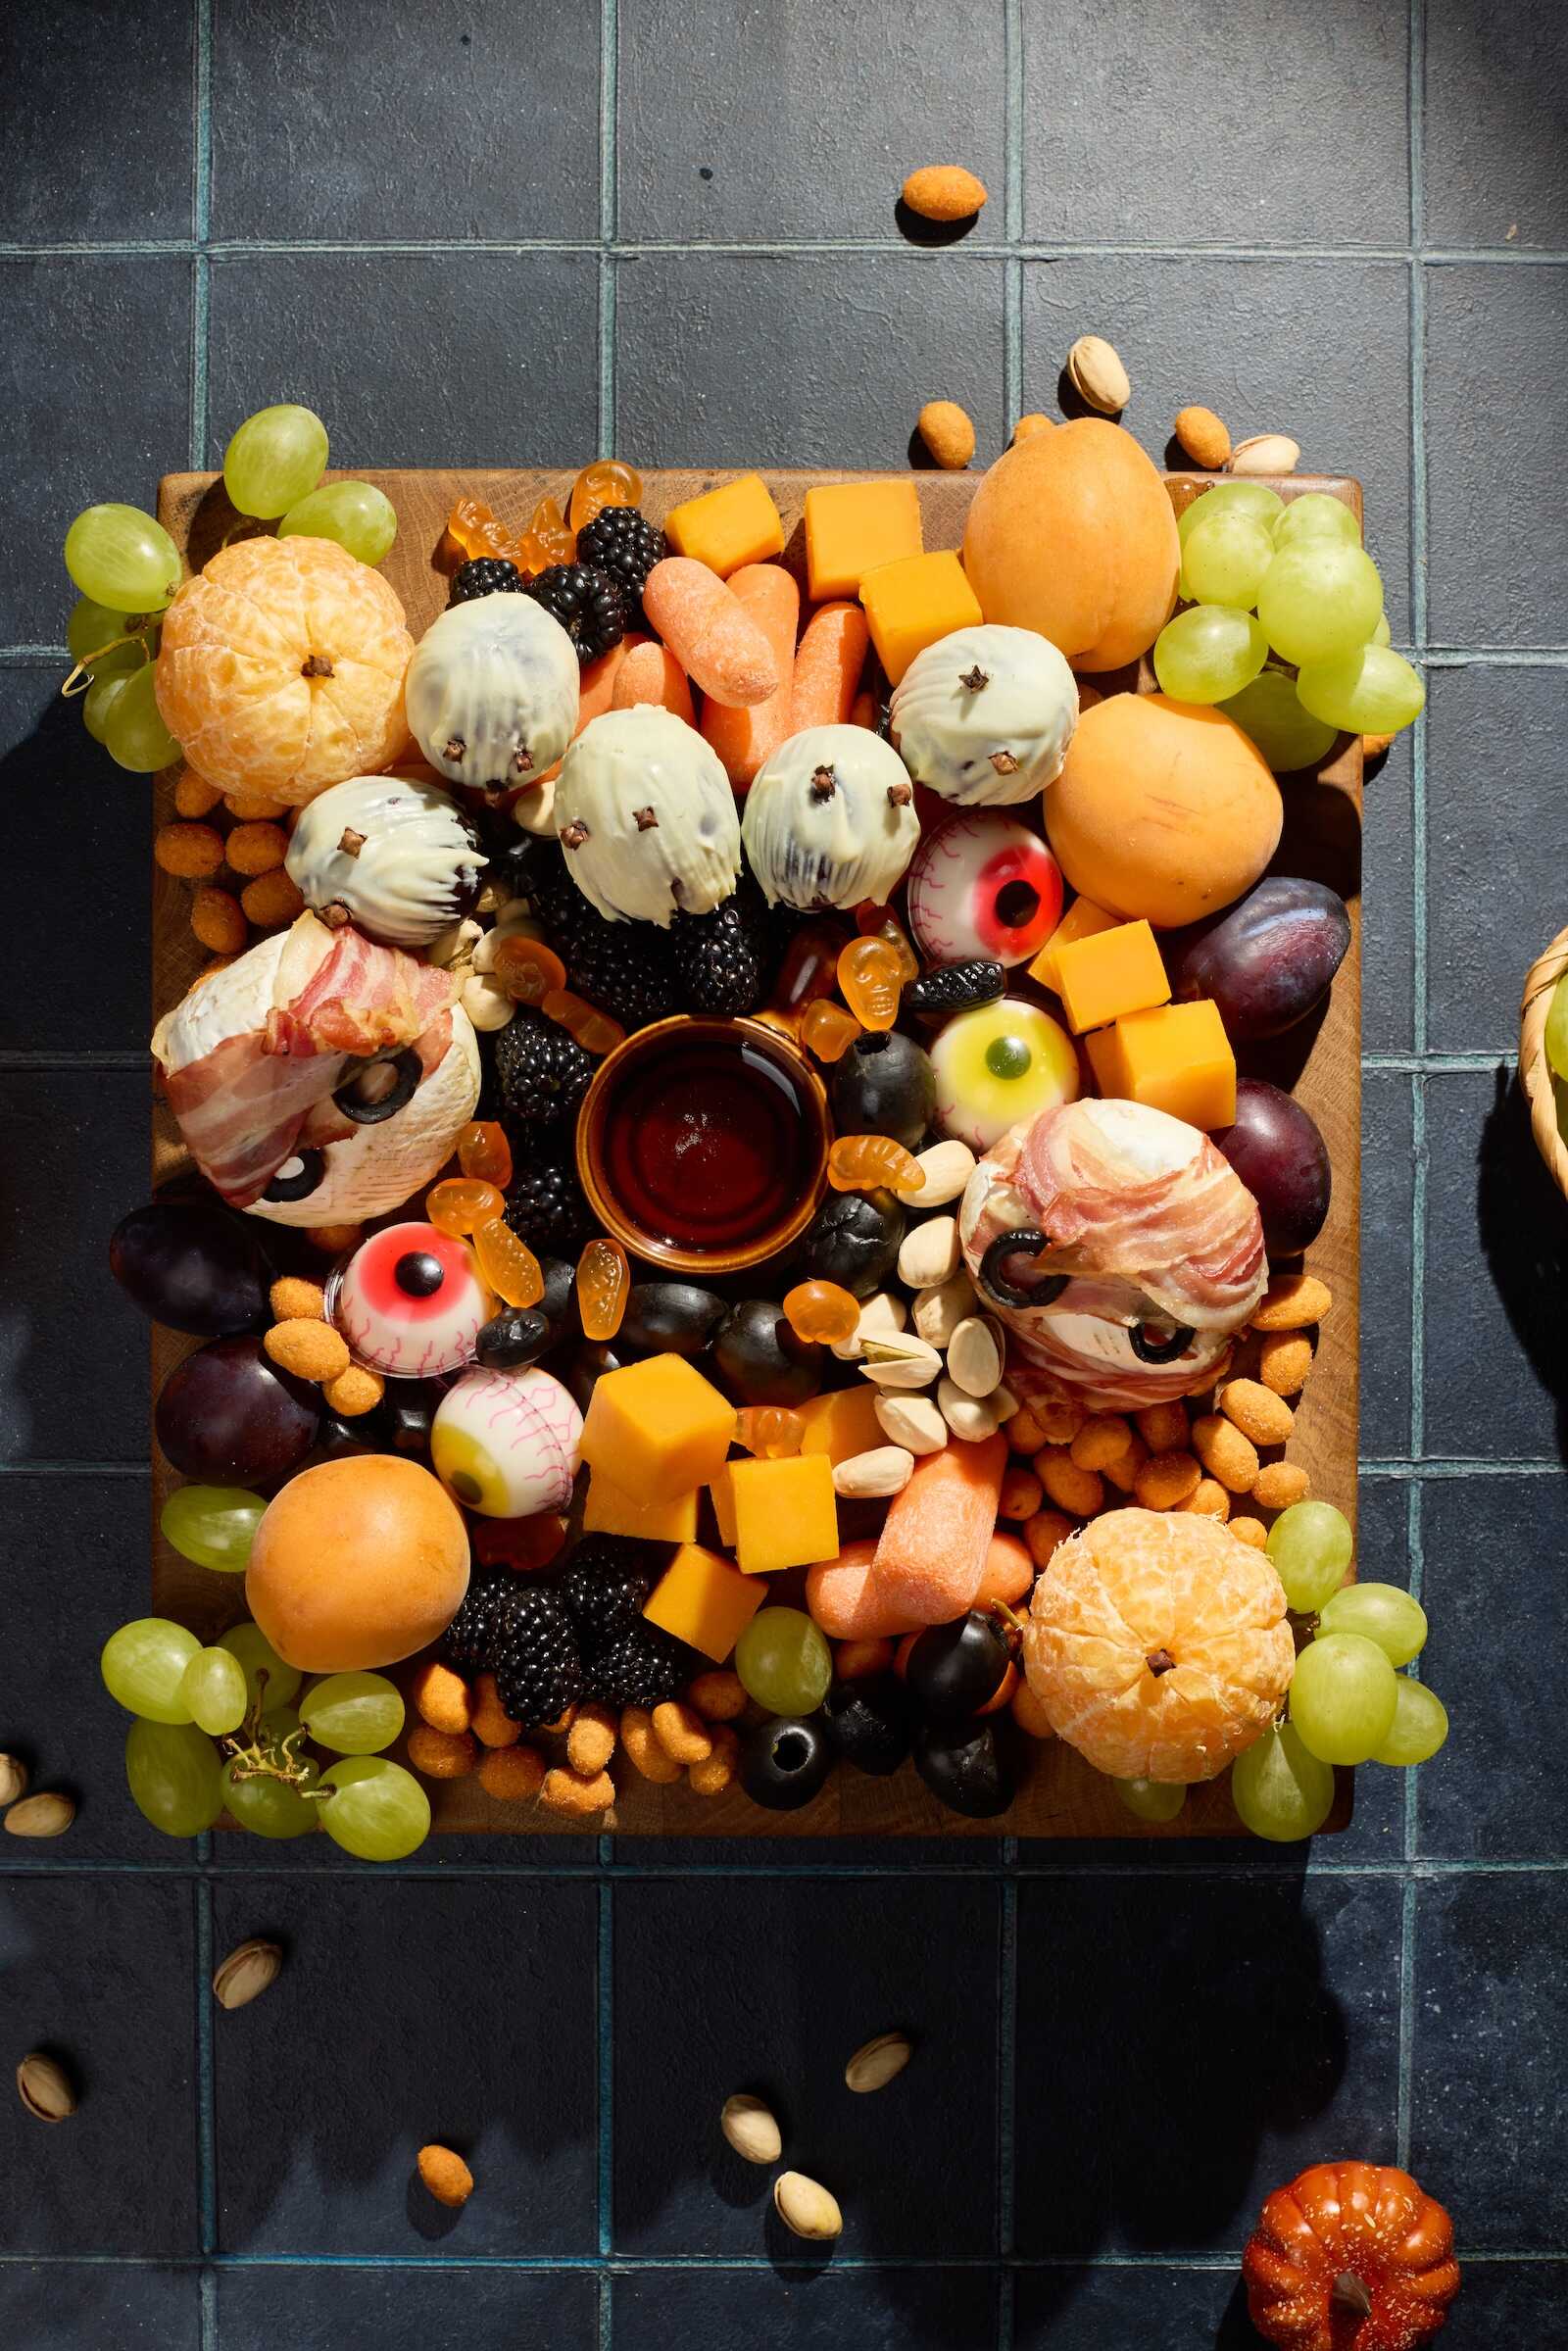
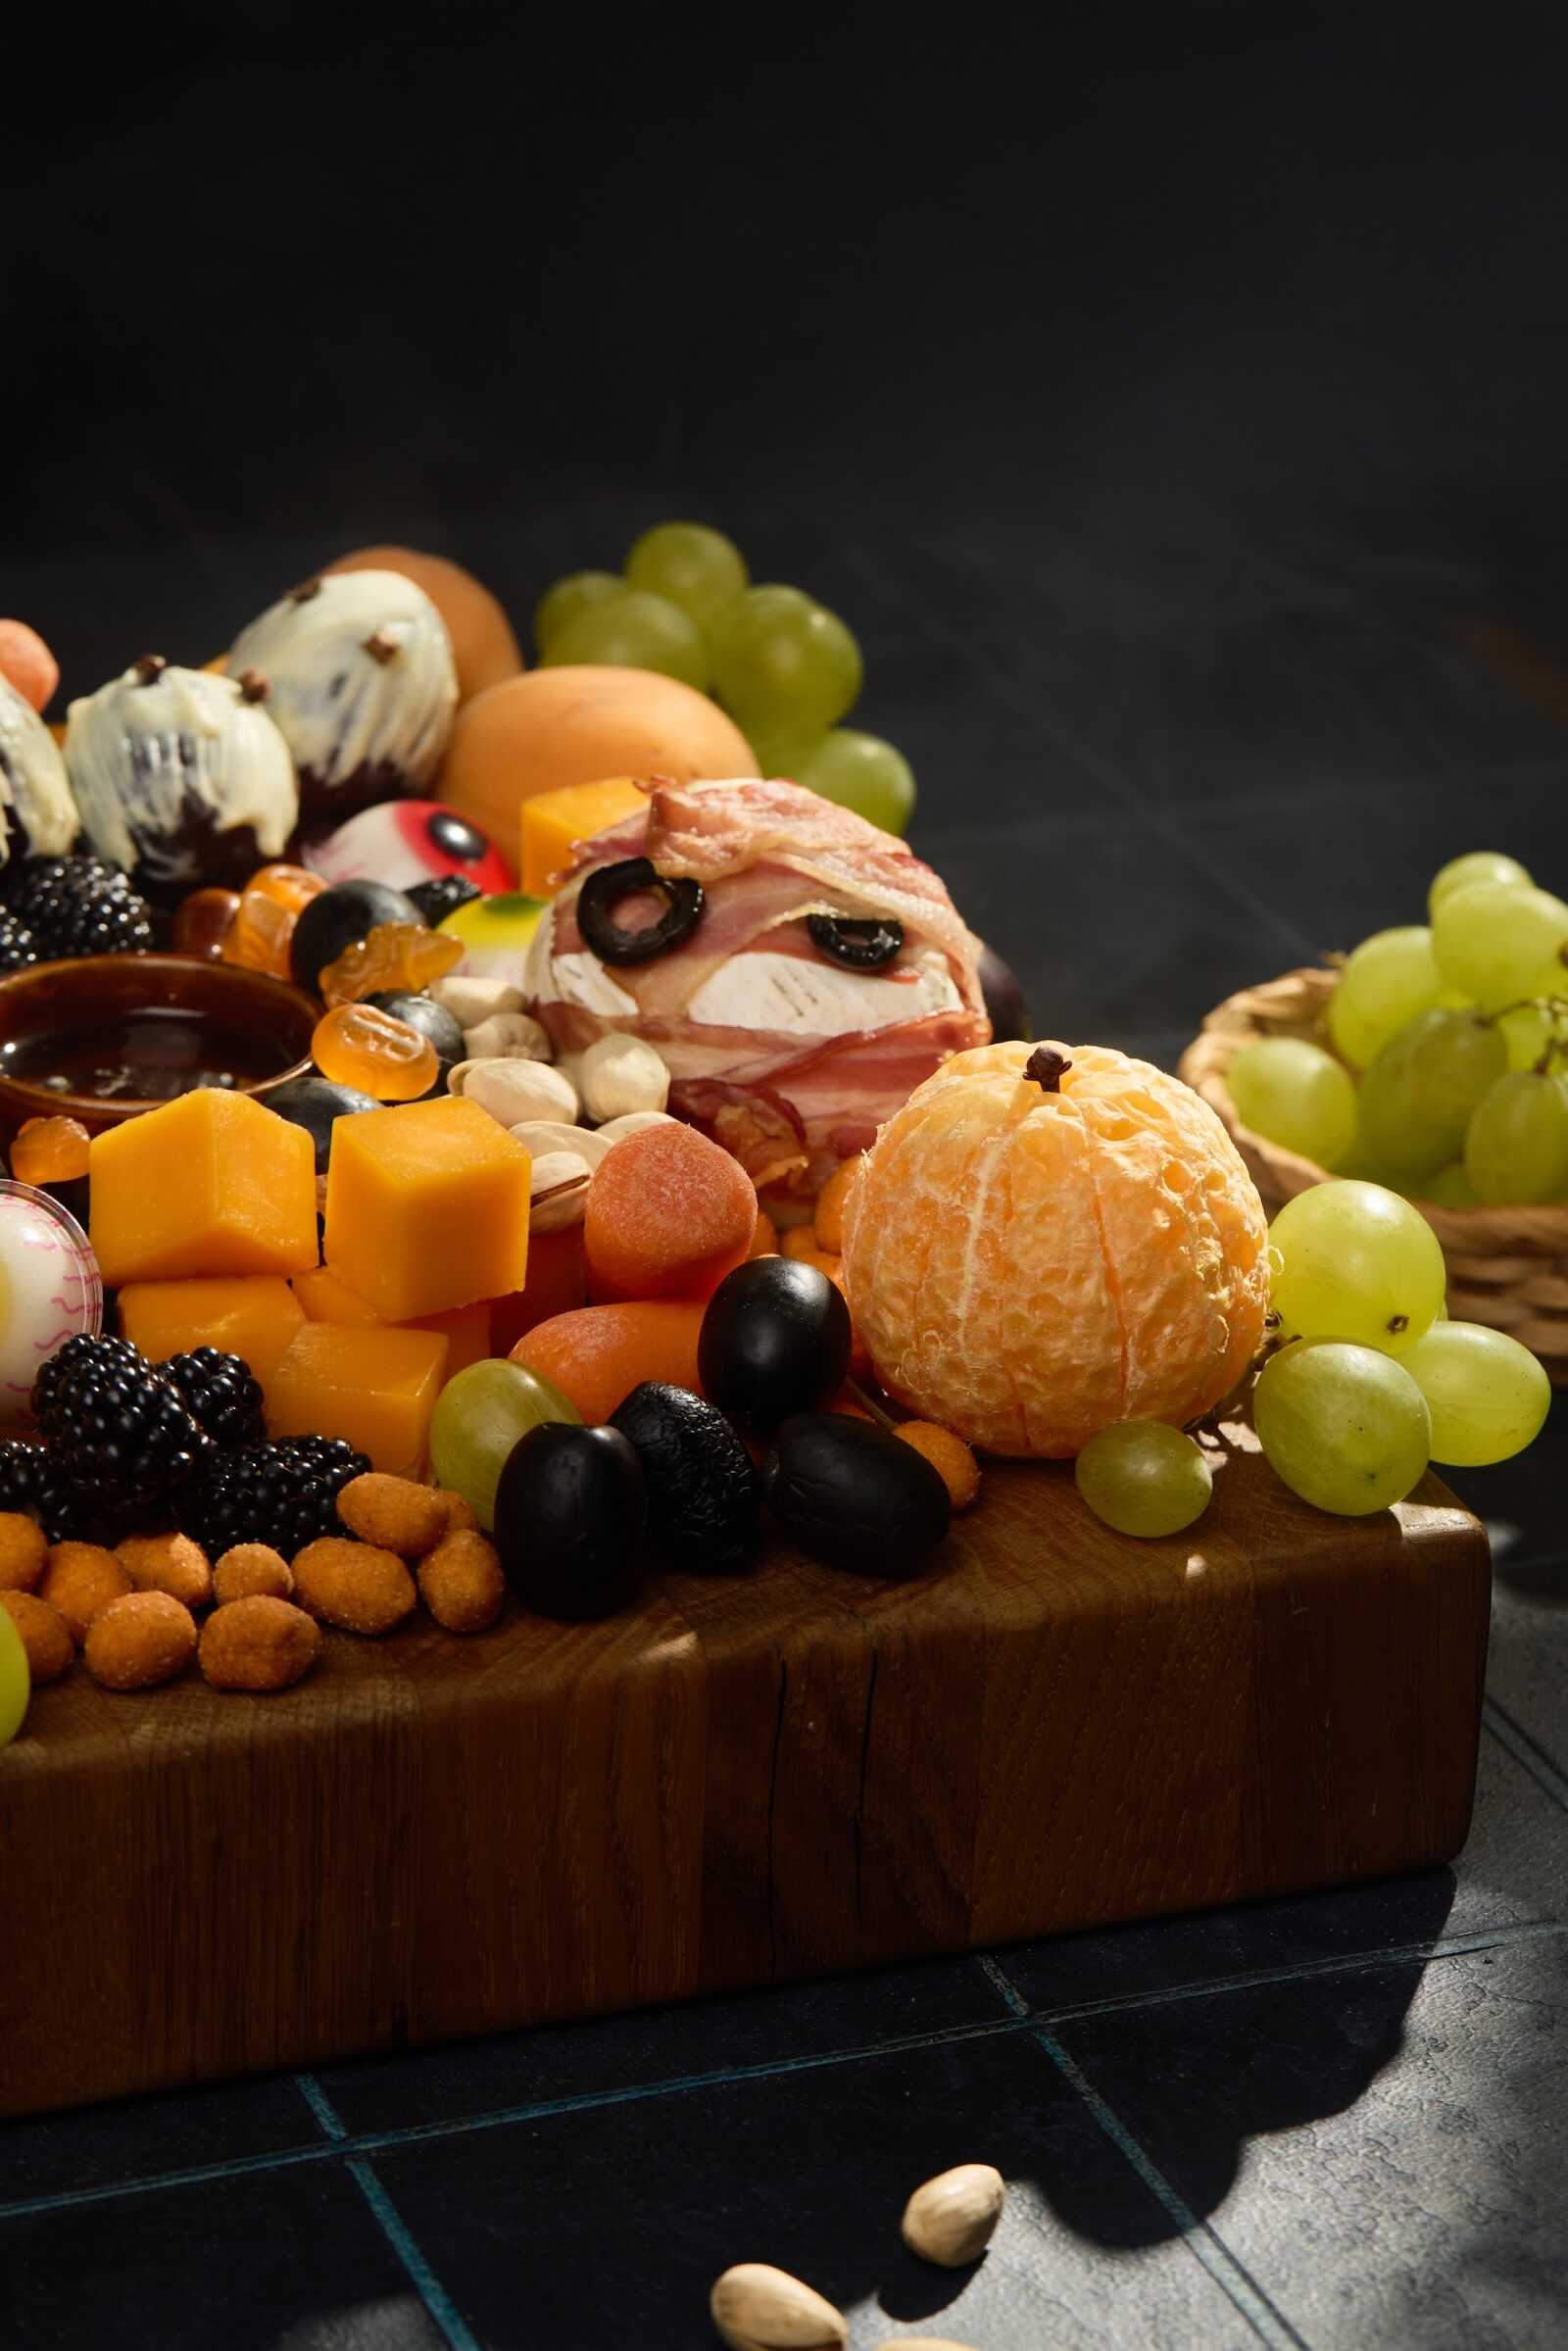
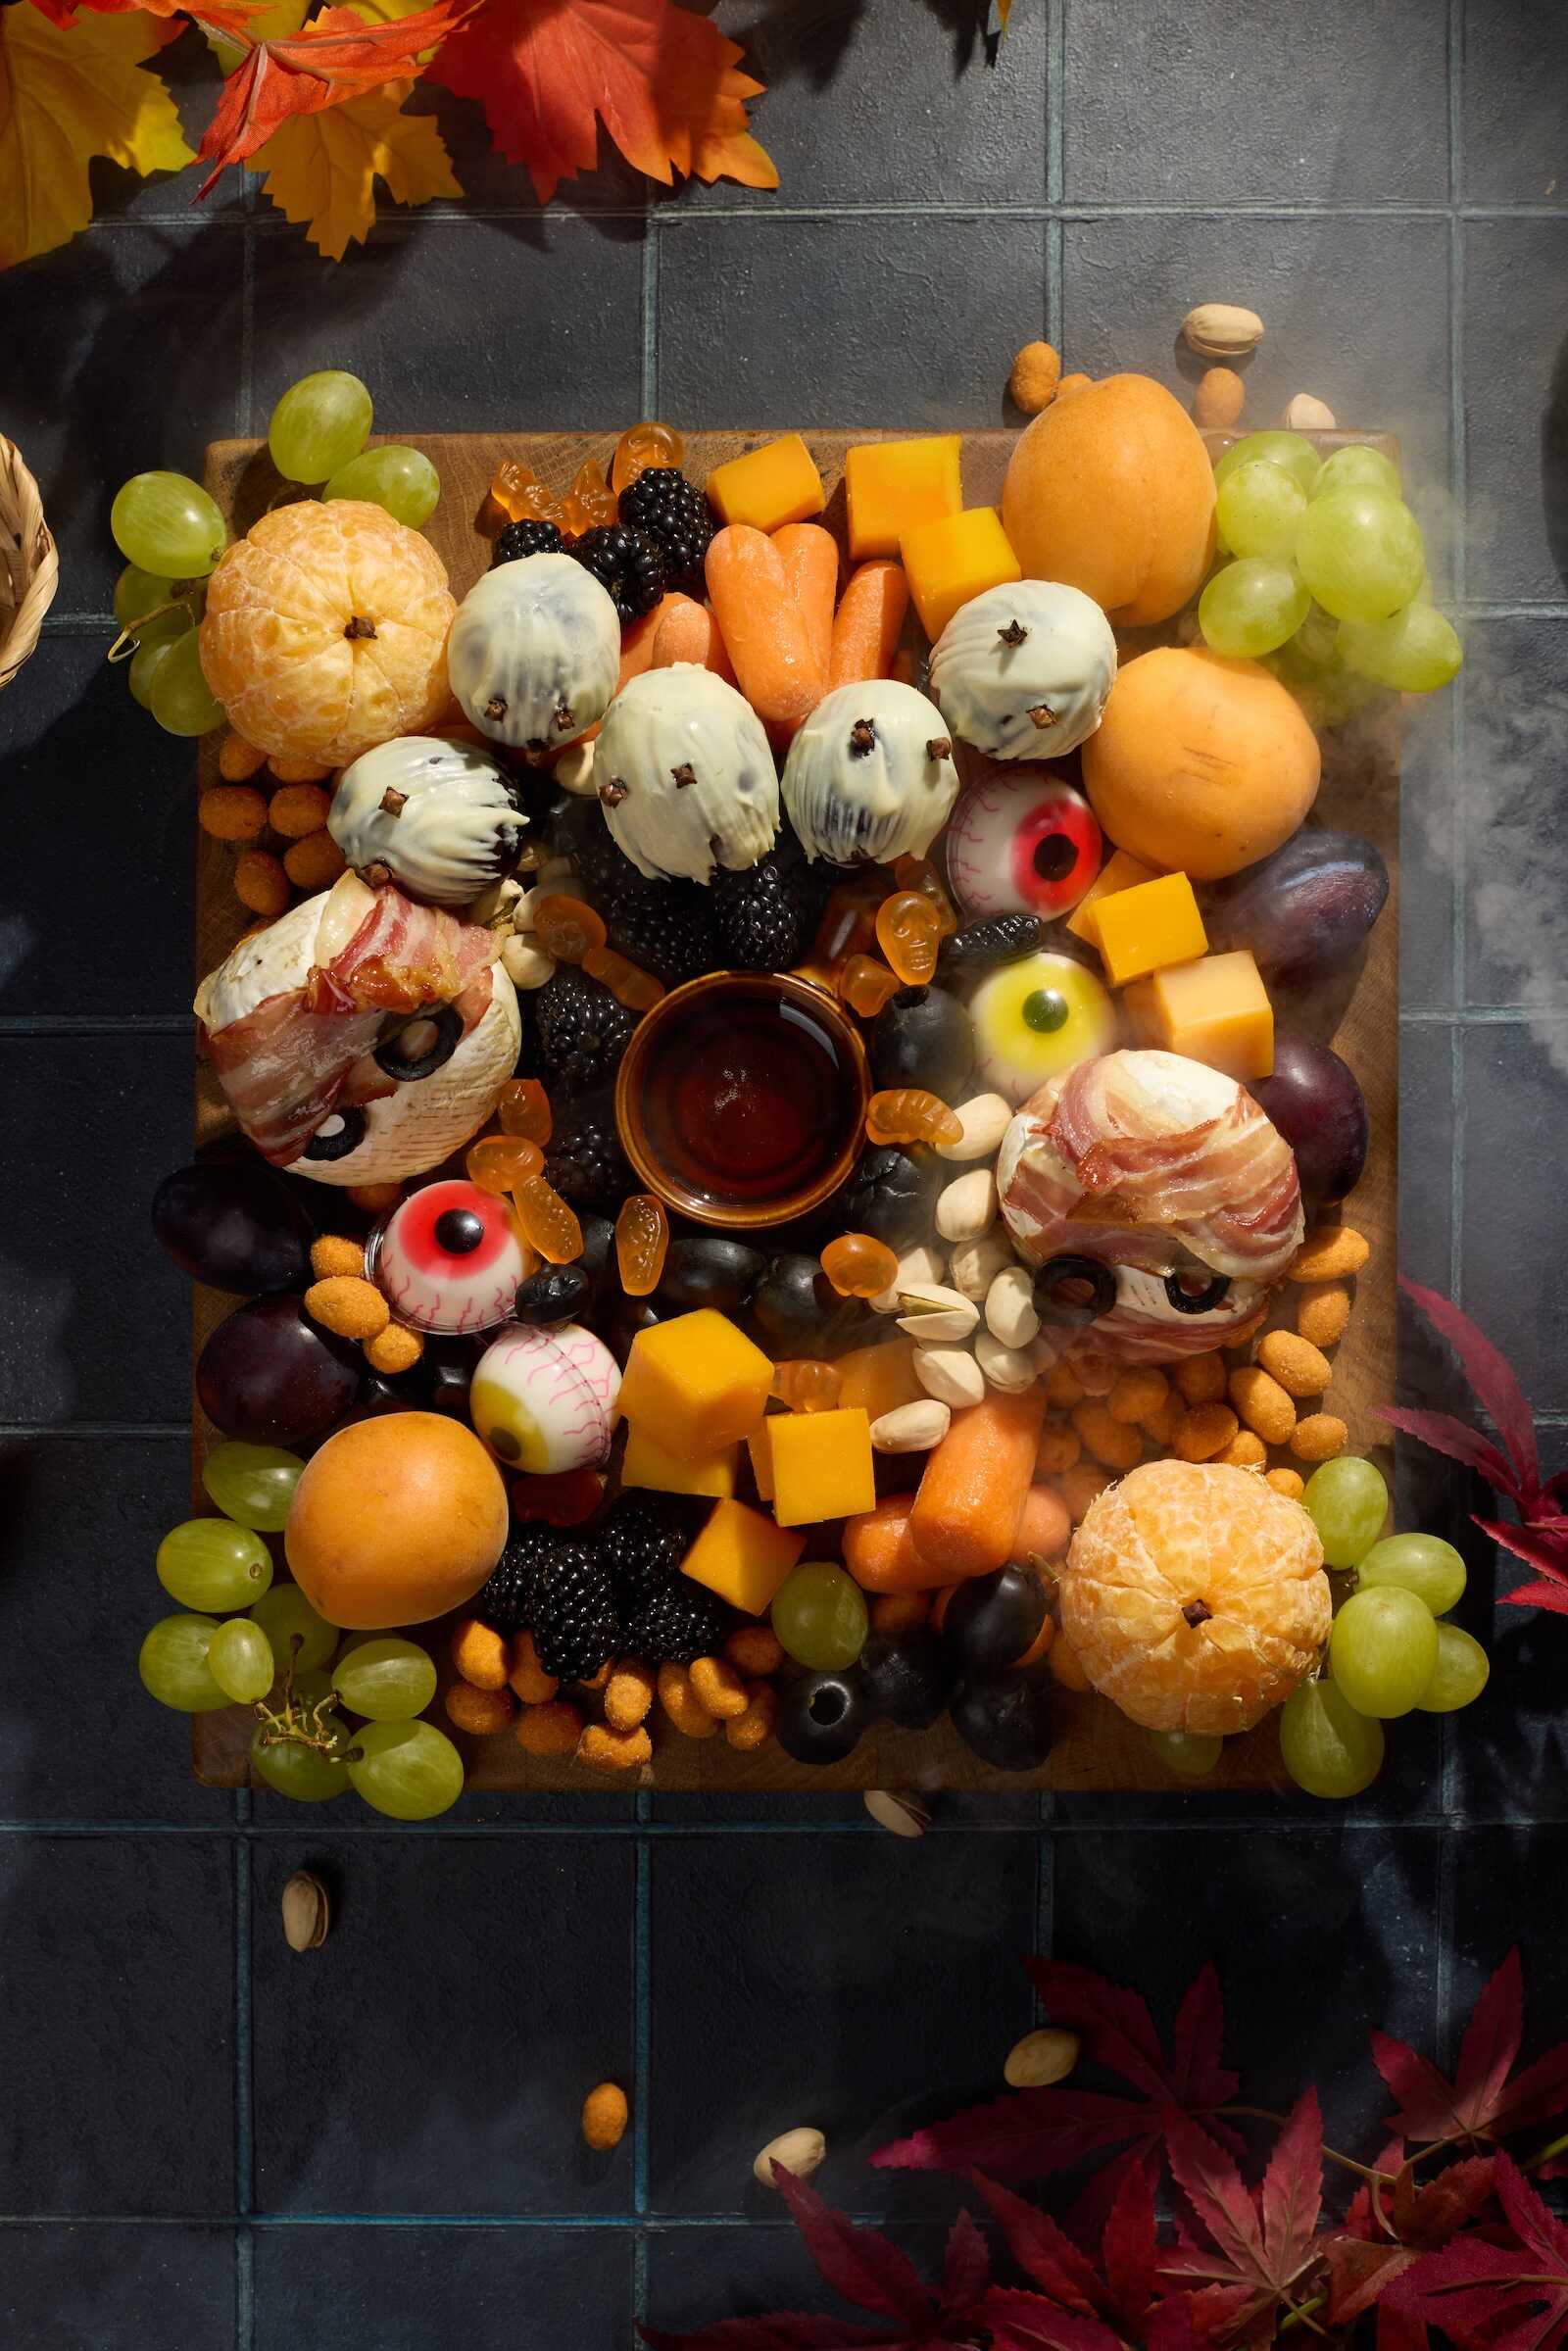
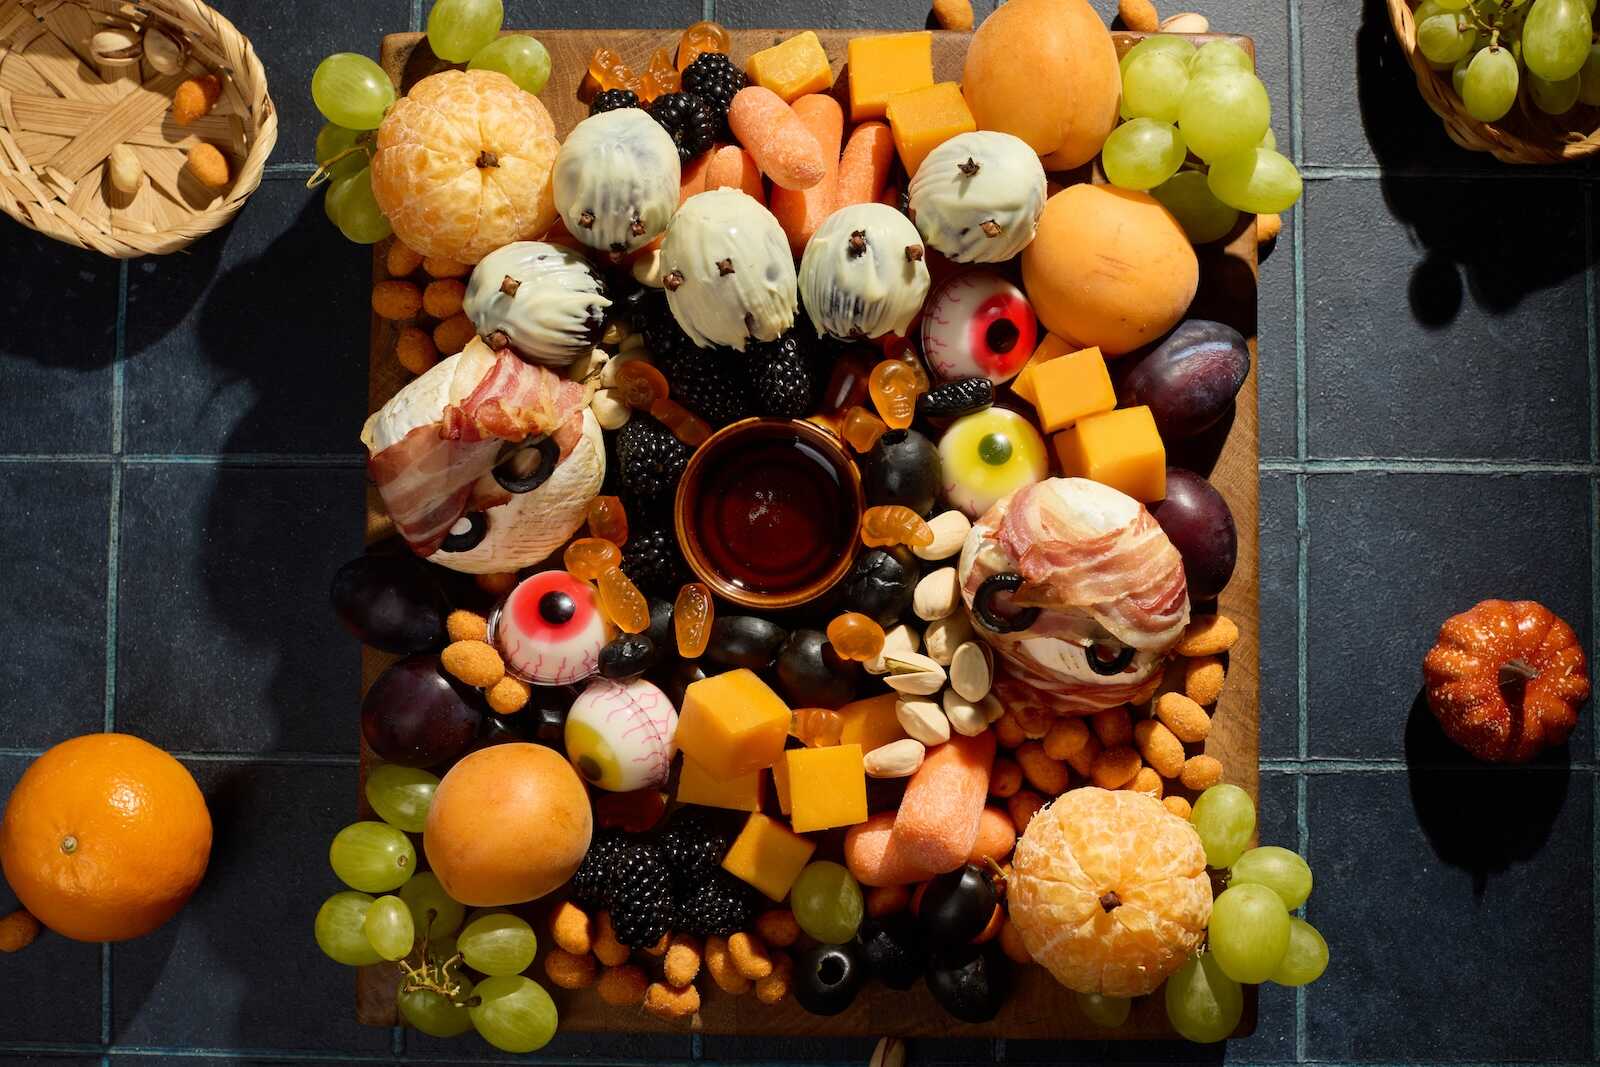
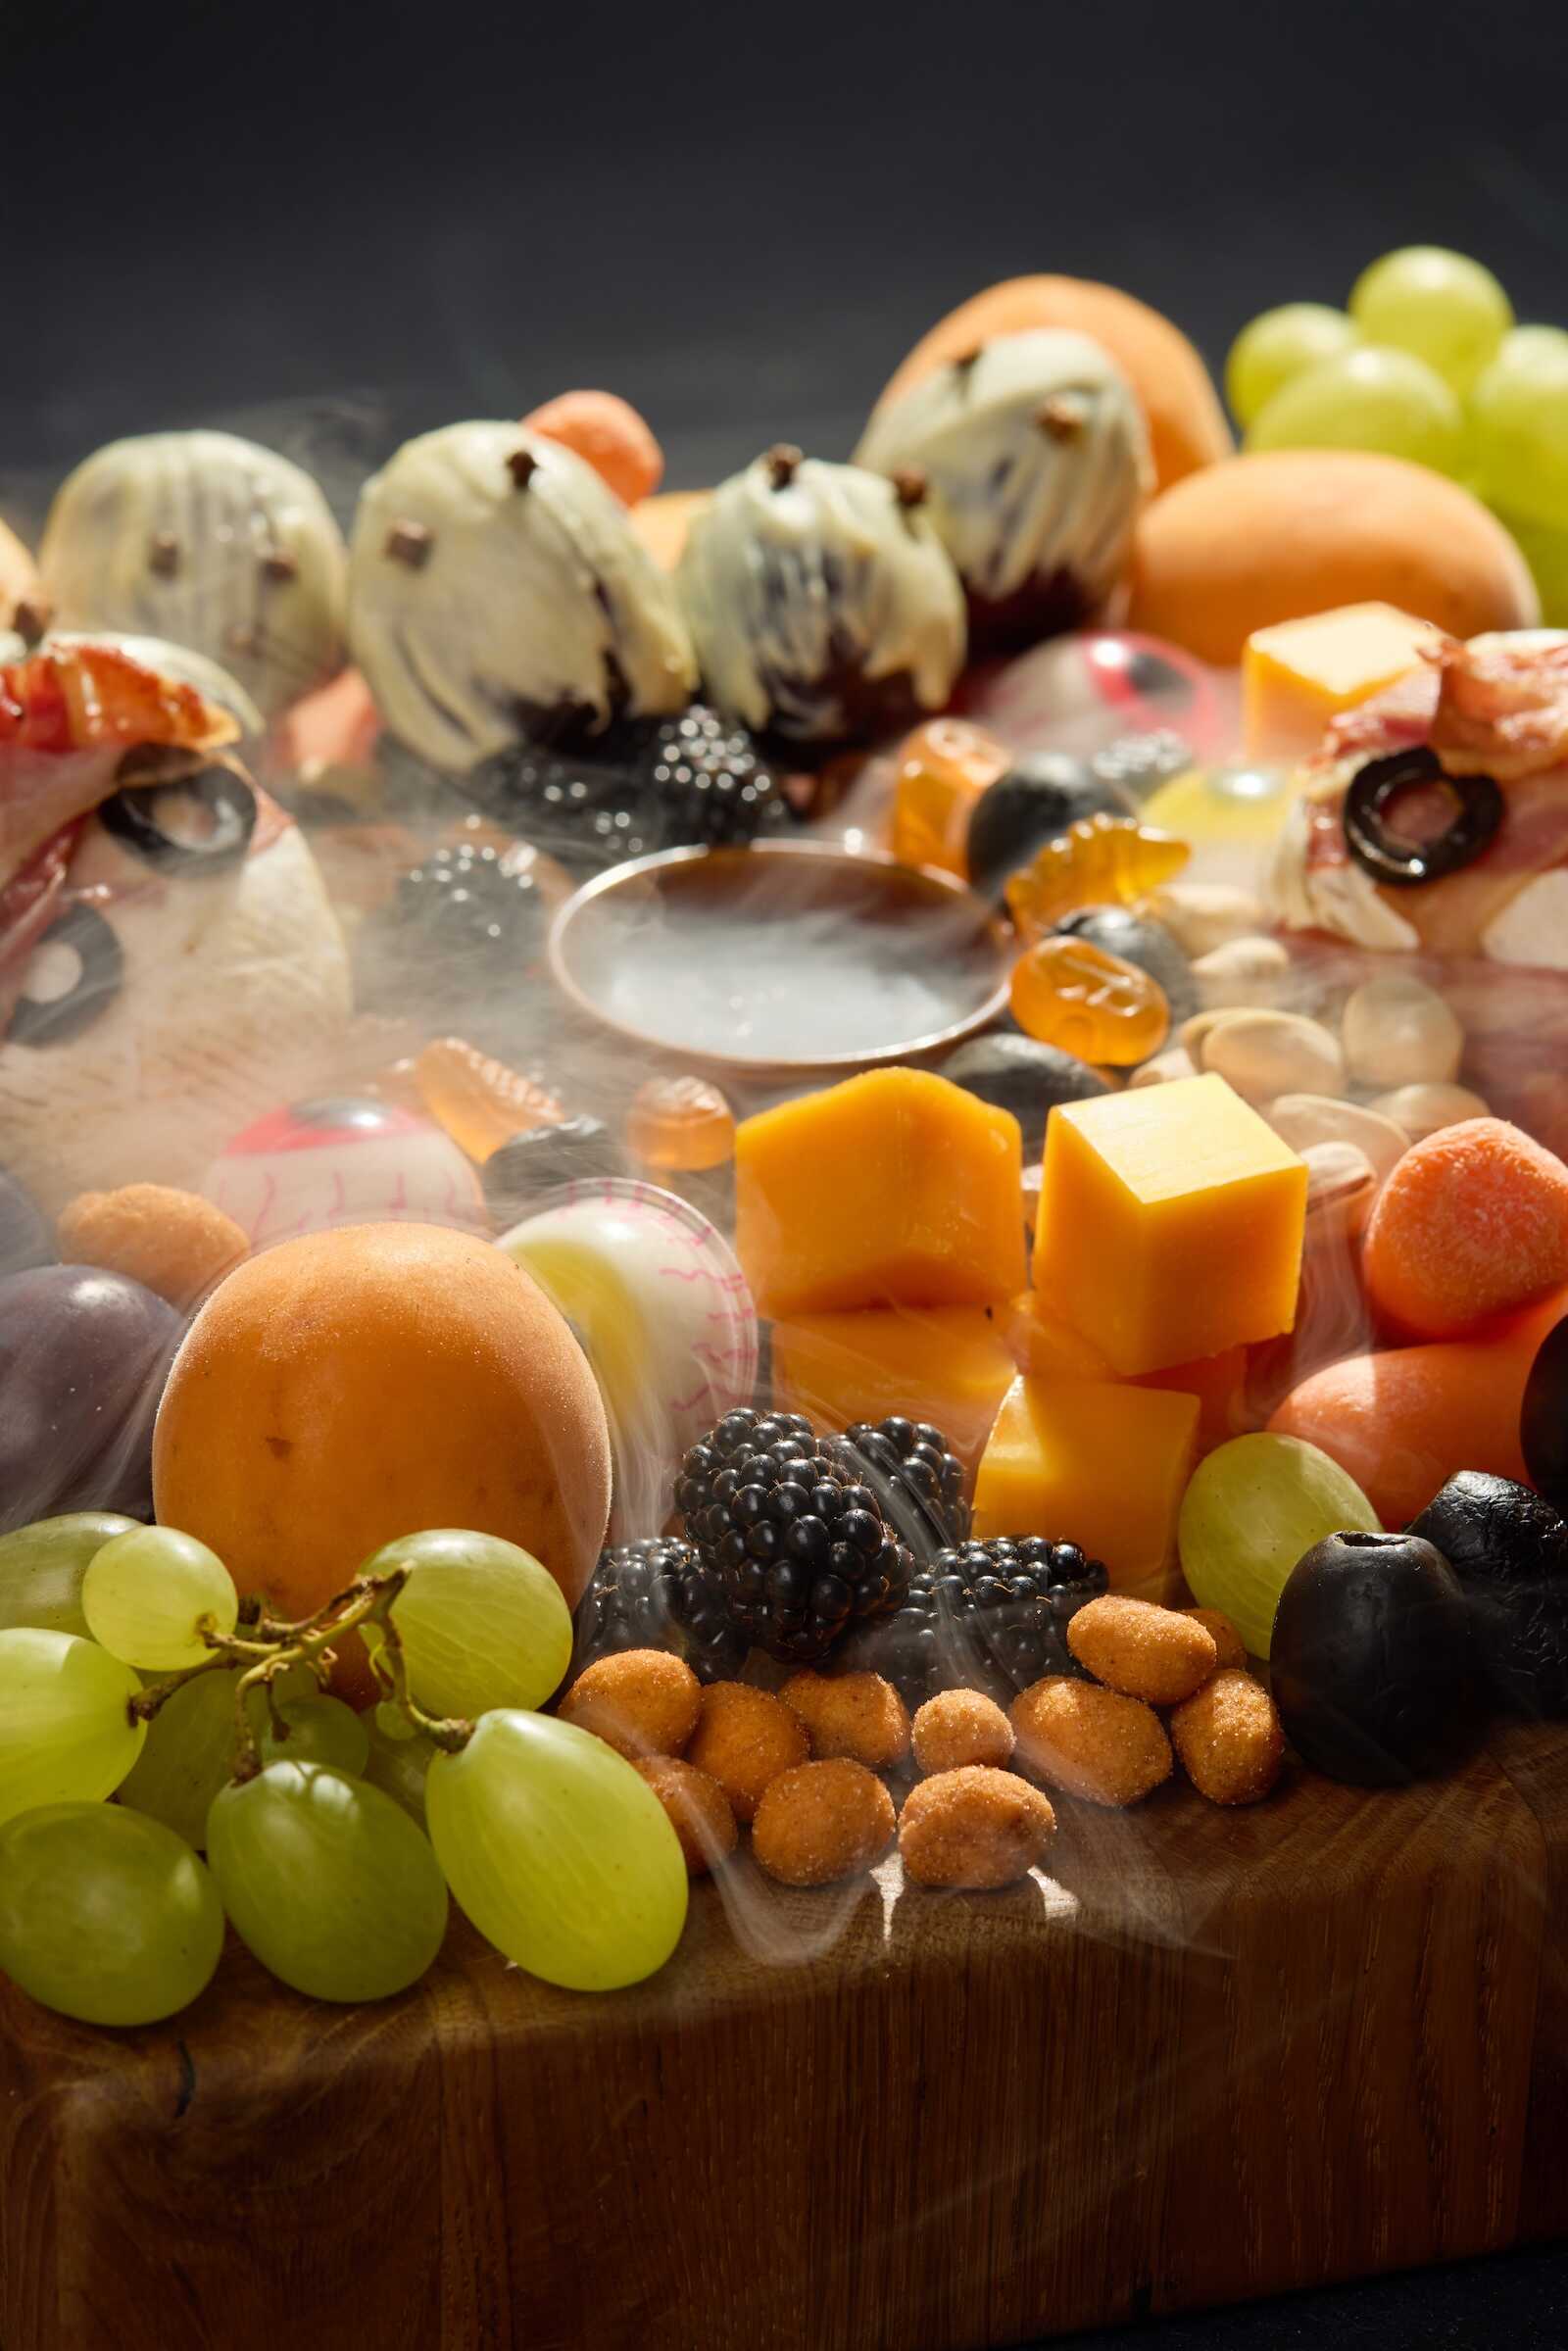
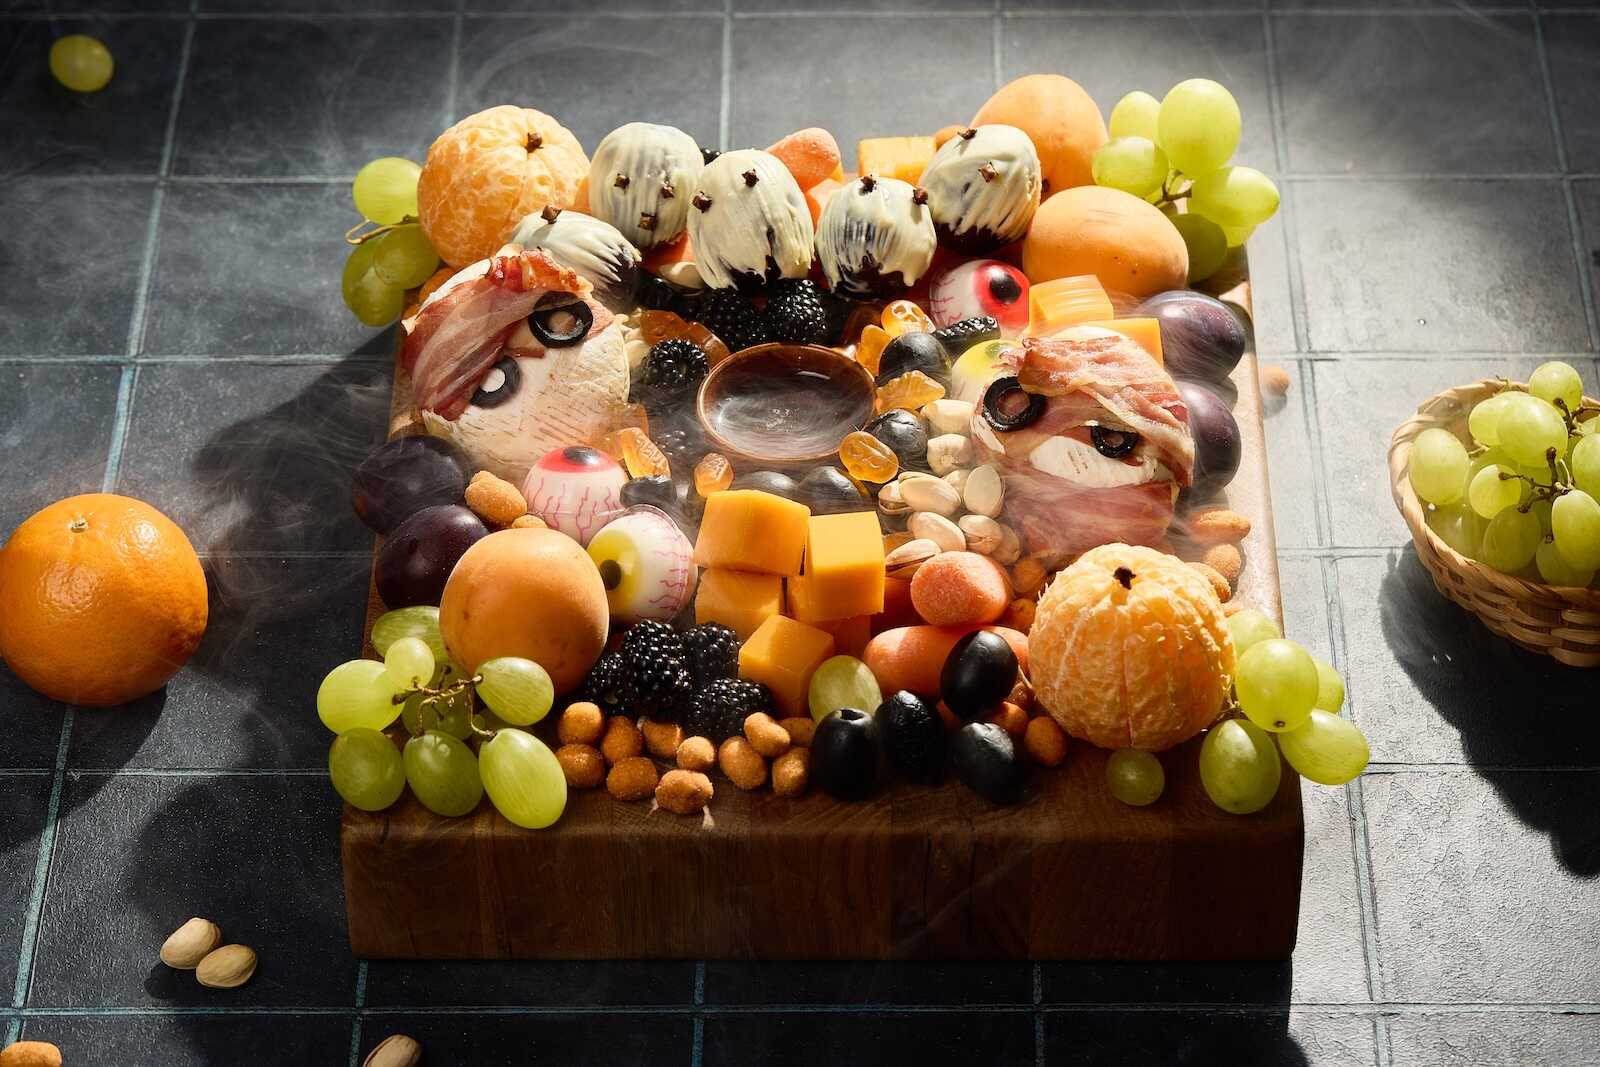
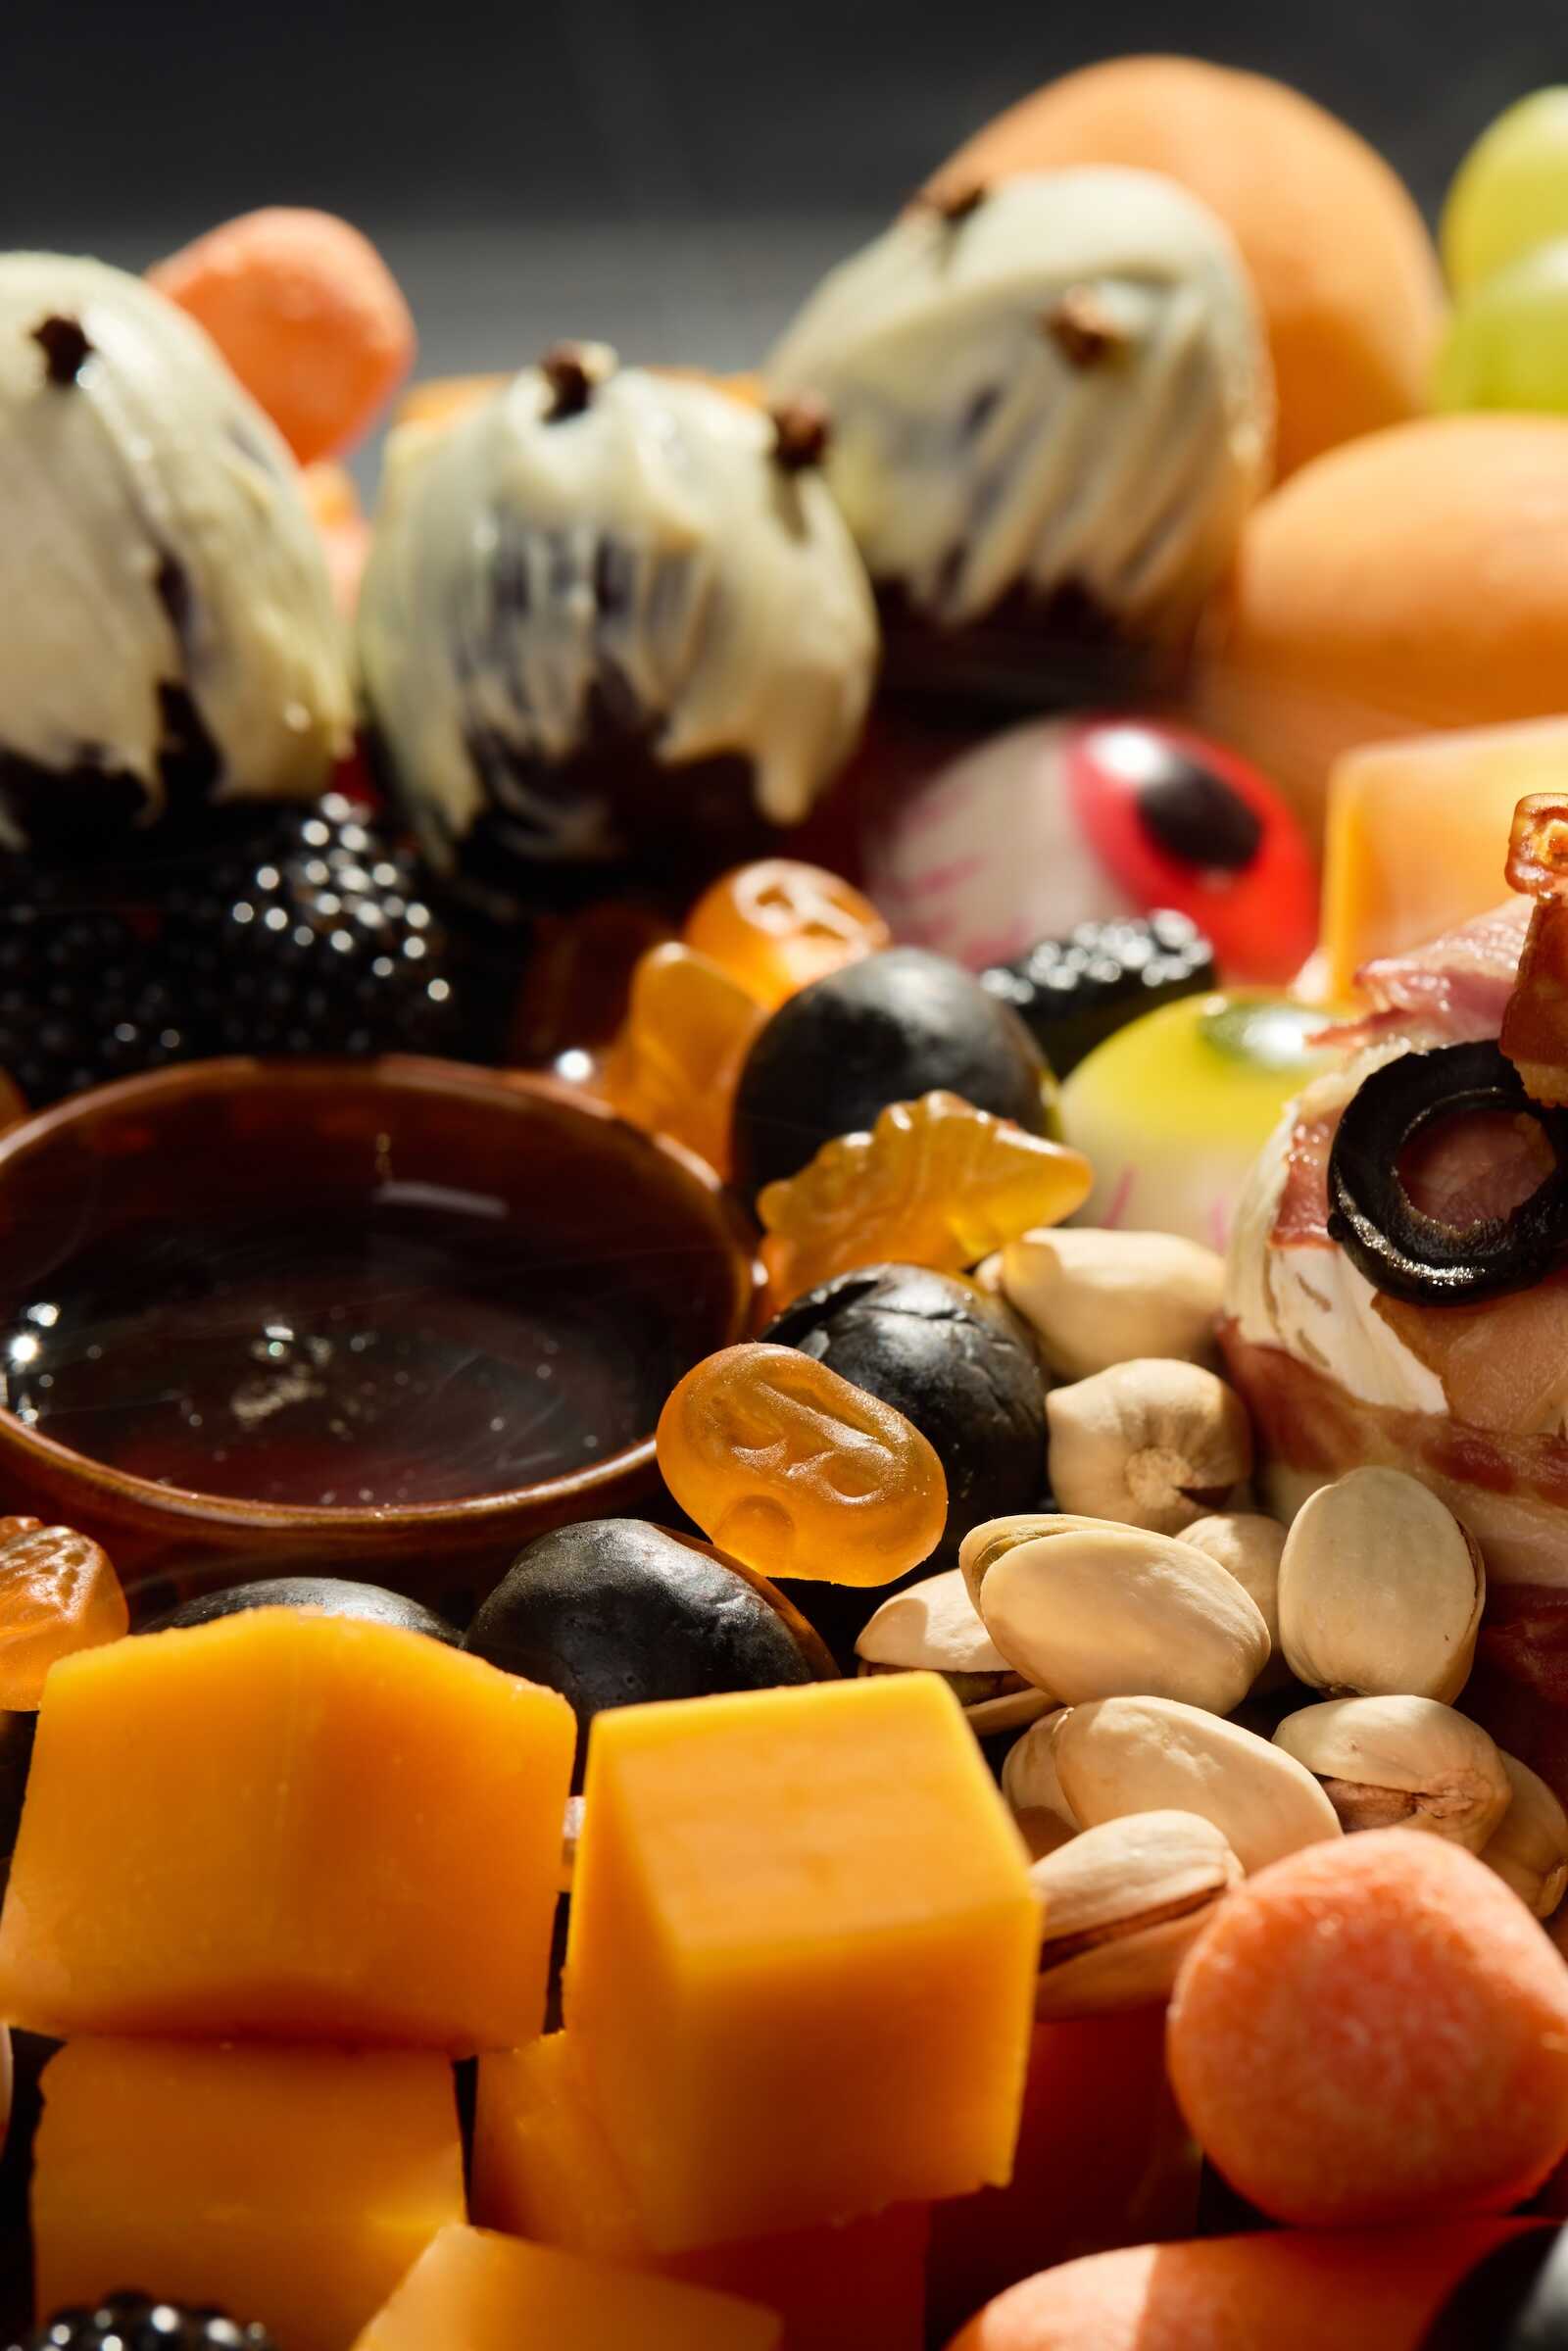
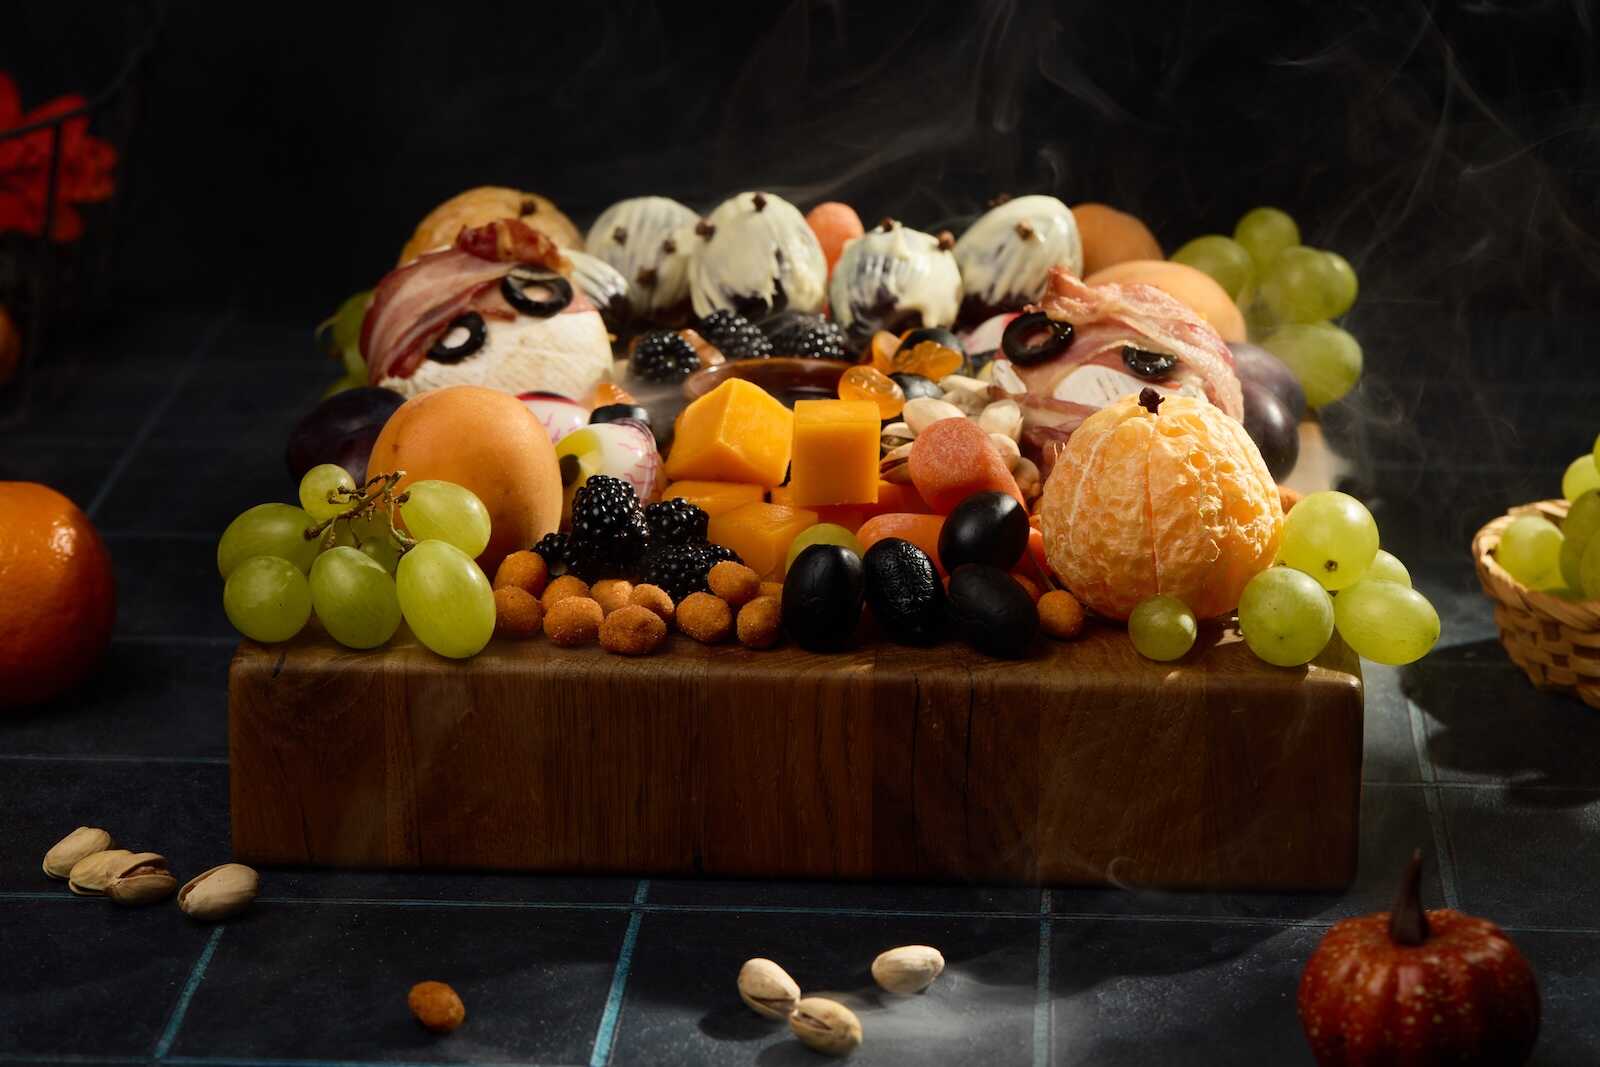
How Me Made This Featured Halloween Charcuterie Board
Ingredients List: (approx. amounts for 4–6 people):
- 2 wheels of camembert (~250 g total)
- 150 g bacon (thin strips)
- 120 g cheddar cheese (cubed)
- 200 g green grapes
- 2–3 mandarins (~300 g), peeled
- 3–4 apricots (~200 g)
- 6–7 small plums (~300 g)
- 100 g blackberries
- 80 g black olives
- 50 g pistachios
- 50 g coated peanuts (snack style)
- 150 g white chocolate
- 40 g honey (2 tbsp, served in a small bowl or cup)
- 100 g baby carrots
- Whole cloves (for decoration “eyes”)
- 5–6 gummy candy eyeballs
- 5–6 gummy candy skulls or other spooky gummies
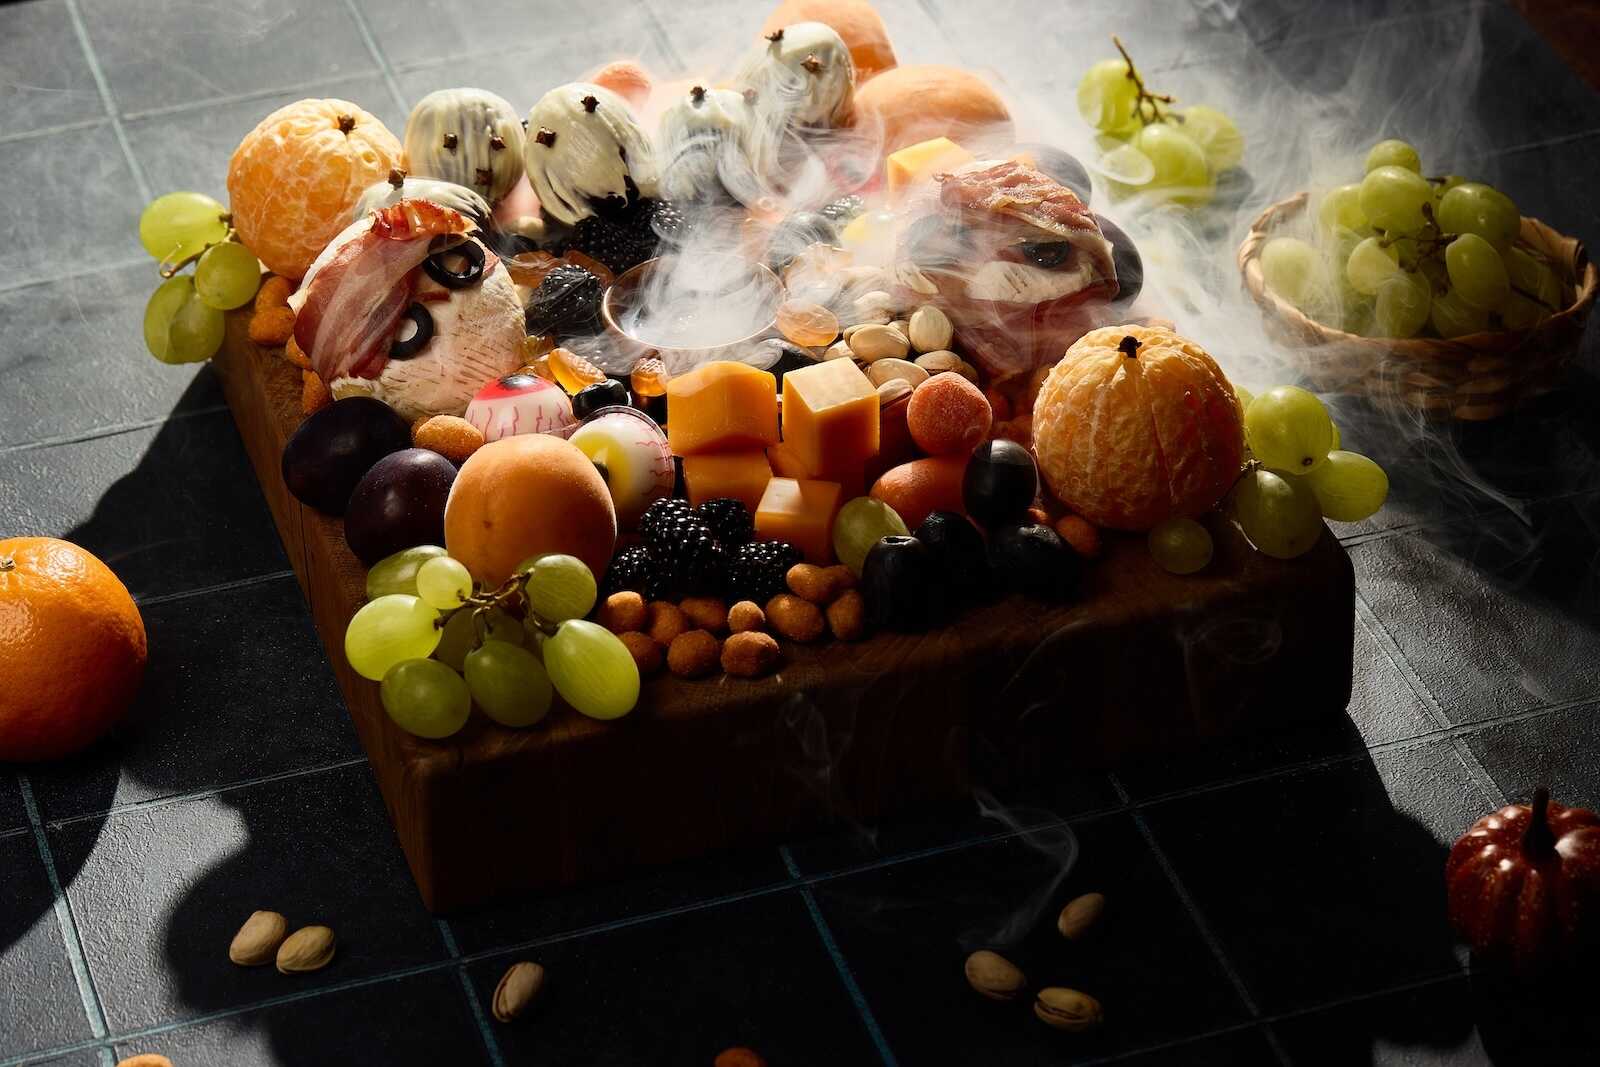
Preparation Guide:
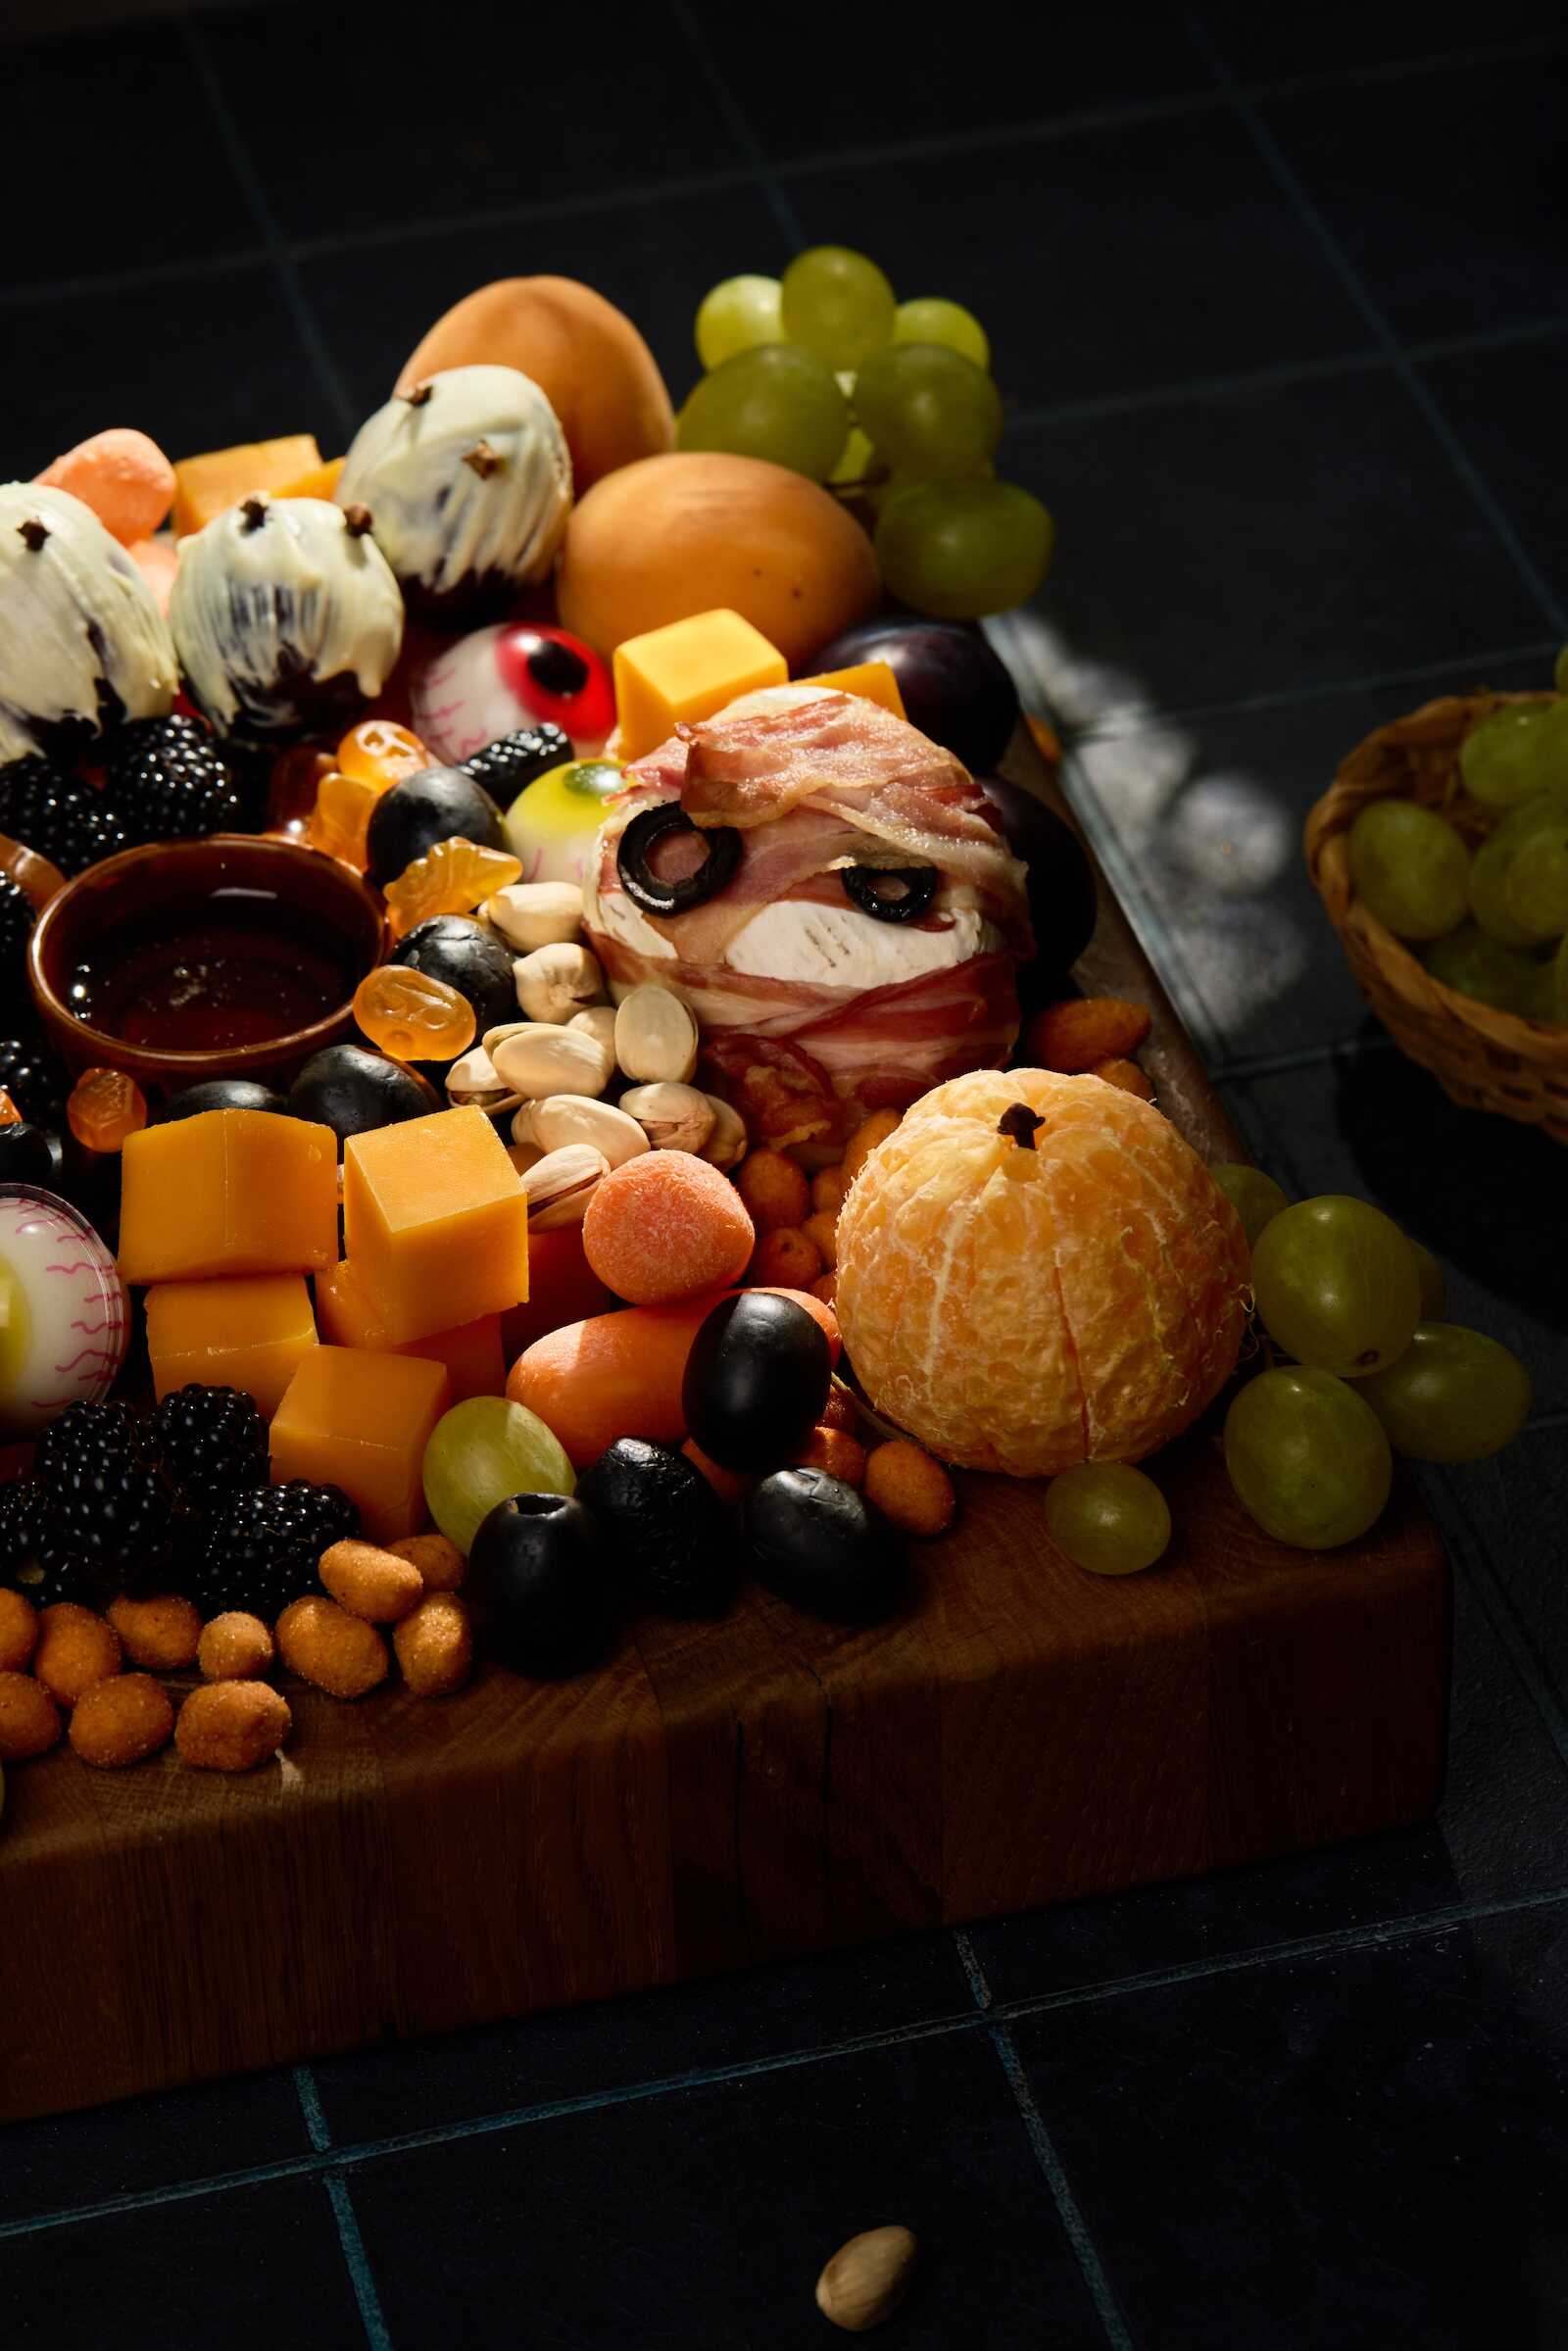
Step 1 – Make the Mummy Camembert
- Wrap strips of bacon loosely around each camembert wheel to look like bandages.
- Add two olive slices as “eyes.”
- You can bake briefly at 180°C for 8–10 minutes, or serve without baking.
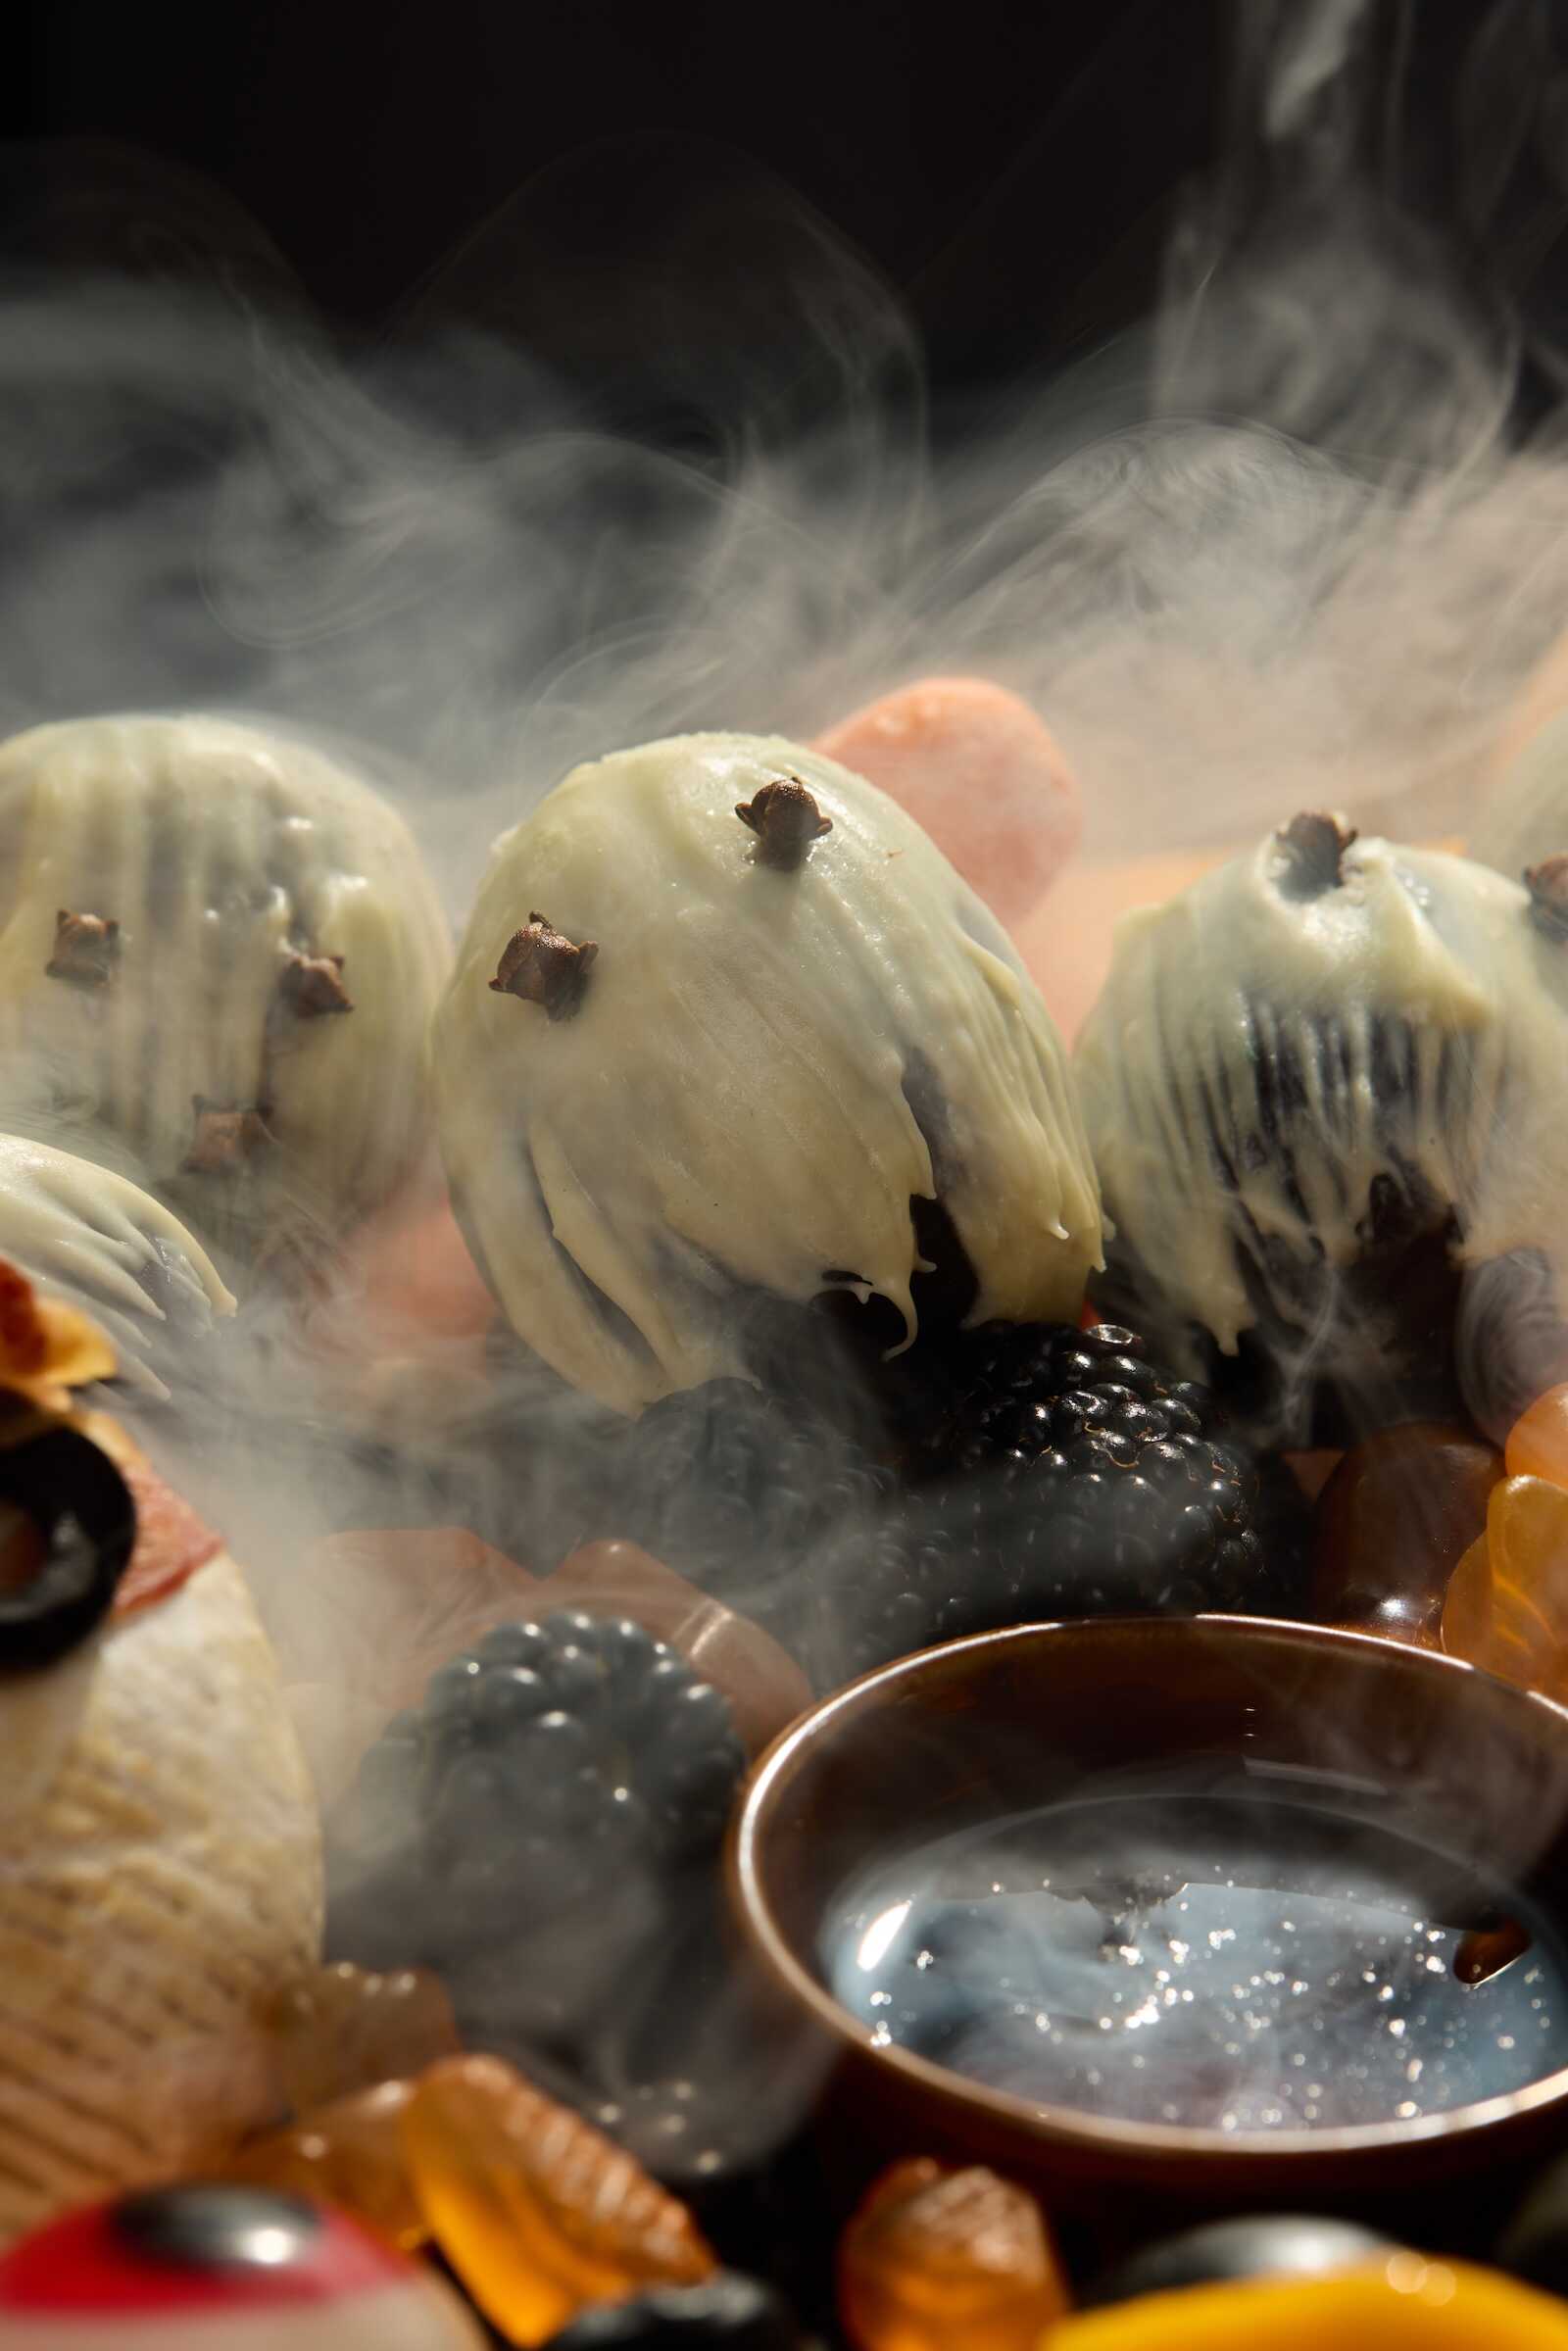
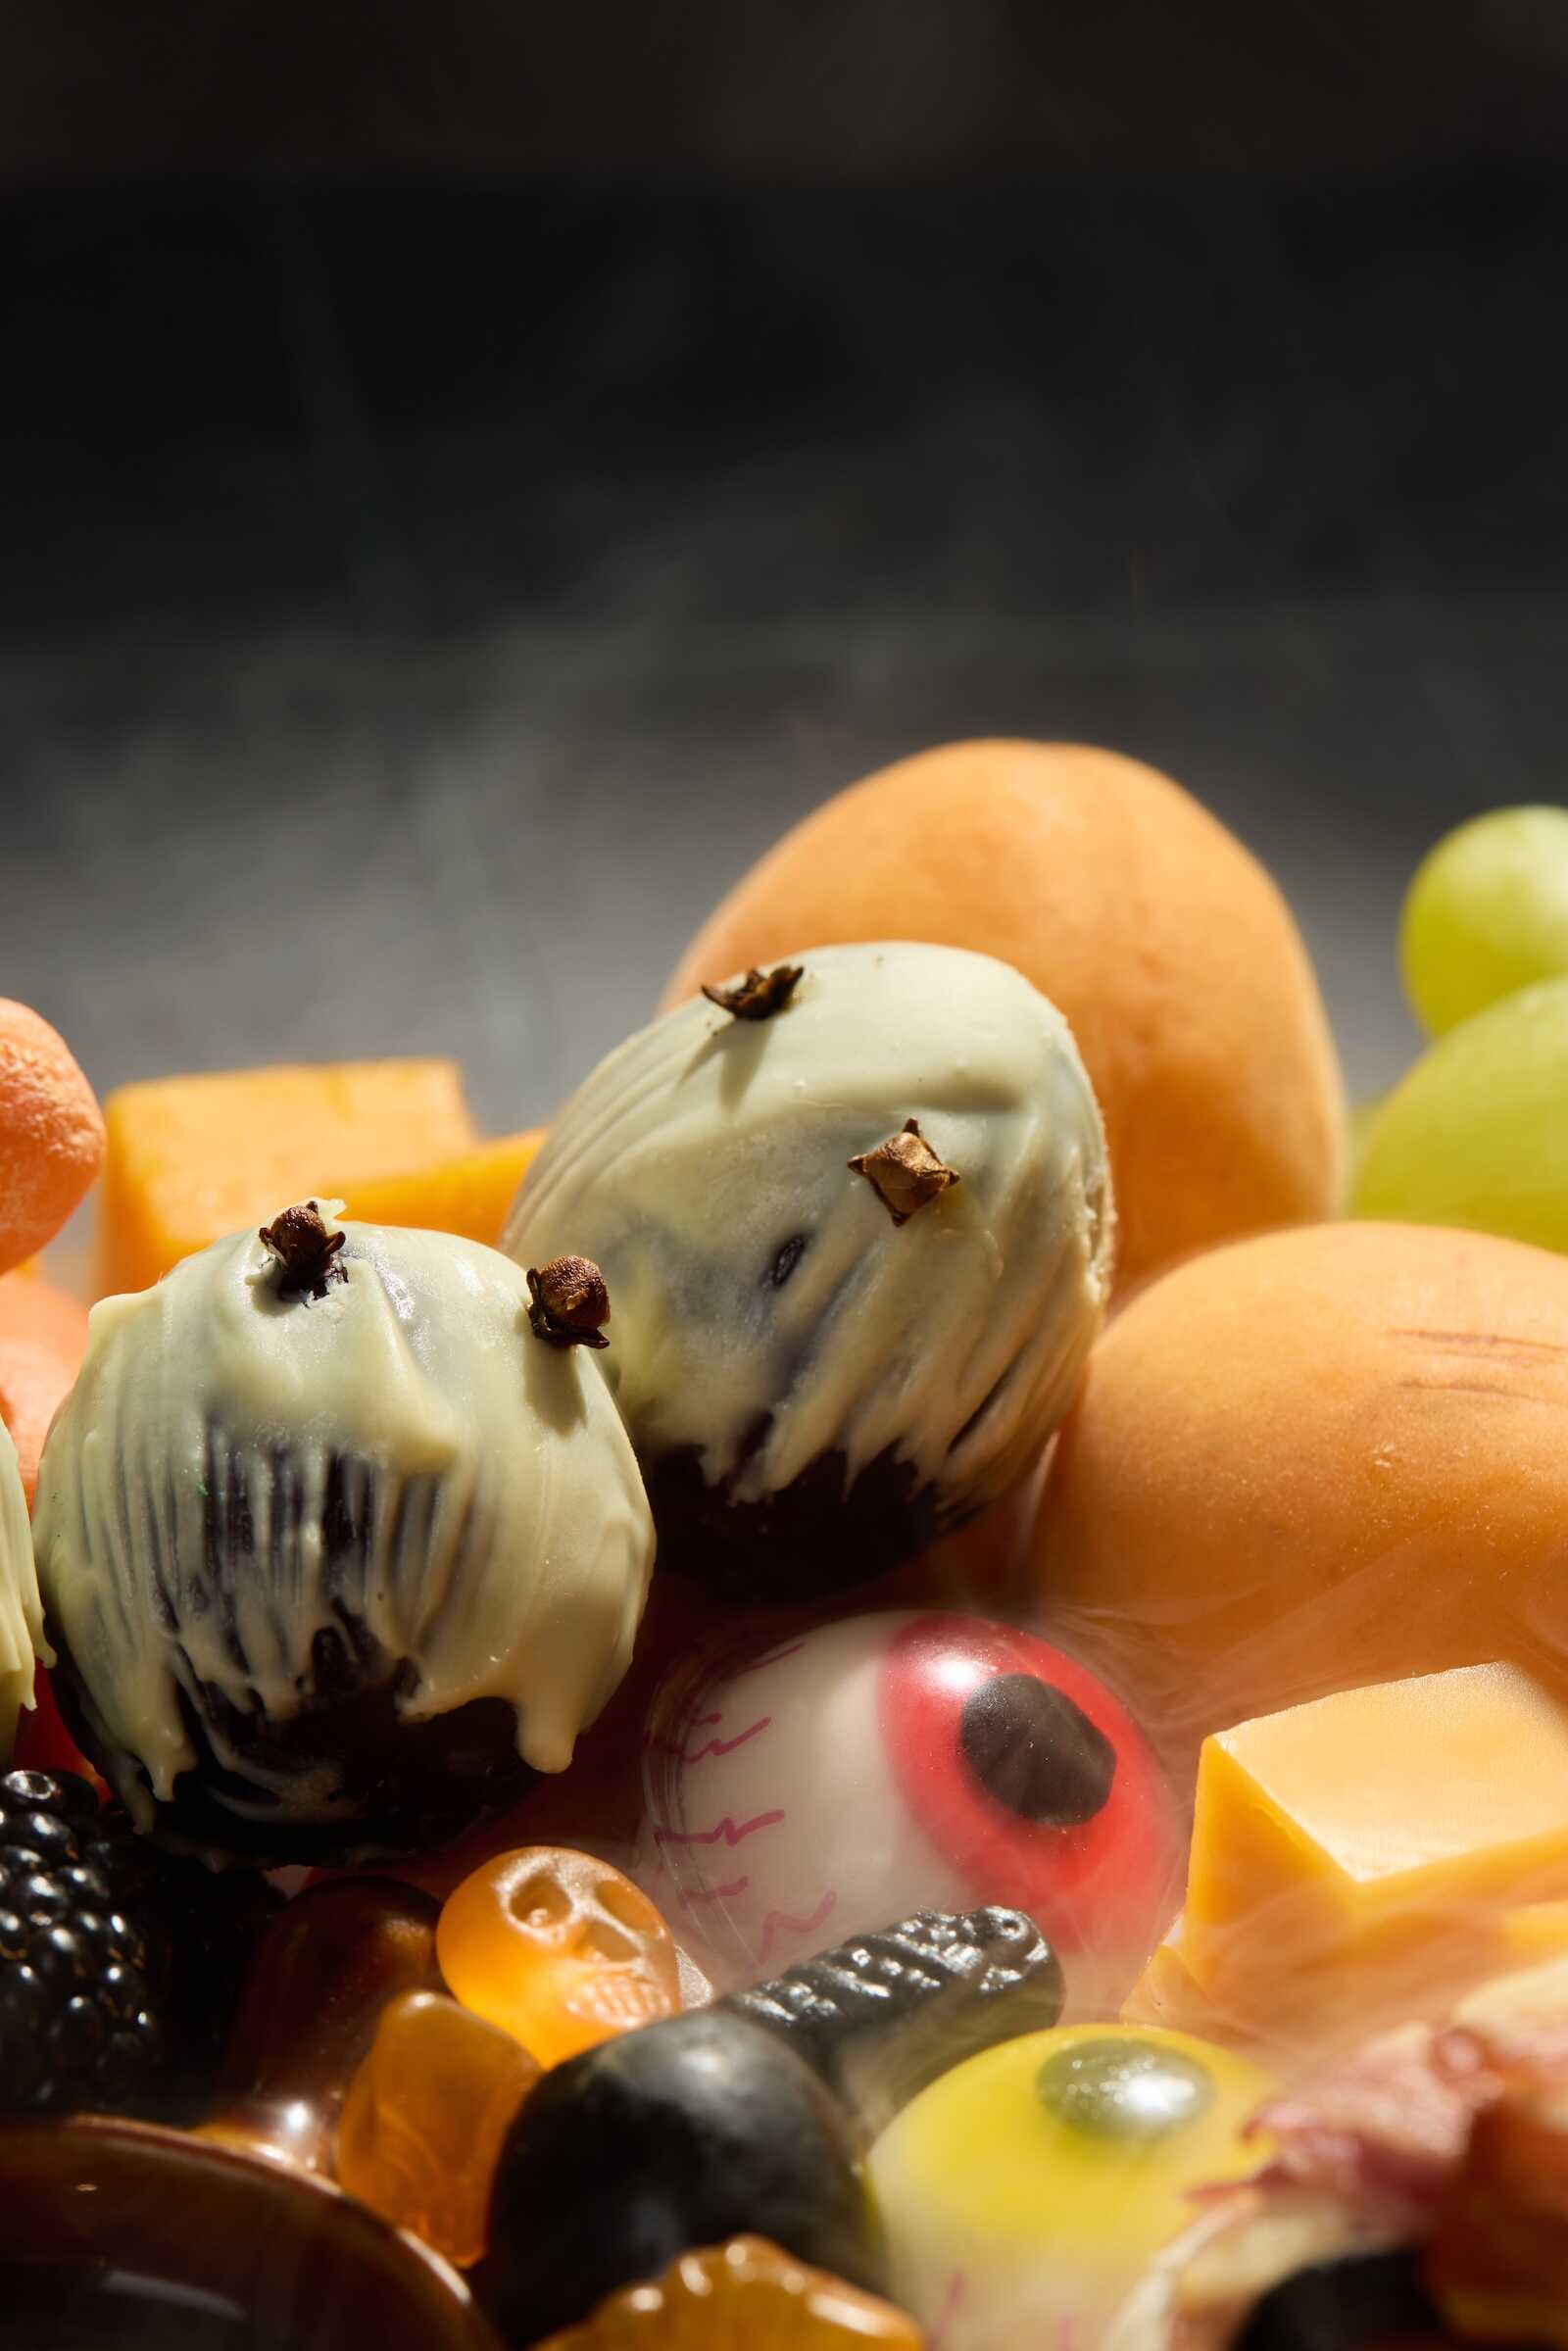
Step 2 – Make the Ghost Plums
- Dip plums into melted white chocolate.
- Let them set on a rack until the coating hardens.
- Insert two cloves as “eyes” to create ghostly faces.
Step 3 – Make the Pumpkin Mandarins
- Insert cloves on top of mandarins to resemble pumpkin stems or little spooky faces.
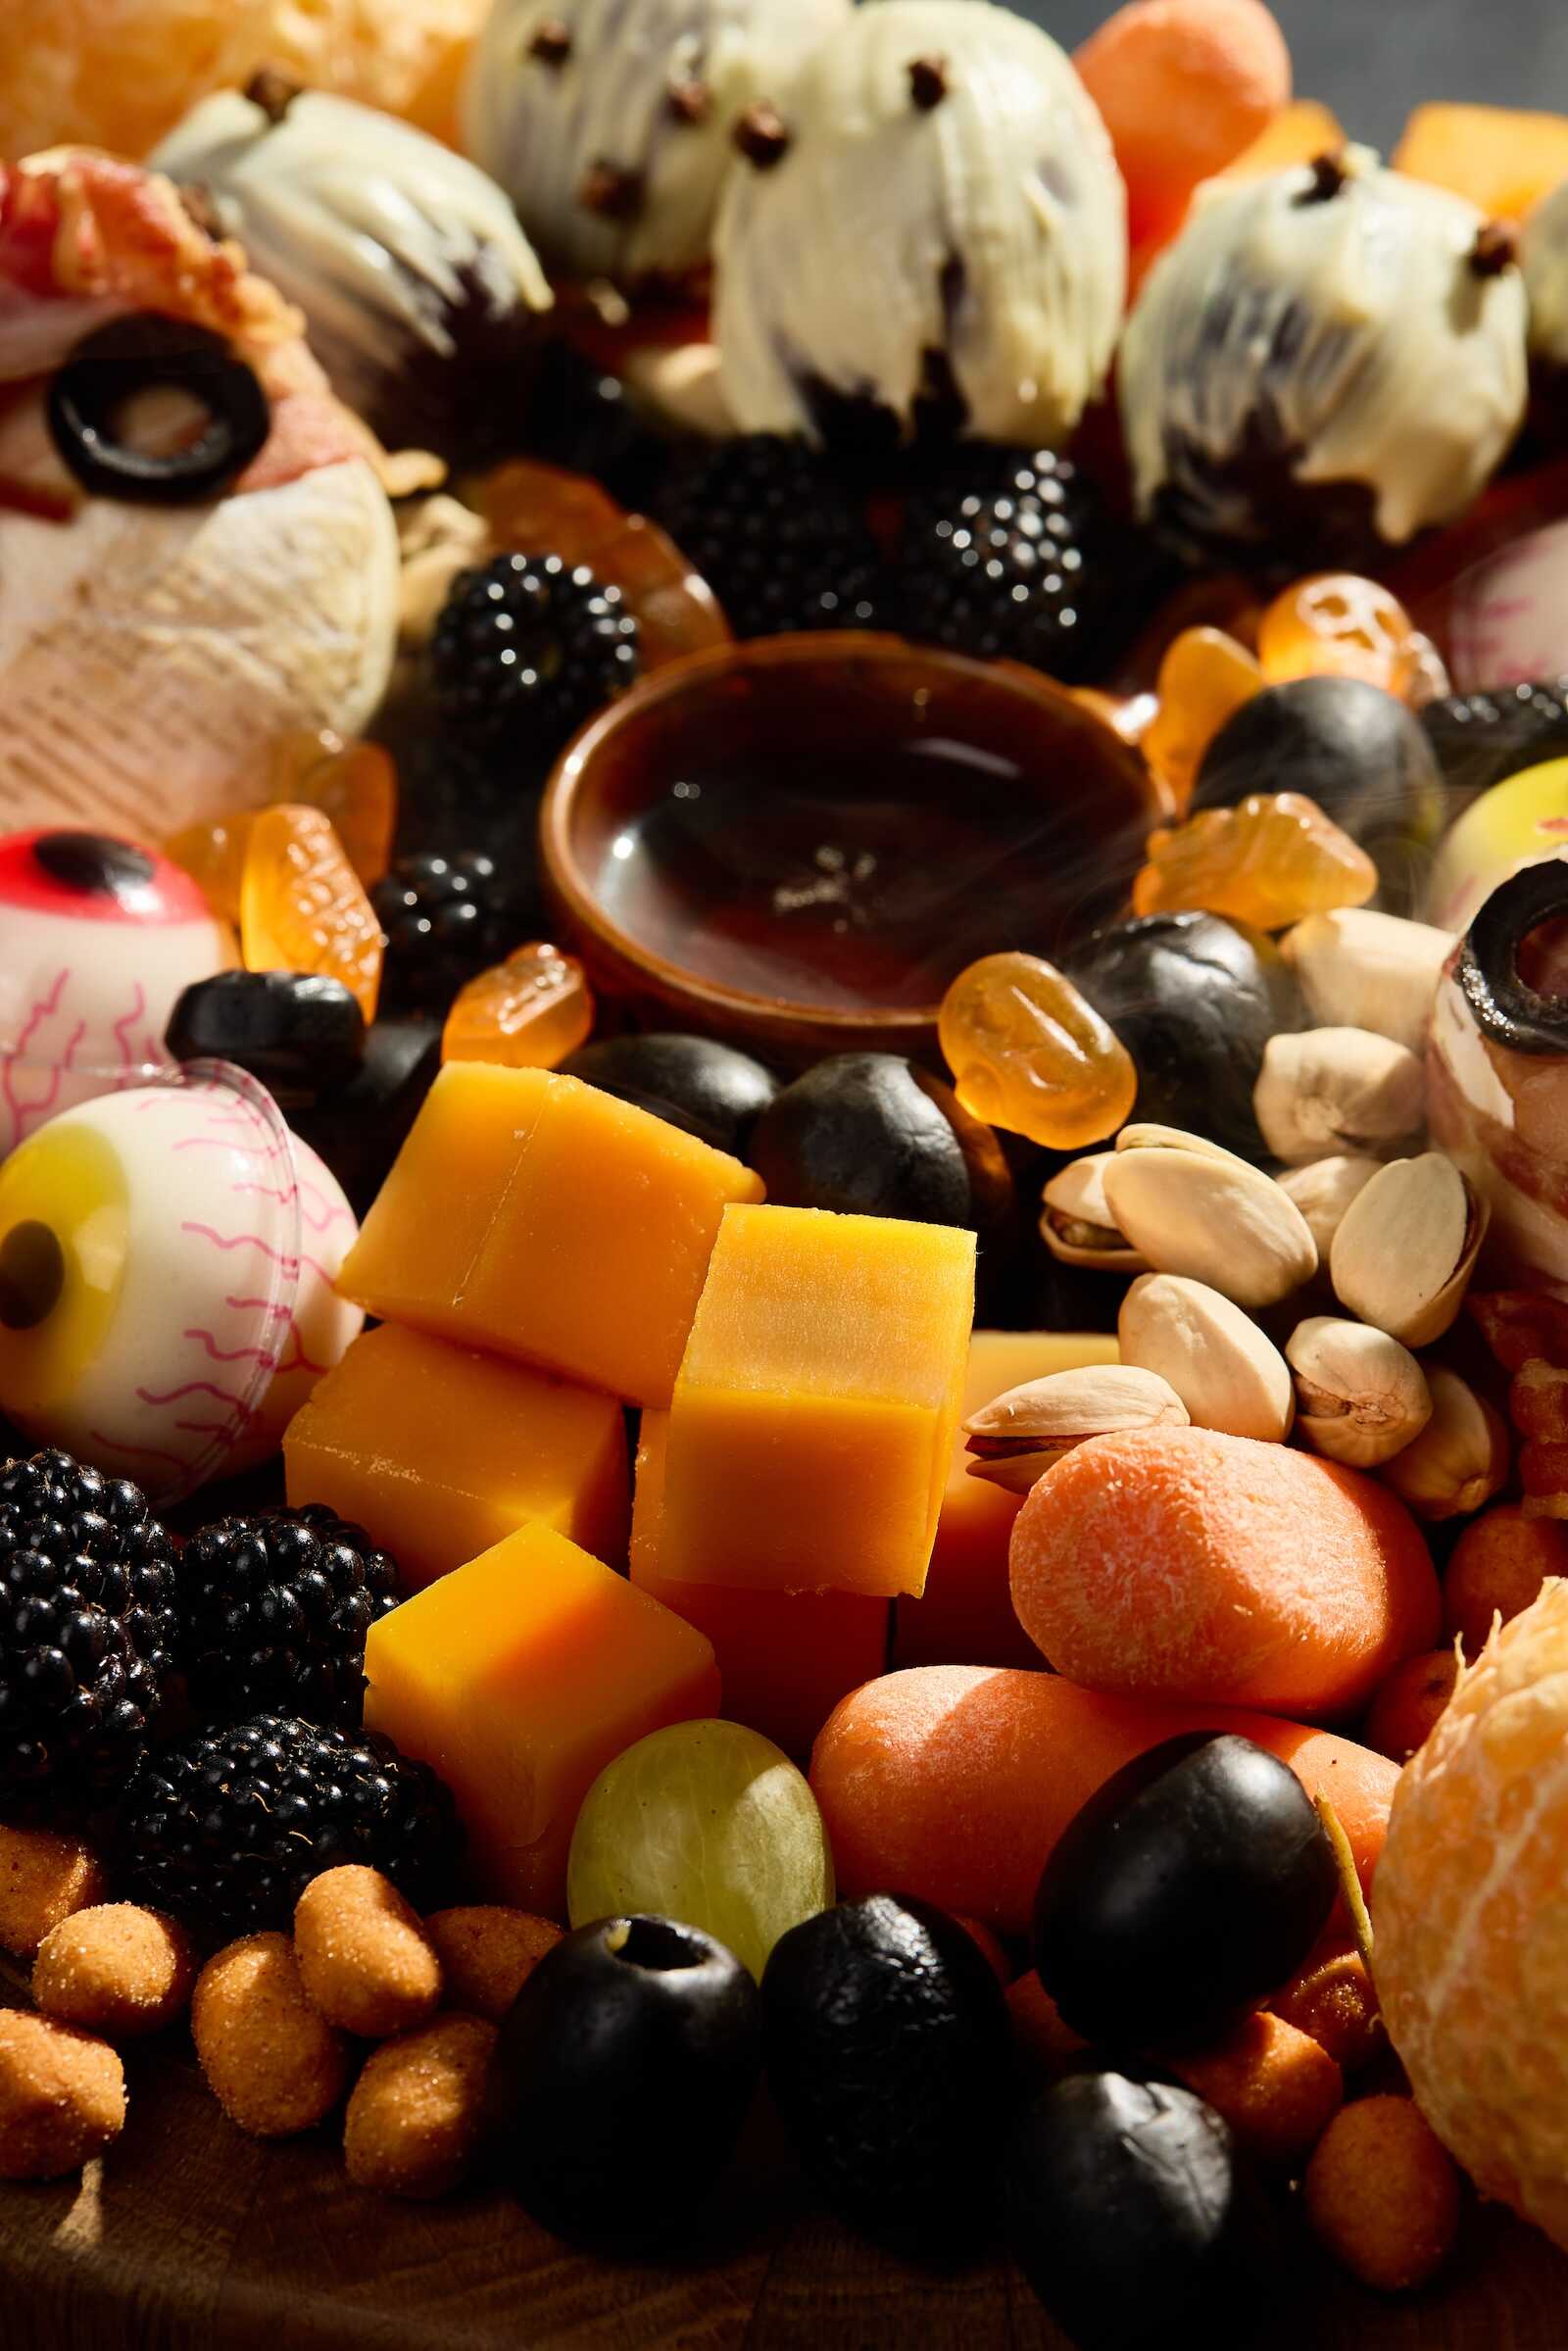
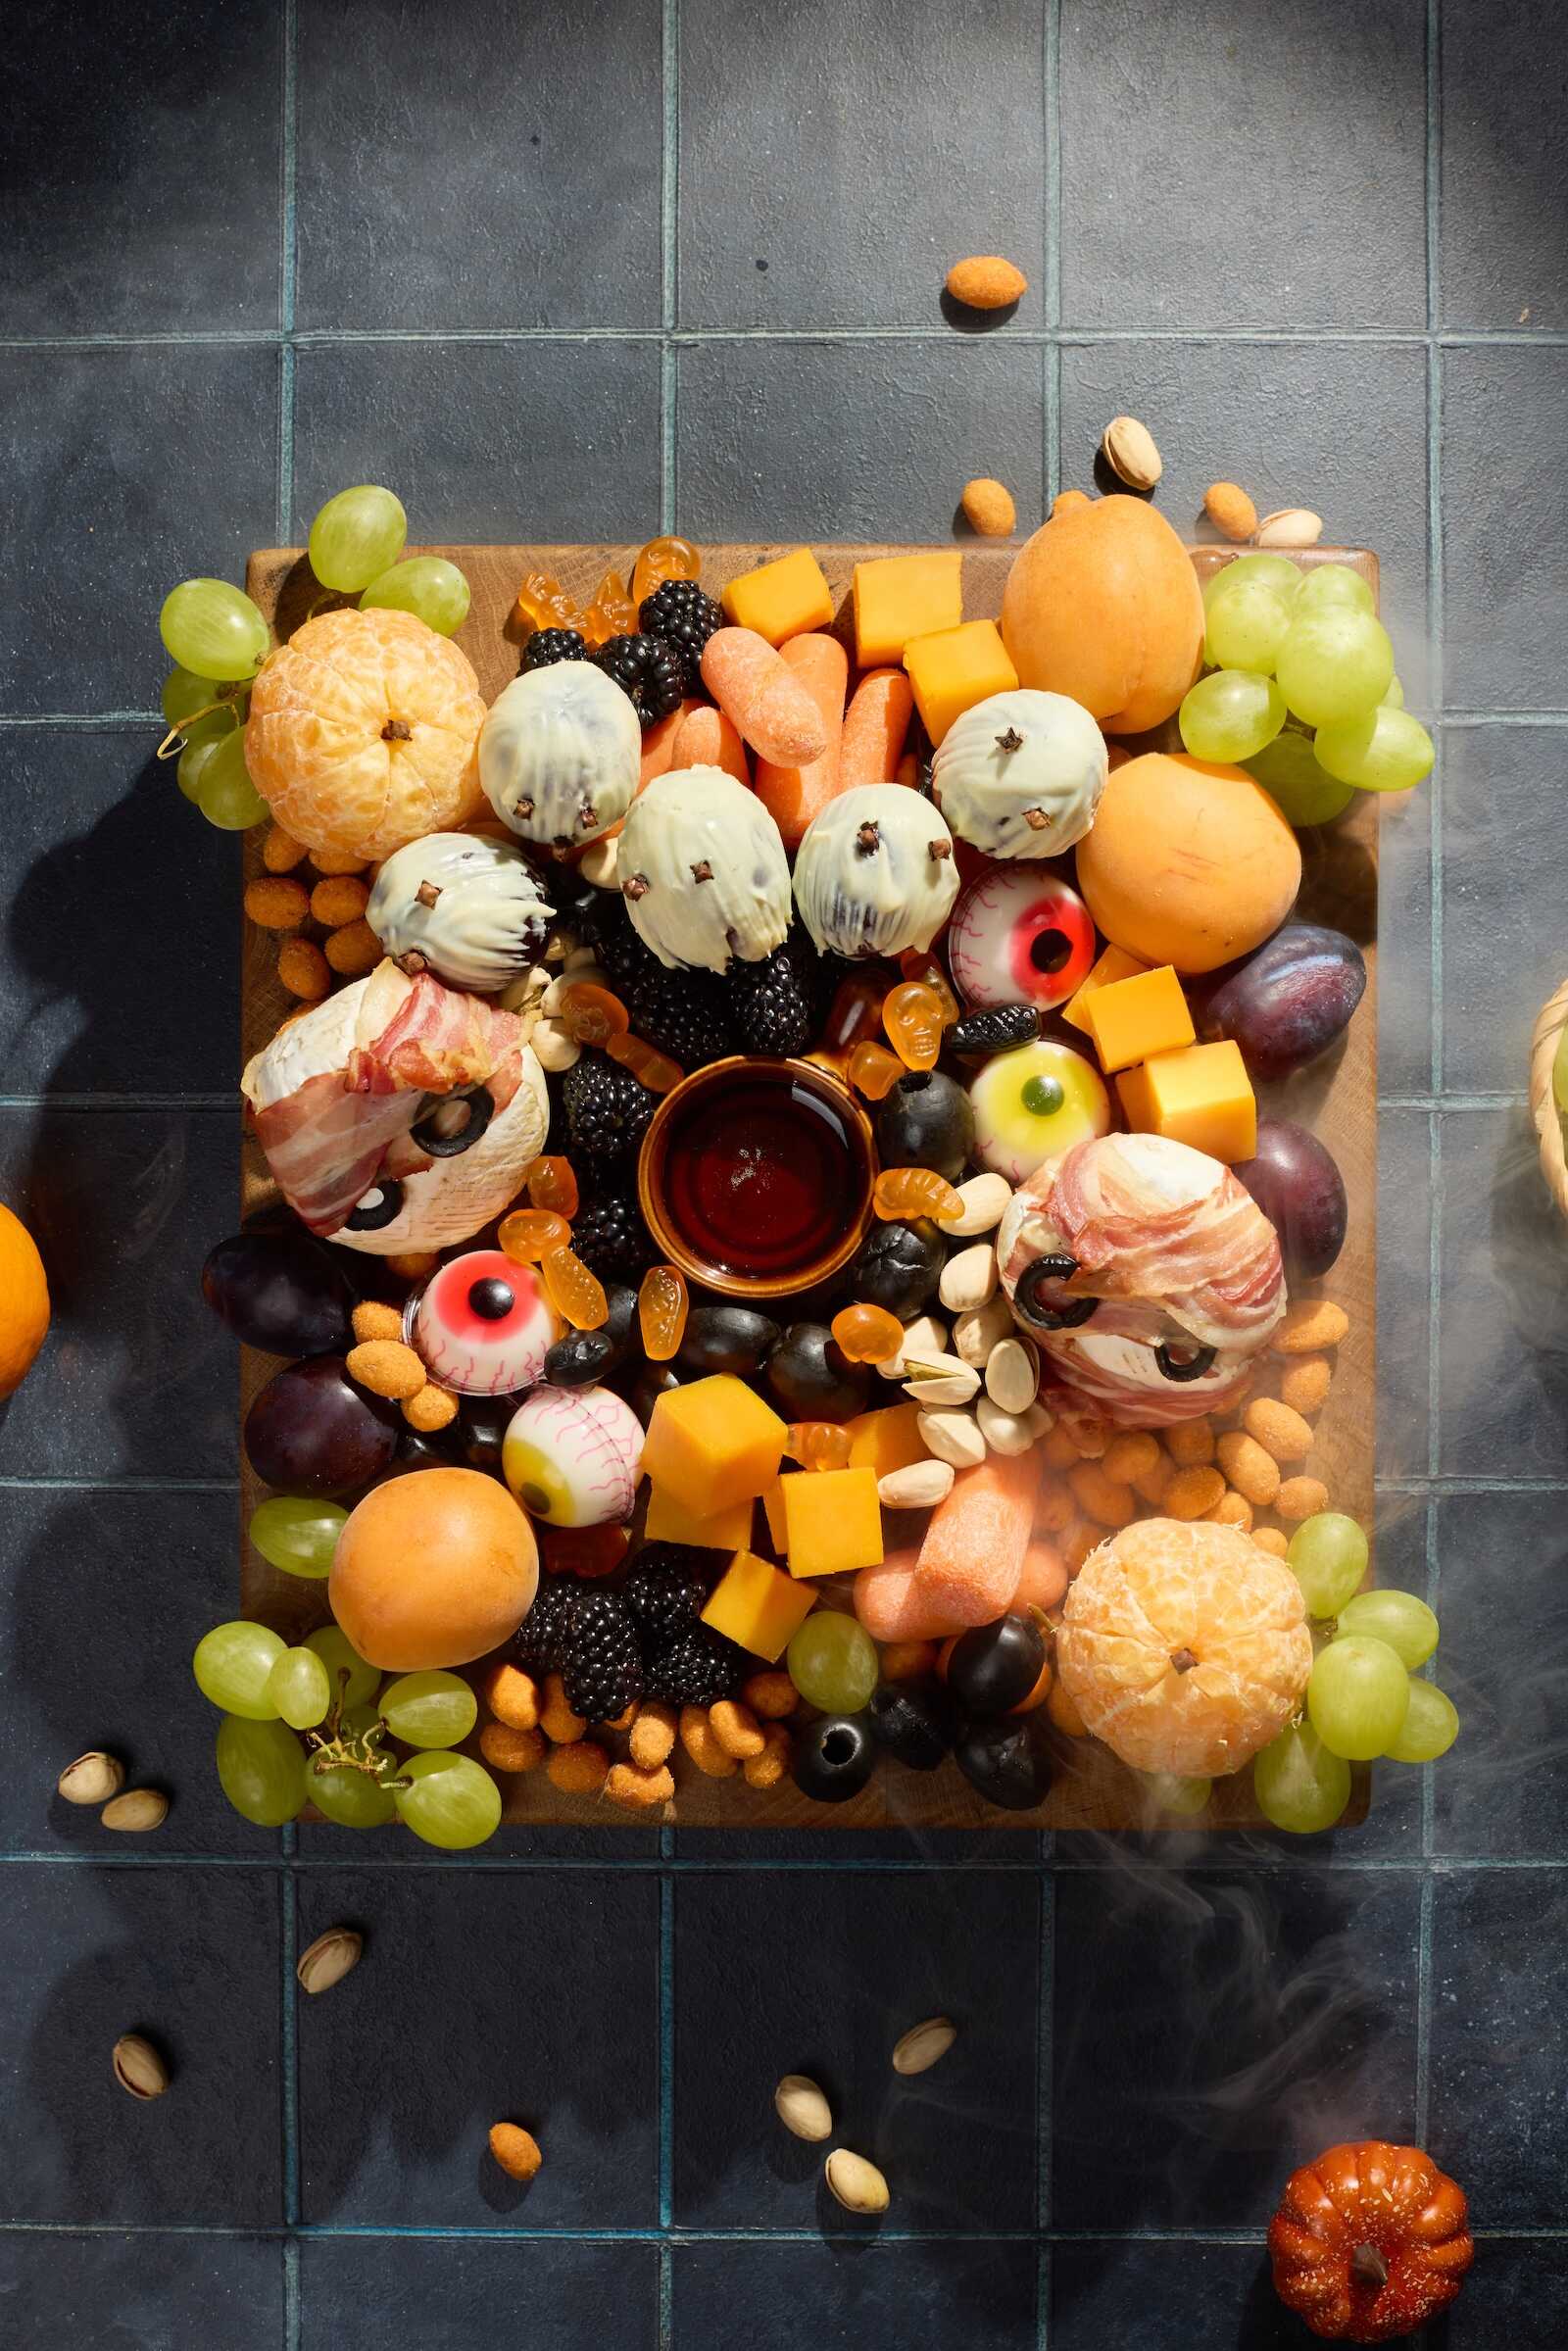
Board Assembly (step-by-step order):
- Place the mandarins pumpkins first, spreading them evenly on the board.
- Set the honey bowl in the center.
- Surround it with black olives and blackberries, creating a dark “ring” around the honey.
- Add the apricots around the board for bright orange accents.
- Place the gummy eyeballs and gummy skulls between fruits for a creepy effect.
- Arrange the mummy camemberts near the center, slightly apart from each other.
- Fill in with the rest of the ingredients:
- Ghost plums in random spots
- Cheddar cheese cubes
- Baby carrots
- Grapes
- Pistachios and coated peanuts sprinkled in gaps
- Ghost plums in random spots
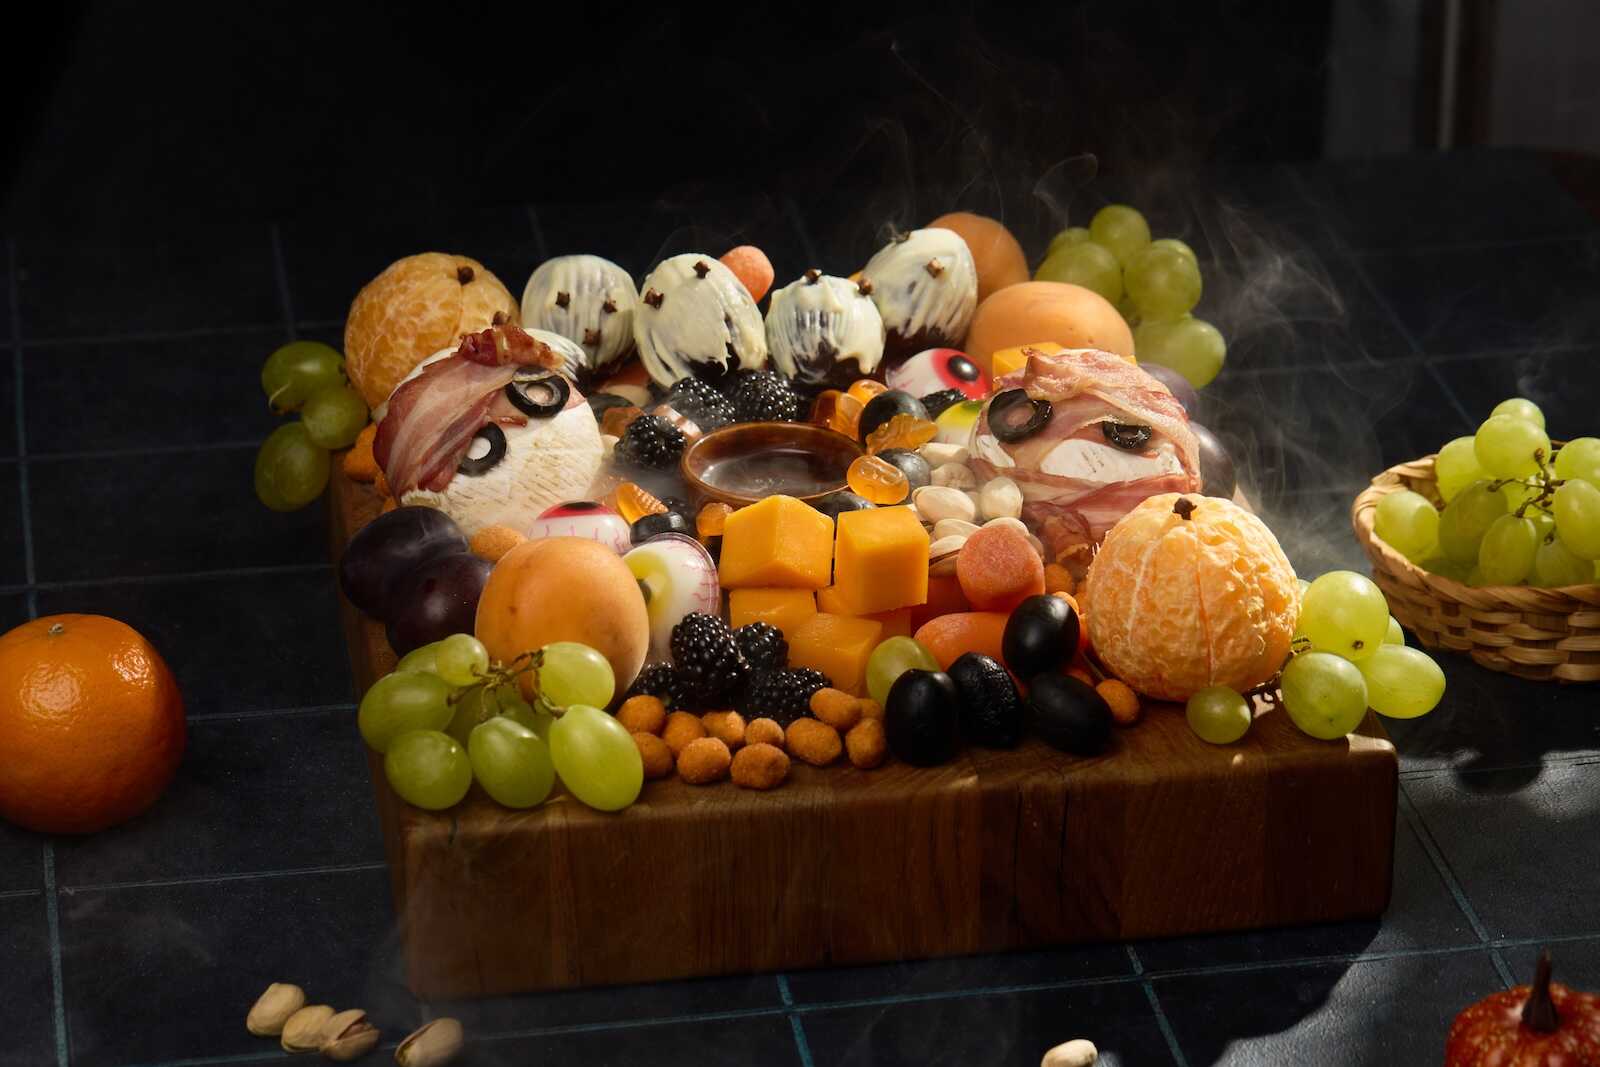
The Dry Ice Trick – Your Show-Stopping Centerpiece
Why Dry Ice?
Dry ice takes your Halloween charcuterie board from creative to unforgettable. When placed in water, it creates thick fog that cascades over your food, creating an eerie, haunted-house effect. Guests will gasp and immediately want to take photos.
How to Use Dry Ice Safely
Dry ice is completely safe for creating ambiance if you handle it correctly. Follow these rules:
- Never touch with bare hands – Use gloves or tongs, as it can burn skin.
- Do not ingest – Dry ice should never be placed directly on food or drink. Instead, put it in a separate bowl or container near or underneath your food items.
- Ventilation matters – Use dry ice in a well-ventilated space since it releases carbon dioxide gas.
- Store properly – Keep in an insulated cooler (not airtight) until ready to use.
How to Create the Fog Effect
- Place a small bowl in the center of your charcuterie board or inside a cauldron prop.
- Add chunks of dry ice using tongs.
- Pour warm water over the dry ice to activate the fog.
- Replenish with more water or dry ice as needed to keep the effect going.
For an extra spooky twist, try flavored water (like cranberry juice) for red fog or use LED lights underneath for glowing mist.
Kid-Friendly vs. Adult-Friendly Versions
Kid-Friendly Board
- Focus on candy, cookies, pretzels, and cheese sticks shaped into mummies.
- Add apple slices with peanut butter and mini marshmallow “teeth.”
- Use gummy worms crawling out of a carved orange pumpkin cup.
- Keep dry ice away from curious little hands—place it safely in a covered cauldron nearby.
Adult-Friendly Board
- Feature gourmet cheeses, cured meats, olives, and artisan crackers.
- Pair with wine—think bold reds like cabernet sauvignon to match the dark, moody theme.
- Add chocolate truffles with edible gold dust for a luxe twist.
- Place the dry ice fog in the middle for dramatic flair while sipping cocktails.
Halloween Drink Pairings
What’s a spooky board without matching drinks? Pair your charcuterie with themed cocktails or mocktails.
- Witch’s Brew Sangria – Red wine, brandy, oranges, and pomegranate seeds.
- Black Magic Martini – Vodka, black food coloring, and a sugared black rim.
- Pumpkin Spice Mocktail – Sparkling apple cider with pumpkin puree and cinnamon.
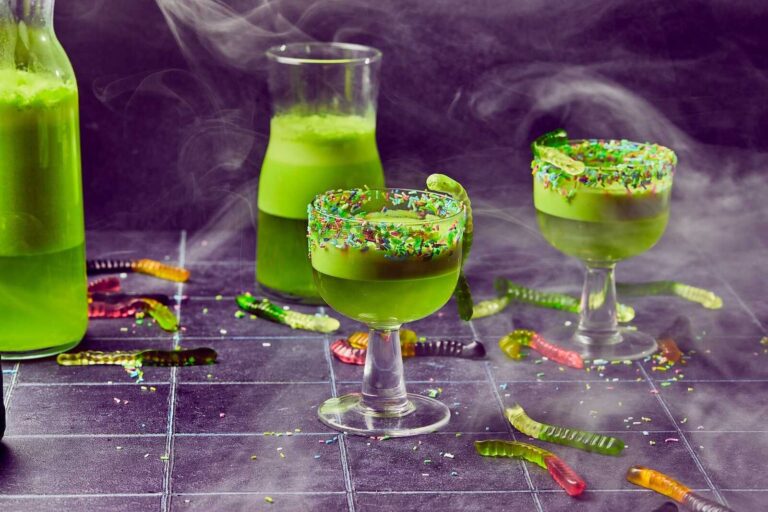
- Bloody Shirley Temples – Sprite, grenadine “blood,” and gummy eyeball garnish.
You can even add dry ice into individual cocktail cauldrons—just be sure it’s placed in a separate compartment so it doesn’t touch the liquid your guests will drink.
Halloween Décor to Elevate Your Board
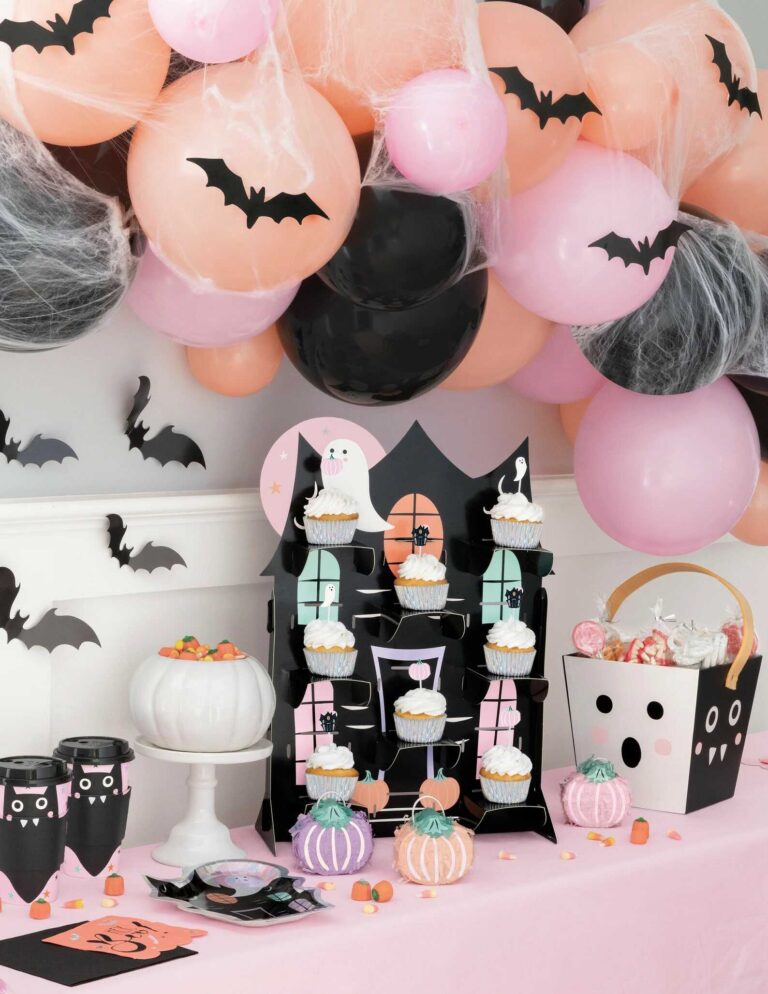
A Halloween charcuterie board doesn’t stand alone—it becomes the centerpiece of a styled tablescape.
- Use a black tablecloth with scattered faux spiderwebs.
- Dim the lights and add flickering candles.
- Serve on gothic-style trays, cauldrons, or crystal goblets.
- Add mini pumpkins, skull candle holders, or potion bottles around the board.
Step-by-Step Assembly Guide
- Choose your board – Black slate or rustic wood.
- Anchor large items – Place cheeses and meat roses first.
- Add filler foods – Crackers, fruits, nuts.
- Add spooky treats – Candies, cookies, Halloween-themed snacks.
- Tuck in décor props – Skeleton hands, fake spiders, black lace.
- Add the dry ice centerpiece – Just before serving, activate the fog.
- Light the scene – Add candles or LED lights for maximum drama.
Safety Reminder About Dry Ice
While dry ice is fun, safety is critical. Always supervise when kids are around, and make sure guests don’t touch or taste the dry ice. Use it only for the fog effect, and place it in containers that prevent direct contact with food.
Final Thoughts
A Halloween charcuterie board is more than just food—it’s an experience. By combining delicious flavors with spooky styling and a jaw-dropping dry ice trick, you’ll create a feast that your friends and family will remember long after the candy bags are empty. Whether you make it kid-friendly with playful snacks or adult-oriented with fine cheeses and wine pairings, your board will become the star of your Halloween gathering.
This year, instead of stressing about complex recipes, let your creativity shine on a board that doubles as edible décor. With a little prep, a few creepy props, and the magic of dry ice, you’ll be serving up a Halloween masterpiece that’s equal parts spooky and scrumptious.
