DIY Paper Spider Web Craft for Halloween
This paper spider web craft is a simple, budget-friendly Halloween activity that looks much more impressive than it is difficult. With just white paper, scissors, and a few folds, you can create a spooky spider web decoration that kids can help make and display for Halloween parties, classroom crafts, or festive home décor.
Fun Highlights About This Craft
- Kids get a fun surprise moment when the folded paper opens into a full spider web design.
- This Halloween craft only uses a few inexpensive supplies you probably already have at home.
- Every spider web turns out slightly different, making each craft unique and creative.
- The finished paper webs make cute Halloween decorations for classrooms, windows, parties, and bulletin boards.
- This activity helps children practice fine motor skills through folding, cutting, and careful paper handling.
Craft Supplies Needed:
- White printer paper
- Scissors
- Pencil
- Black construction paper
- Glue
- Optional: paper ghosts, pumpkins, bats, leaves, or Halloween stickers for decorating
Step-by-Step Instructions
Step 1: Start With a White Sheet of Paper
Begin with a plain white sheet of paper. Regular printer paper works perfectly because it is thin enough to fold and cut easily. Place your paper flat on the table and smooth it out with your hands.
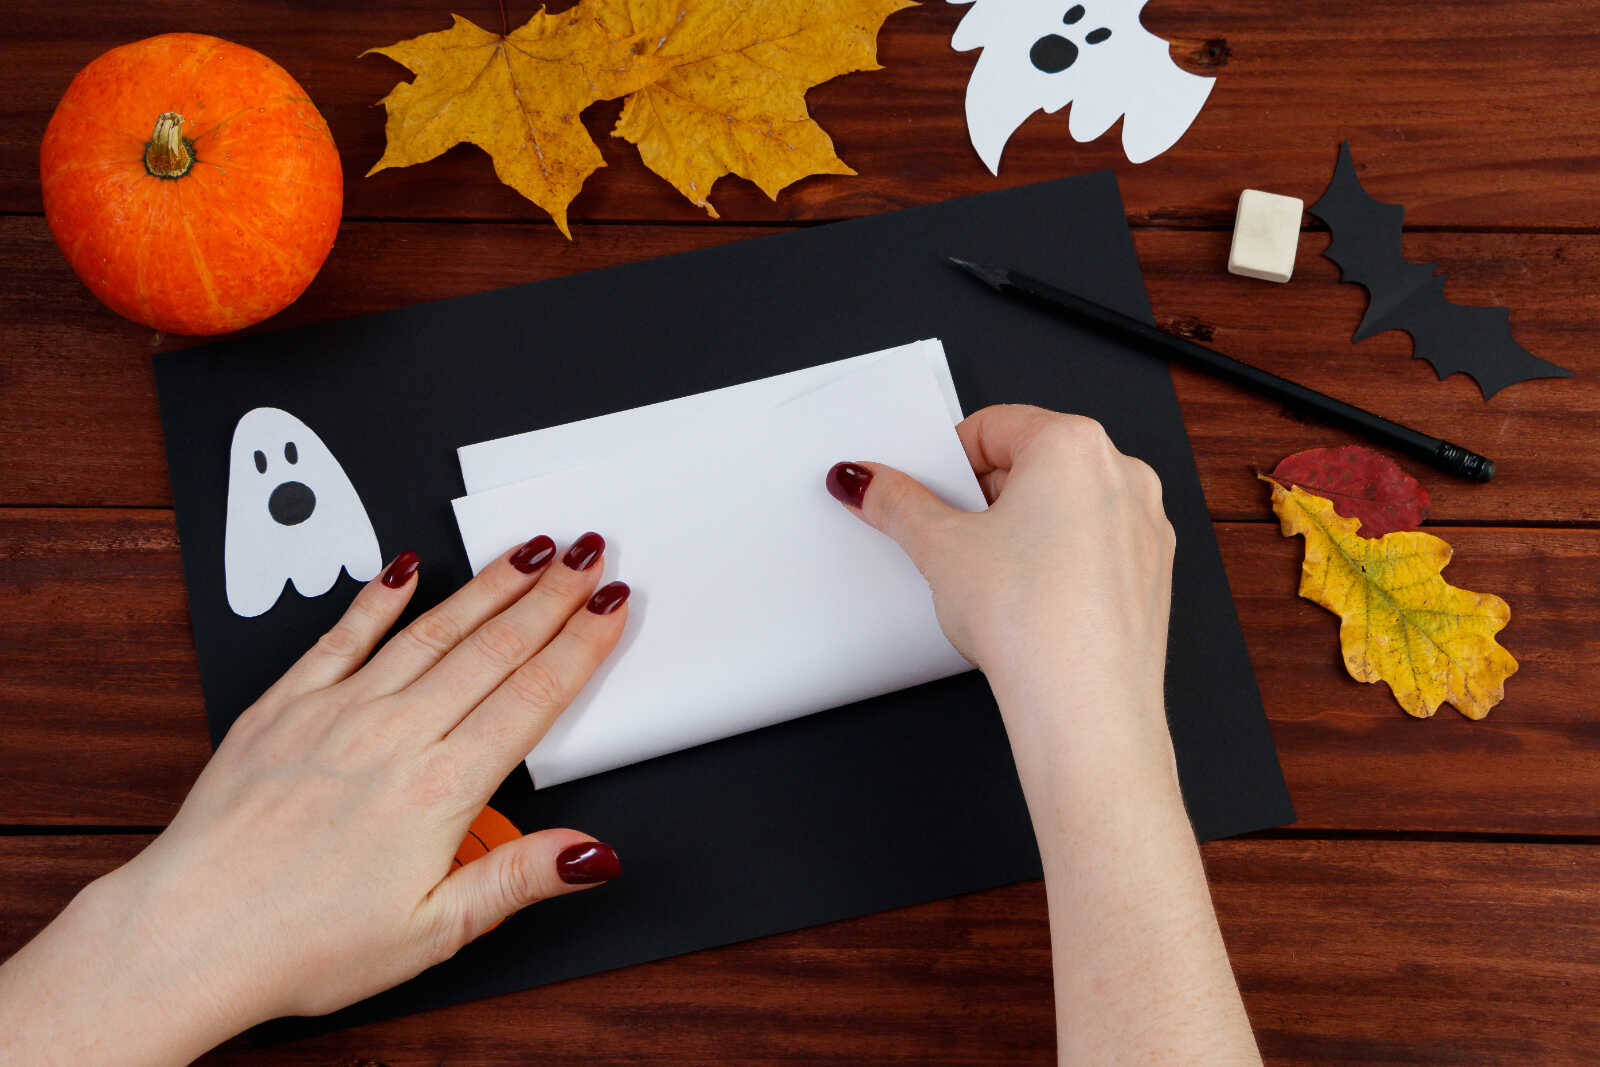
Step 2: Fold the Paper in Half
Fold the paper in half horizontally, bringing the bottom edge up to meet the top edge. Press firmly along the fold to make a clean crease. A sharp crease will help the spider web stay even as you continue folding.
Step 3: Fold It in Half Again
Next, fold the paper in half again. Line up the edges carefully and press down firmly. At this point, your paper will be smaller and thicker.
Try to keep the corners as even as possible. The more even your folds are, the more balanced your finished spider web will look.

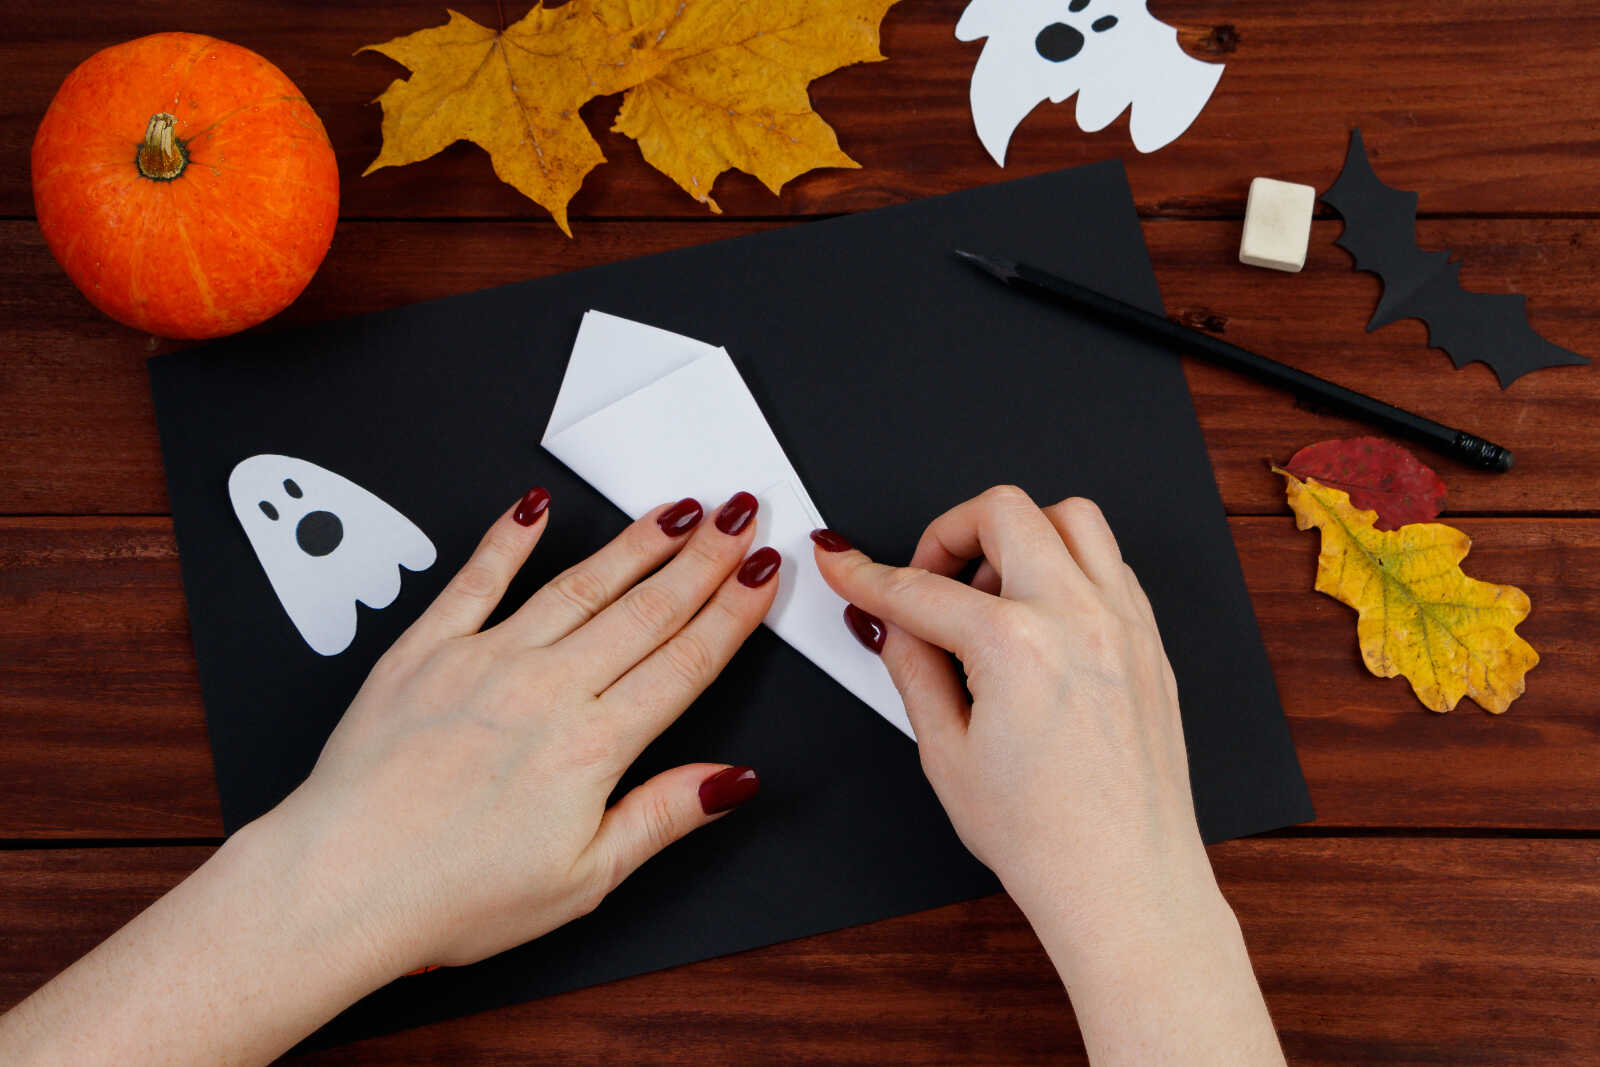
Step 4: Create a Triangle Shape
Take one side of the folded paper and fold it diagonally to form a triangle. This is the part that helps create the circular spider web shape when the paper is opened.
Press along the folded edge with your fingers so the paper holds its shape.
Step 5: Fold the Triangle Again
Fold the triangle over one more time, making the paper into a narrow wedge shape. This folded wedge is what you will cut into to create the spider web design.
The paper may feel thick now, so take your time and make sure all the layers are lined up.
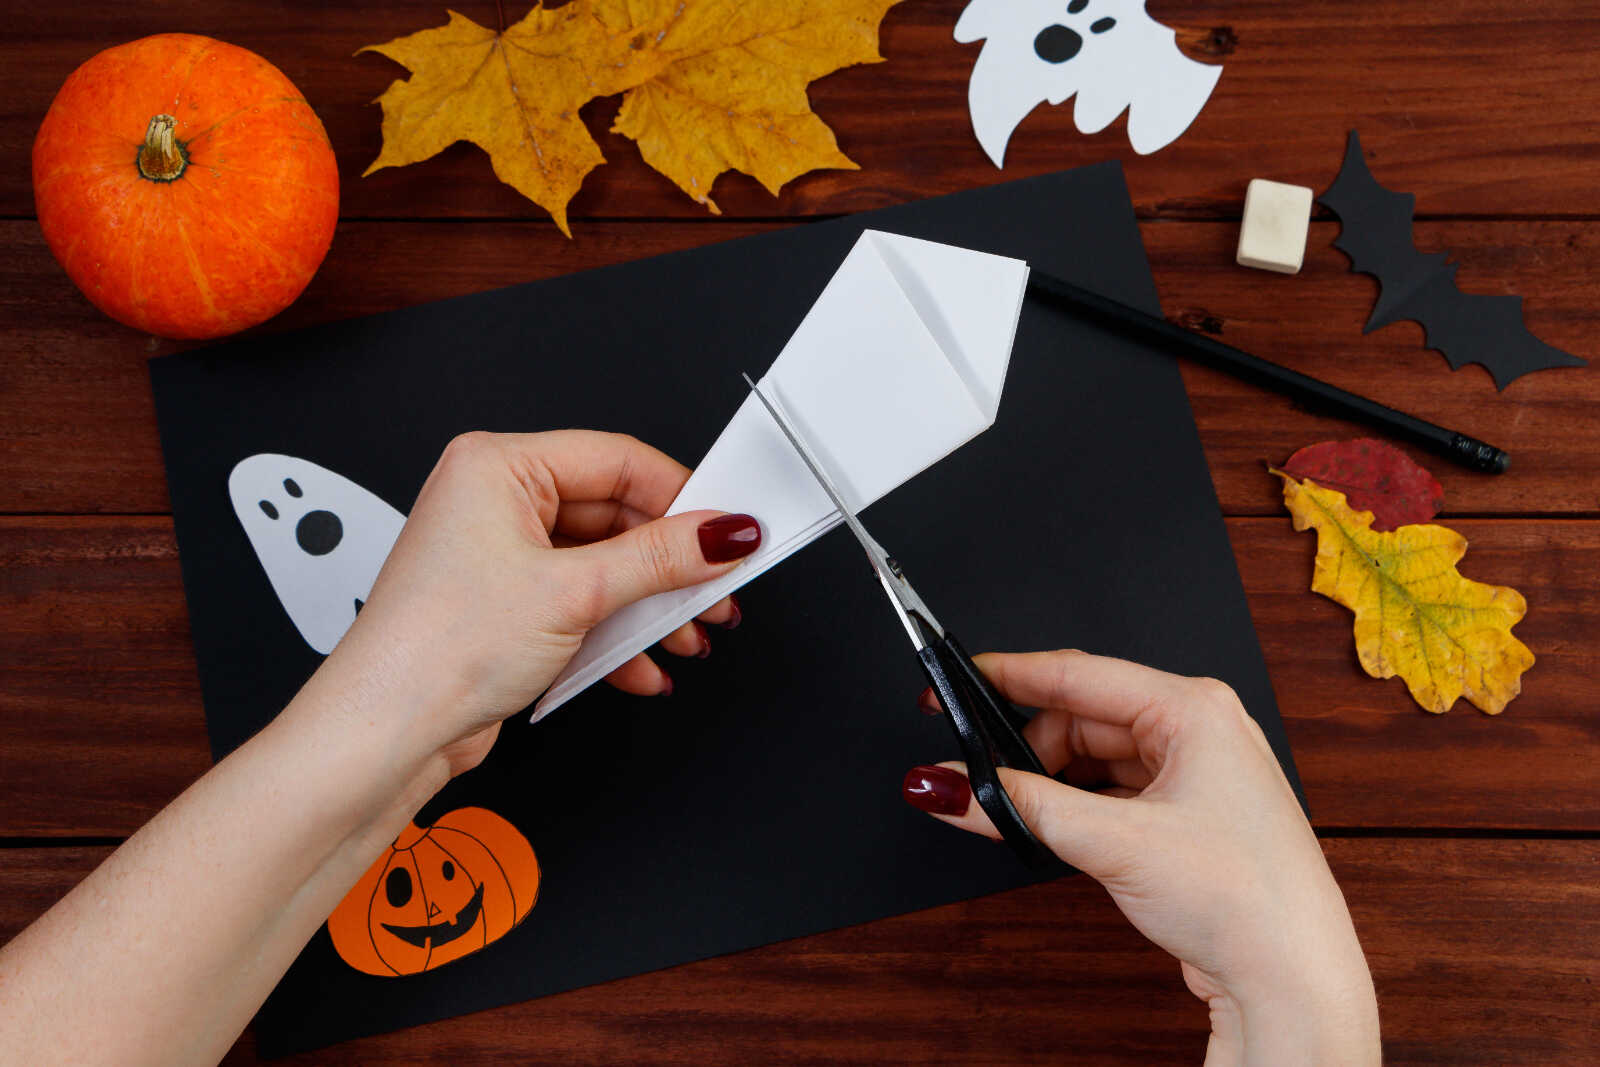
Step 6: Trim the Top Edge
Using scissors, cut the wide top edge of the folded paper into a curved shape. This helps create the rounded outer edge of the spider web once it is unfolded.
You do not need the curve to be perfect. A slightly uneven shape can actually make the web look more handmade and spooky.
Step 7: Draw Cutting Lines
Use a pencil to lightly draw curved lines along the folded wedge. These lines should look like small arches or half-moon shapes going from one folded edge toward the other.
Leave space between each line so the paper web does not tear when you unfold it. The lines will become the open spaces between the web strands.
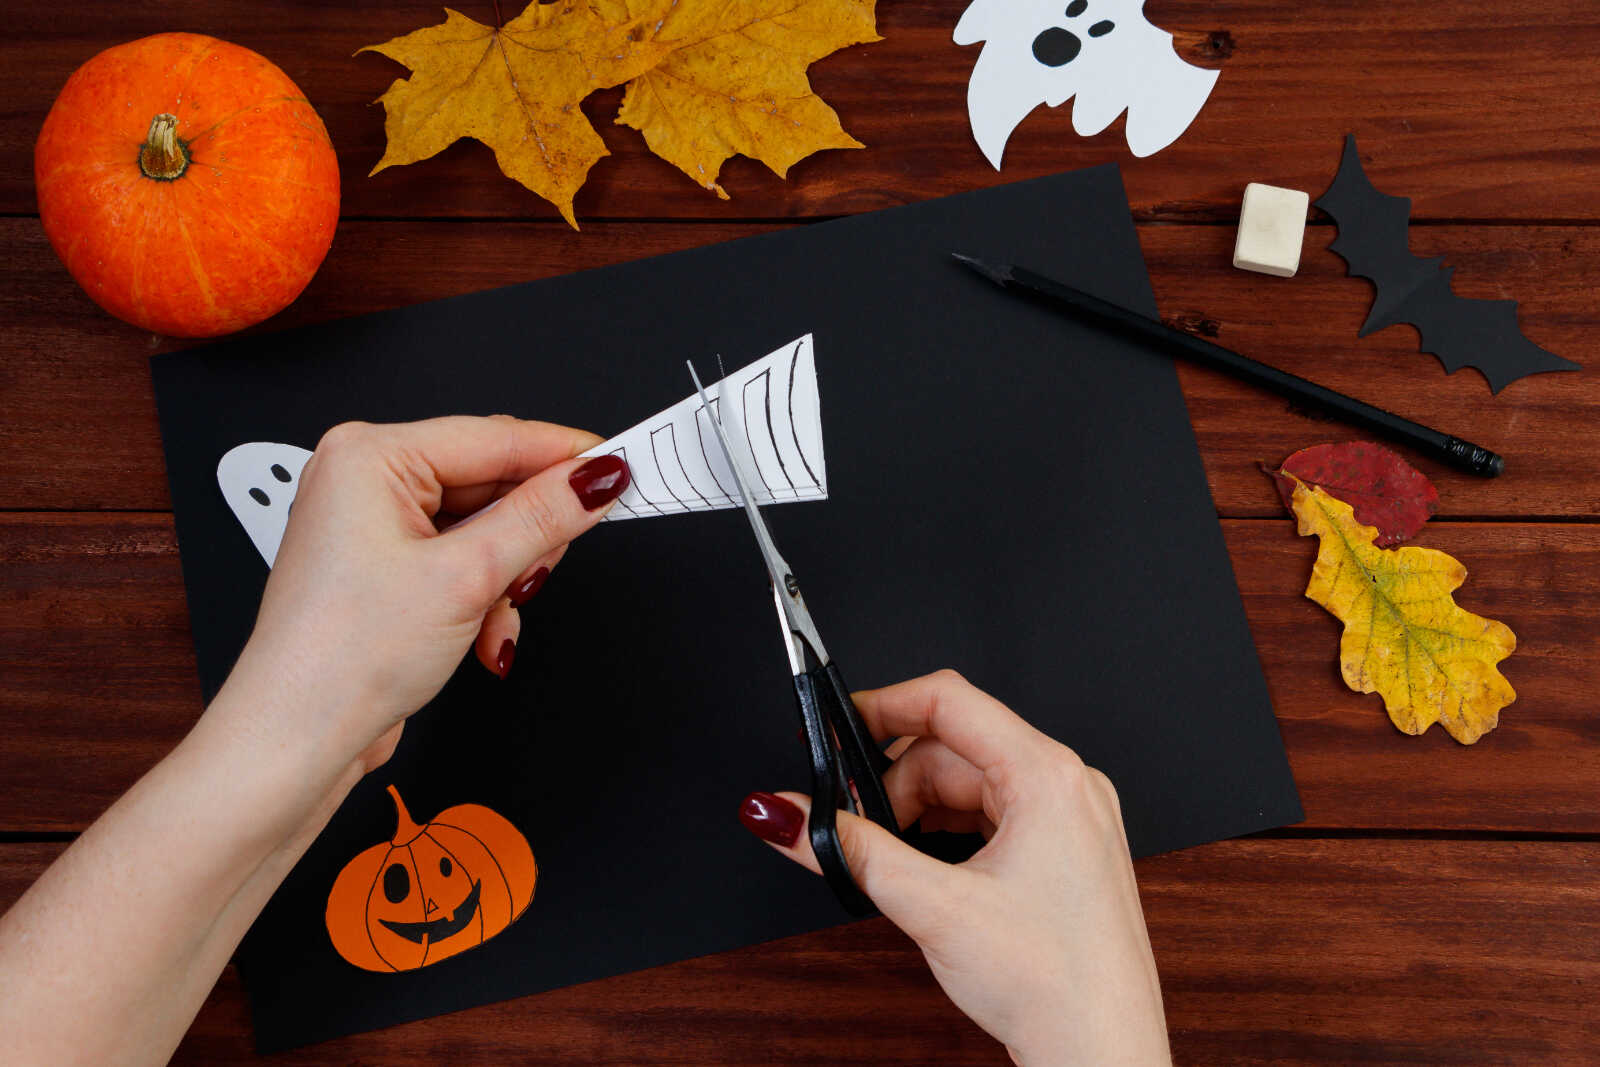
Step 8: Cut Along the Lines
Carefully cut along the pencil lines. Do not cut all the way through the folded edge, or the web may fall apart. Think of it like making a paper snowflake, but with curved cuts instead of sharp shapes.
This step is best done slowly. If children are helping, remind them to cut gently and keep the paper folded tightly.
Note: For younger kids, it helps to have an adult do the tighter folds and cutting steps, especially once the paper becomes thick.
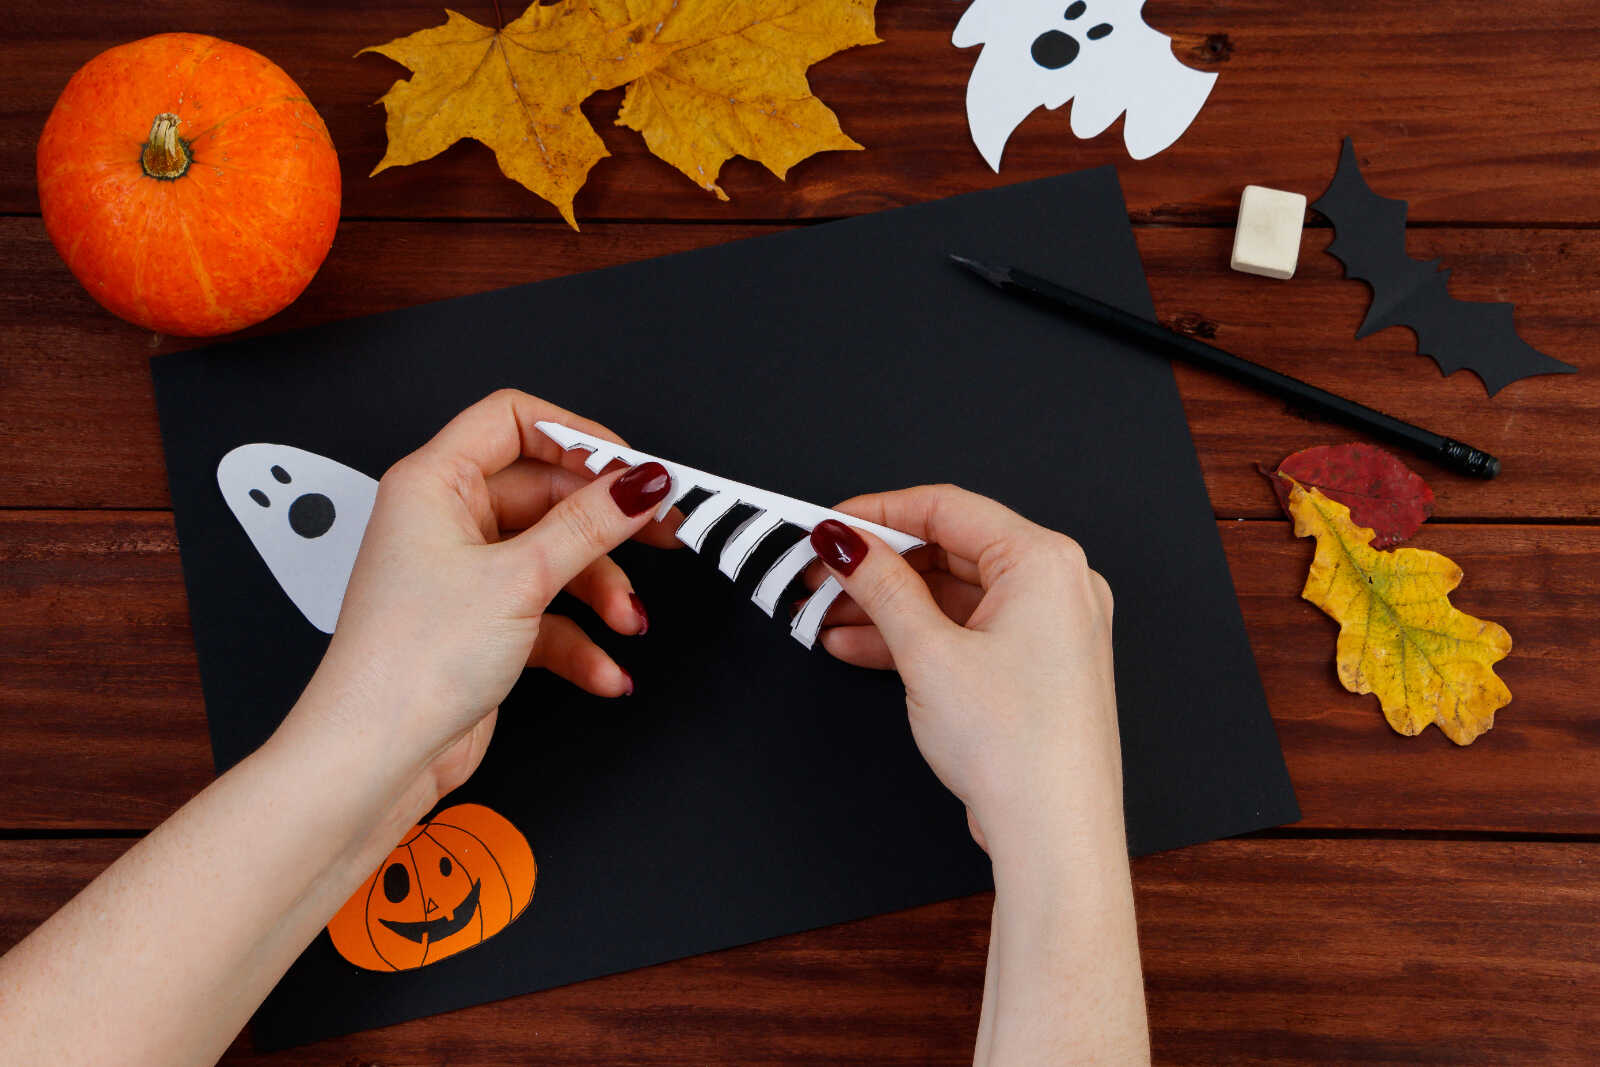
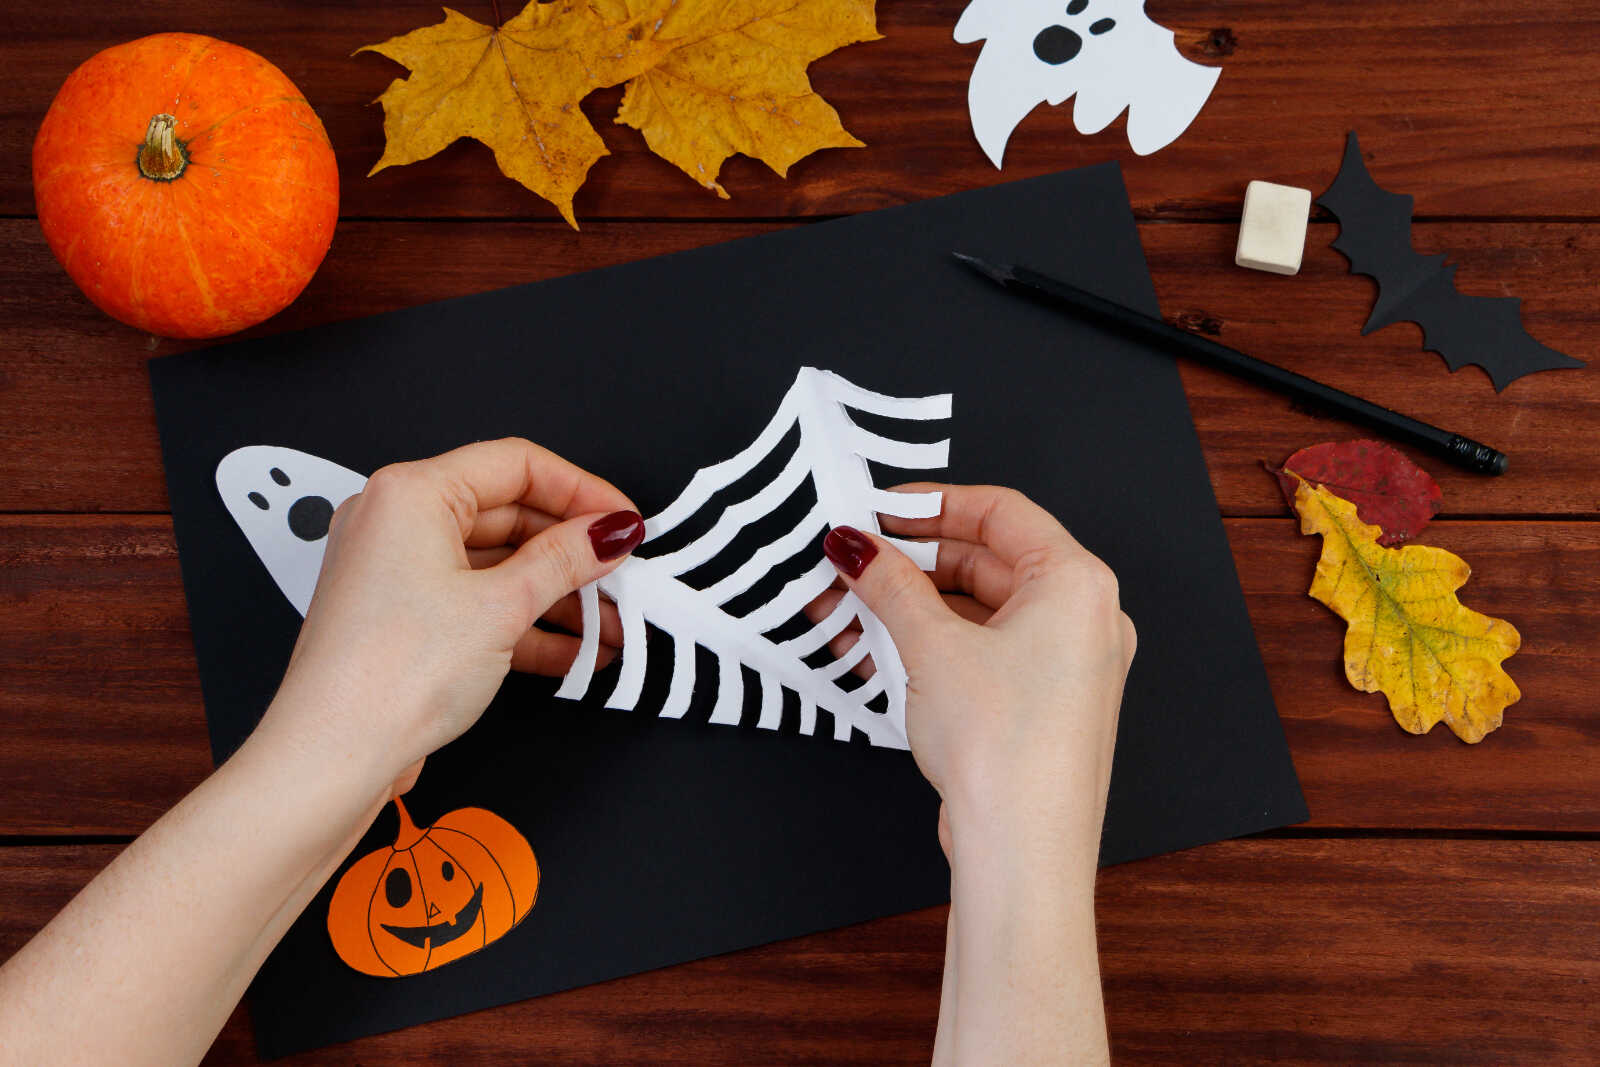
Step 9: Open the Paper Carefully
Once all the curved sections are cut out, slowly unfold the paper. Open one fold at a time so you do not rip the delicate web strands.
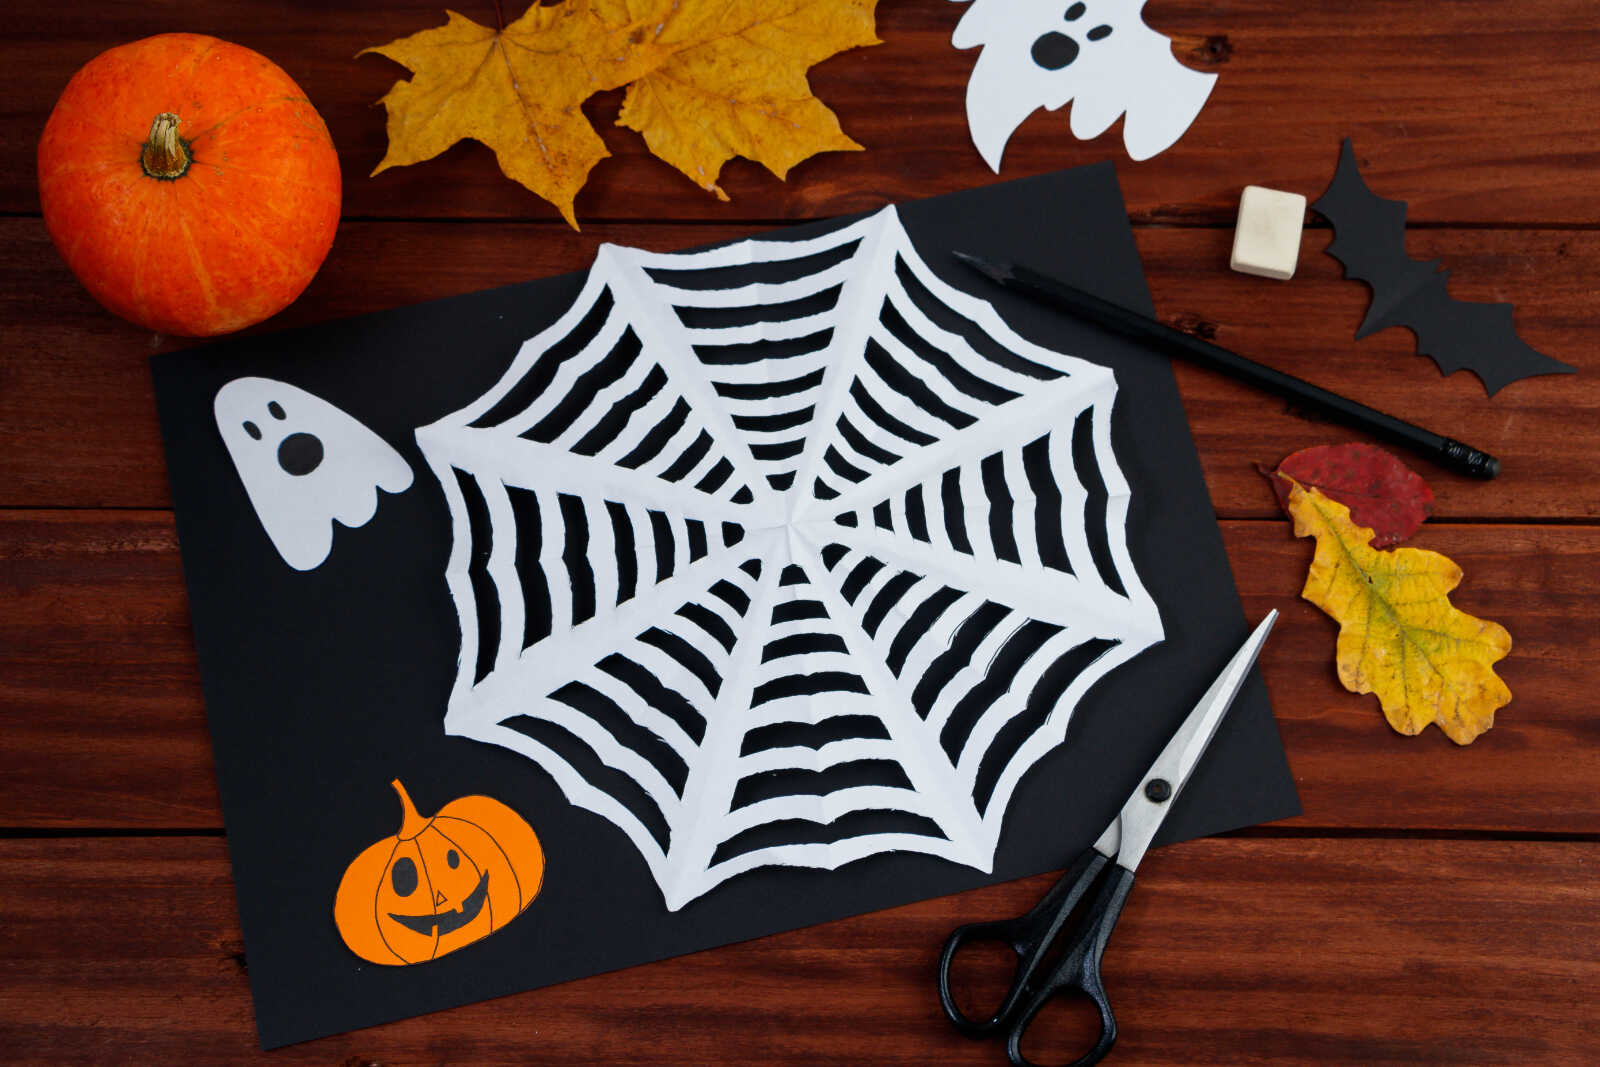
As the paper opens, the spider web shape will appear. This is always the most exciting part because the simple folded paper suddenly becomes a full Halloween decoration.
Step 10: Flatten the Spider Web
Lay the finished spider web flat on the table and gently press it down with your hands. Some folds may want to curl up, but that adds texture and dimension.
For a flatter look, place the web under a heavy book for a few minutes.
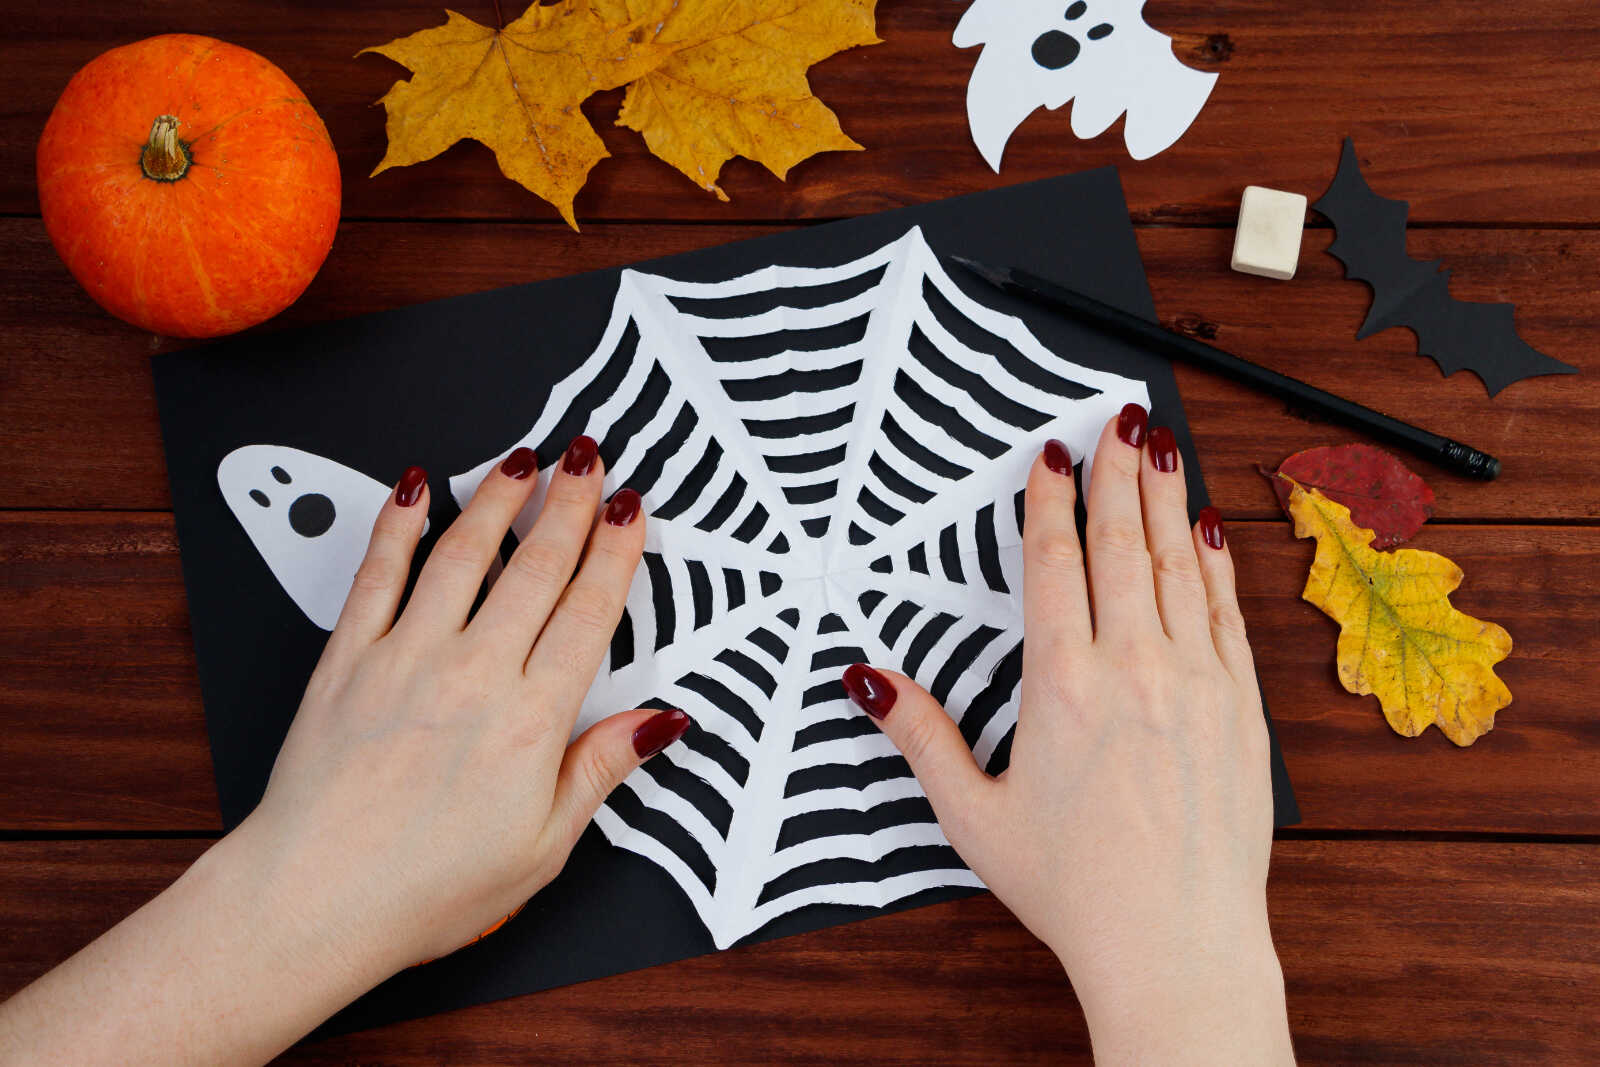
Decorating Your Paper Spider Web
Once your paper spider web is finished, place it on black construction paper to make the white web really stand out. You can glue it down or leave it loose if you want to move it around.
Add paper ghosts, bats, pumpkins, or fall leaves around the web for a cute Halloween craft display. Kids can also draw a little spider, add googly eyes, or sprinkle on glitter for extra spooky fun.

Tips for Making This Craft With Kids
This craft is great for kids, but some steps may need adult help. Folding the paper into a tight wedge and cutting through several layers can be tricky for small hands.
For younger children, an adult can fold and draw the lines, then let the child help open the web and decorate the background. Older kids can try making their own designs with different line spacing.
You can also make several webs in different sizes by starting with smaller or larger pieces of paper.
Fun Ways to Use Paper Spider Webs
Paper spider webs make easy Halloween decorations for windows, walls, bulletin boards, classroom doors, or party tables. You can tape them to the wall, hang them with string, or layer them over black paper for a finished craft project.
They also work well for Halloween party crafts because the supplies are inexpensive and easy to set up.
Final Thoughts
This paper spider web Halloween craft is a fun mix of folding, cutting, and surprise. Kids love seeing the web appear when the paper unfolds, and the finished project looks adorable with pumpkins, ghosts, bats, and autumn leaves. It is an easy Halloween activity that feels creative, festive, and perfect for the spooky season.